> ## Documentation Index
> Fetch the complete documentation index at: https://help.maestra.io/llms.txt
> Use this file to discover all available pages before exploring further.

# How to Add a Customer Manually via the User Interface

To add a customer using the Maestra interface, follow these steps:

1. Go to **Customer Data Platform** → **Customers**.

<Frame>
  <img src="https://mintcdn.com/maestraio/FCQt5sXd0fOLTChm/images/2026-05-08-19.51.09.png?fit=max&auto=format&n=FCQt5sXd0fOLTChm&q=85&s=b1292d4df777200e4dfcfd9bdd460049" alt="2026 05 08 19 51 09" width="2918" height="434" data-path="images/2026-05-08-19.51.09.png" />
</Frame>

2. Click **Create customer** in the side menu.

<Frame>
  <img src="https://mintcdn.com/maestraio/FCQt5sXd0fOLTChm/images/%D0%A1%D0%BD%D0%B8%D0%BC%D0%BE%D0%BA-%D1%8D%D0%BA%D1%80%D0%B0%D0%BD%D0%B0-%E2%80%94-2026-05-08-%D0%B2-19.55.55.png?fit=max&auto=format&n=FCQt5sXd0fOLTChm&q=85&s=0c46a29c0e837889dea3afb0f376b8ce" alt="Снимок Экрана — 2026 05 08 В 19 55 55" width="2920" height="516" data-path="images/Снимок-экрана-—-2026-05-08-в-19.55.55.png" />
</Frame>

3. Fill in the fields.

* **IDs**: at least one contact field must be filled in:
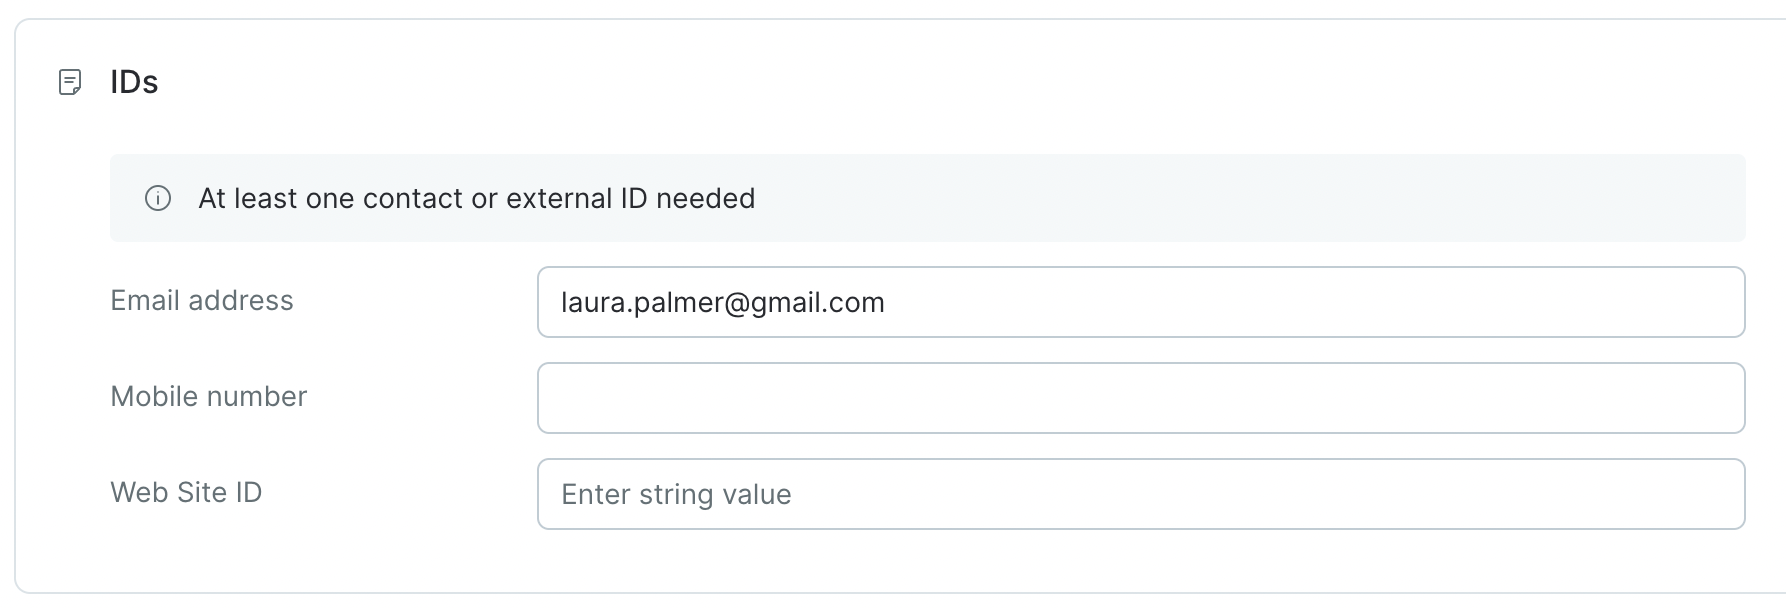
<img src="https://mintcdn.com/maestraio/m5TAkUWmgaRT4x96/images/imported/1_custcreate.png?fit=max&auto=format&n=m5TAkUWmgaRT4x96&q=85&s=3d5852c350b443008c594ce9bcbbe285" alt="1_custcreate" width="1786" height="608" data-path="images/imported/1_custcreate.png" />

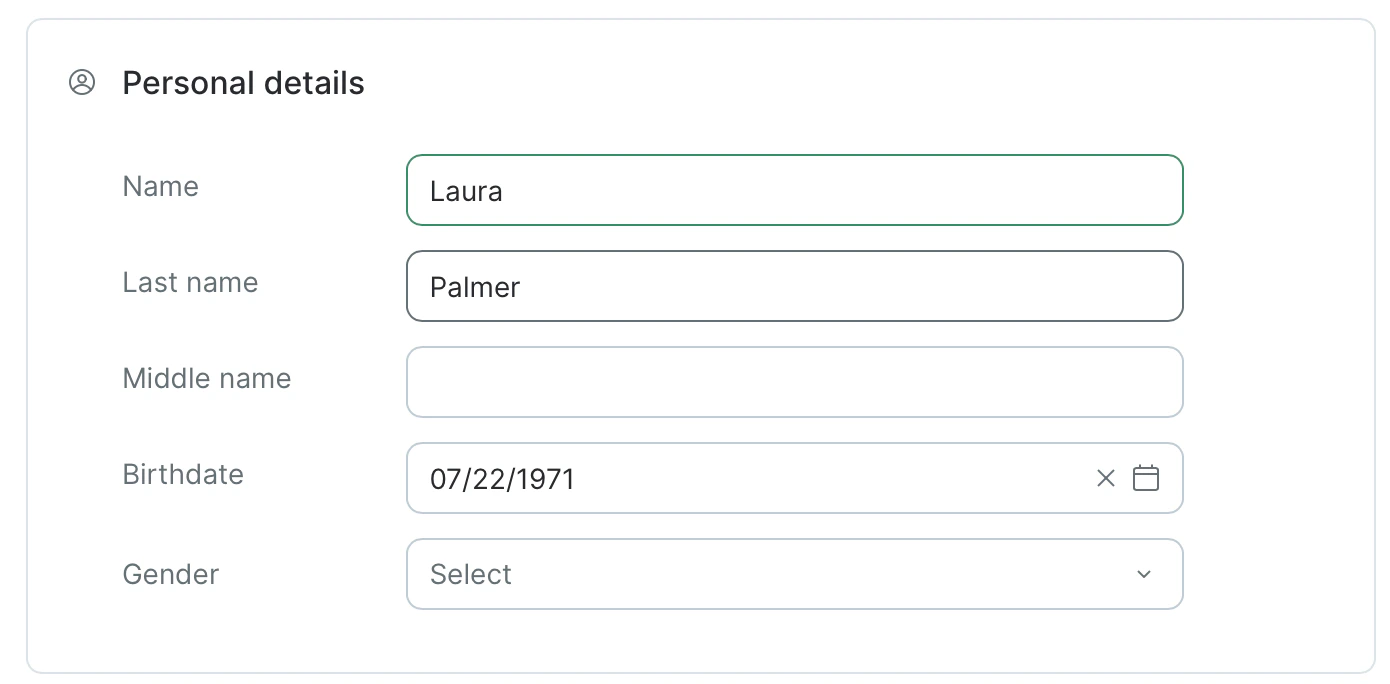
* **Personal details**: this section is optional.
<Frame>
  <img src="https://mintcdn.com/maestraio/FCQt5sXd0fOLTChm/images/2026-05-08-20.02.45.png?fit=max&auto=format&n=FCQt5sXd0fOLTChm&q=85&s=00b856214a82e4ff225c44010554ed88" alt="2026 05 08 20 02 45" width="1390" height="684" data-path="images/2026-05-08-20.02.45.png" />
</Frame>

Specify your **Subscription preferences**. By default, the subscription fields are blank. You can select the required status from the list:

<img src="https://mintcdn.com/maestraio/8VE_QojSxRA8jQ0B/images/imported/3_custcreate.png?fit=max&auto=format&n=8VE_QojSxRA8jQ0B&q=85&s=969a1d8e088219944bfce4ea0e5ae1fd" alt="3_custcreate" width="1784" height="498" data-path="images/imported/3_custcreate.png" />

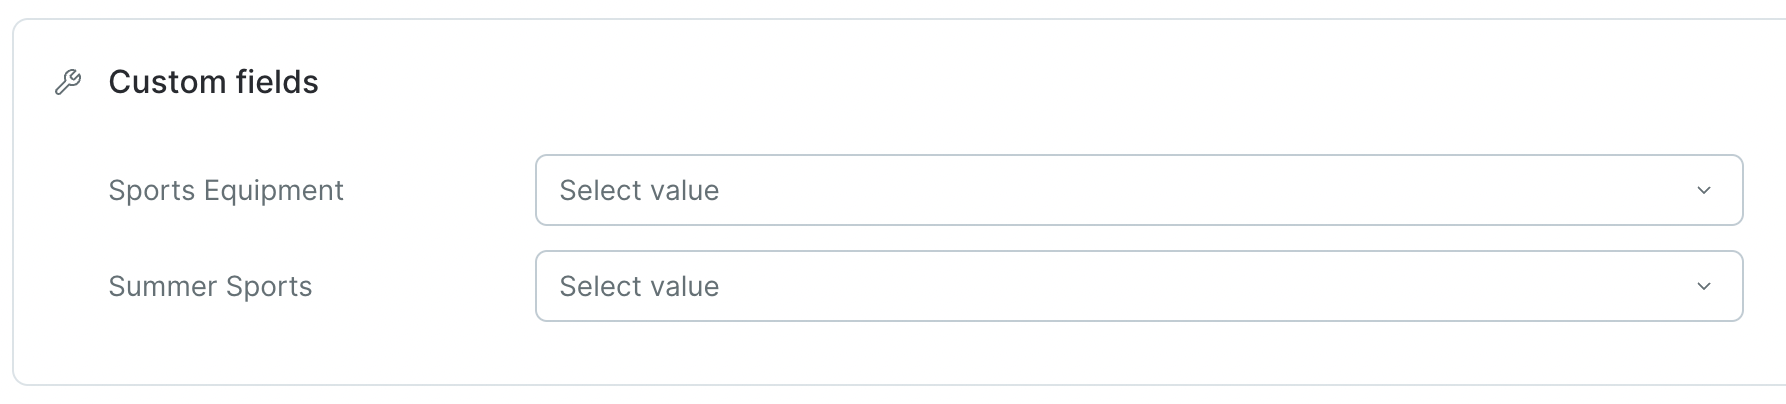
[Custom fields:](/api-integrations/how-to-create-a-custom-field) this section is optional:
<img src="https://mintcdn.com/maestraio/8VE_QojSxRA8jQ0B/images/imported/4_custcreate.png?fit=max&auto=format&n=8VE_QojSxRA8jQ0B&q=85&s=c8bd1af133ef0d06ba2dfd42ec72eff9" alt="4_custcreate" width="1786" height="404" data-path="images/imported/4_custcreate.png" />

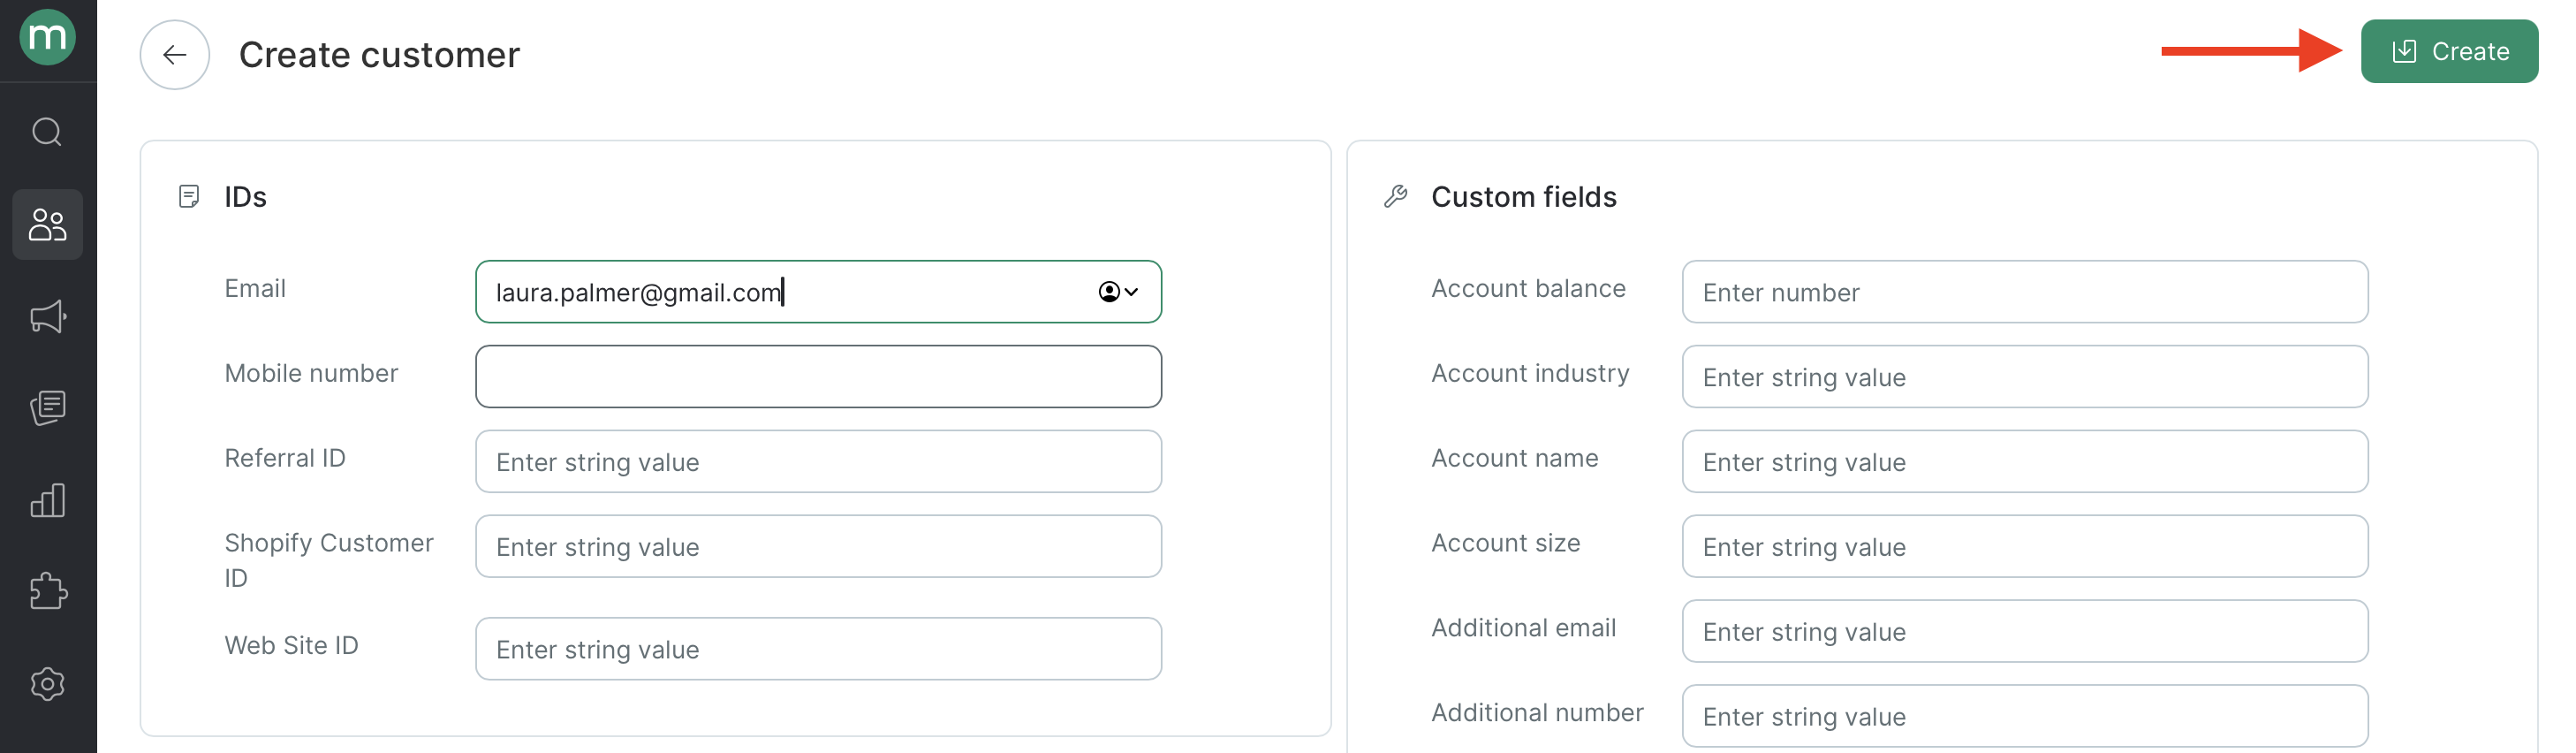
3. Click **Create**:

<Frame>
  <img src="https://mintcdn.com/maestraio/FCQt5sXd0fOLTChm/images/-%E2%80%94-2026-05-08--20.05.53.png?fit=max&auto=format&n=FCQt5sXd0fOLTChm&q=85&s=46b7cbe51c5672e7621c5ccdae1c8a21" alt="— 2026 05 08 20 05 53" width="2916" height="852" data-path="images/-—-2026-05-08--20.05.53.png" />
</Frame>

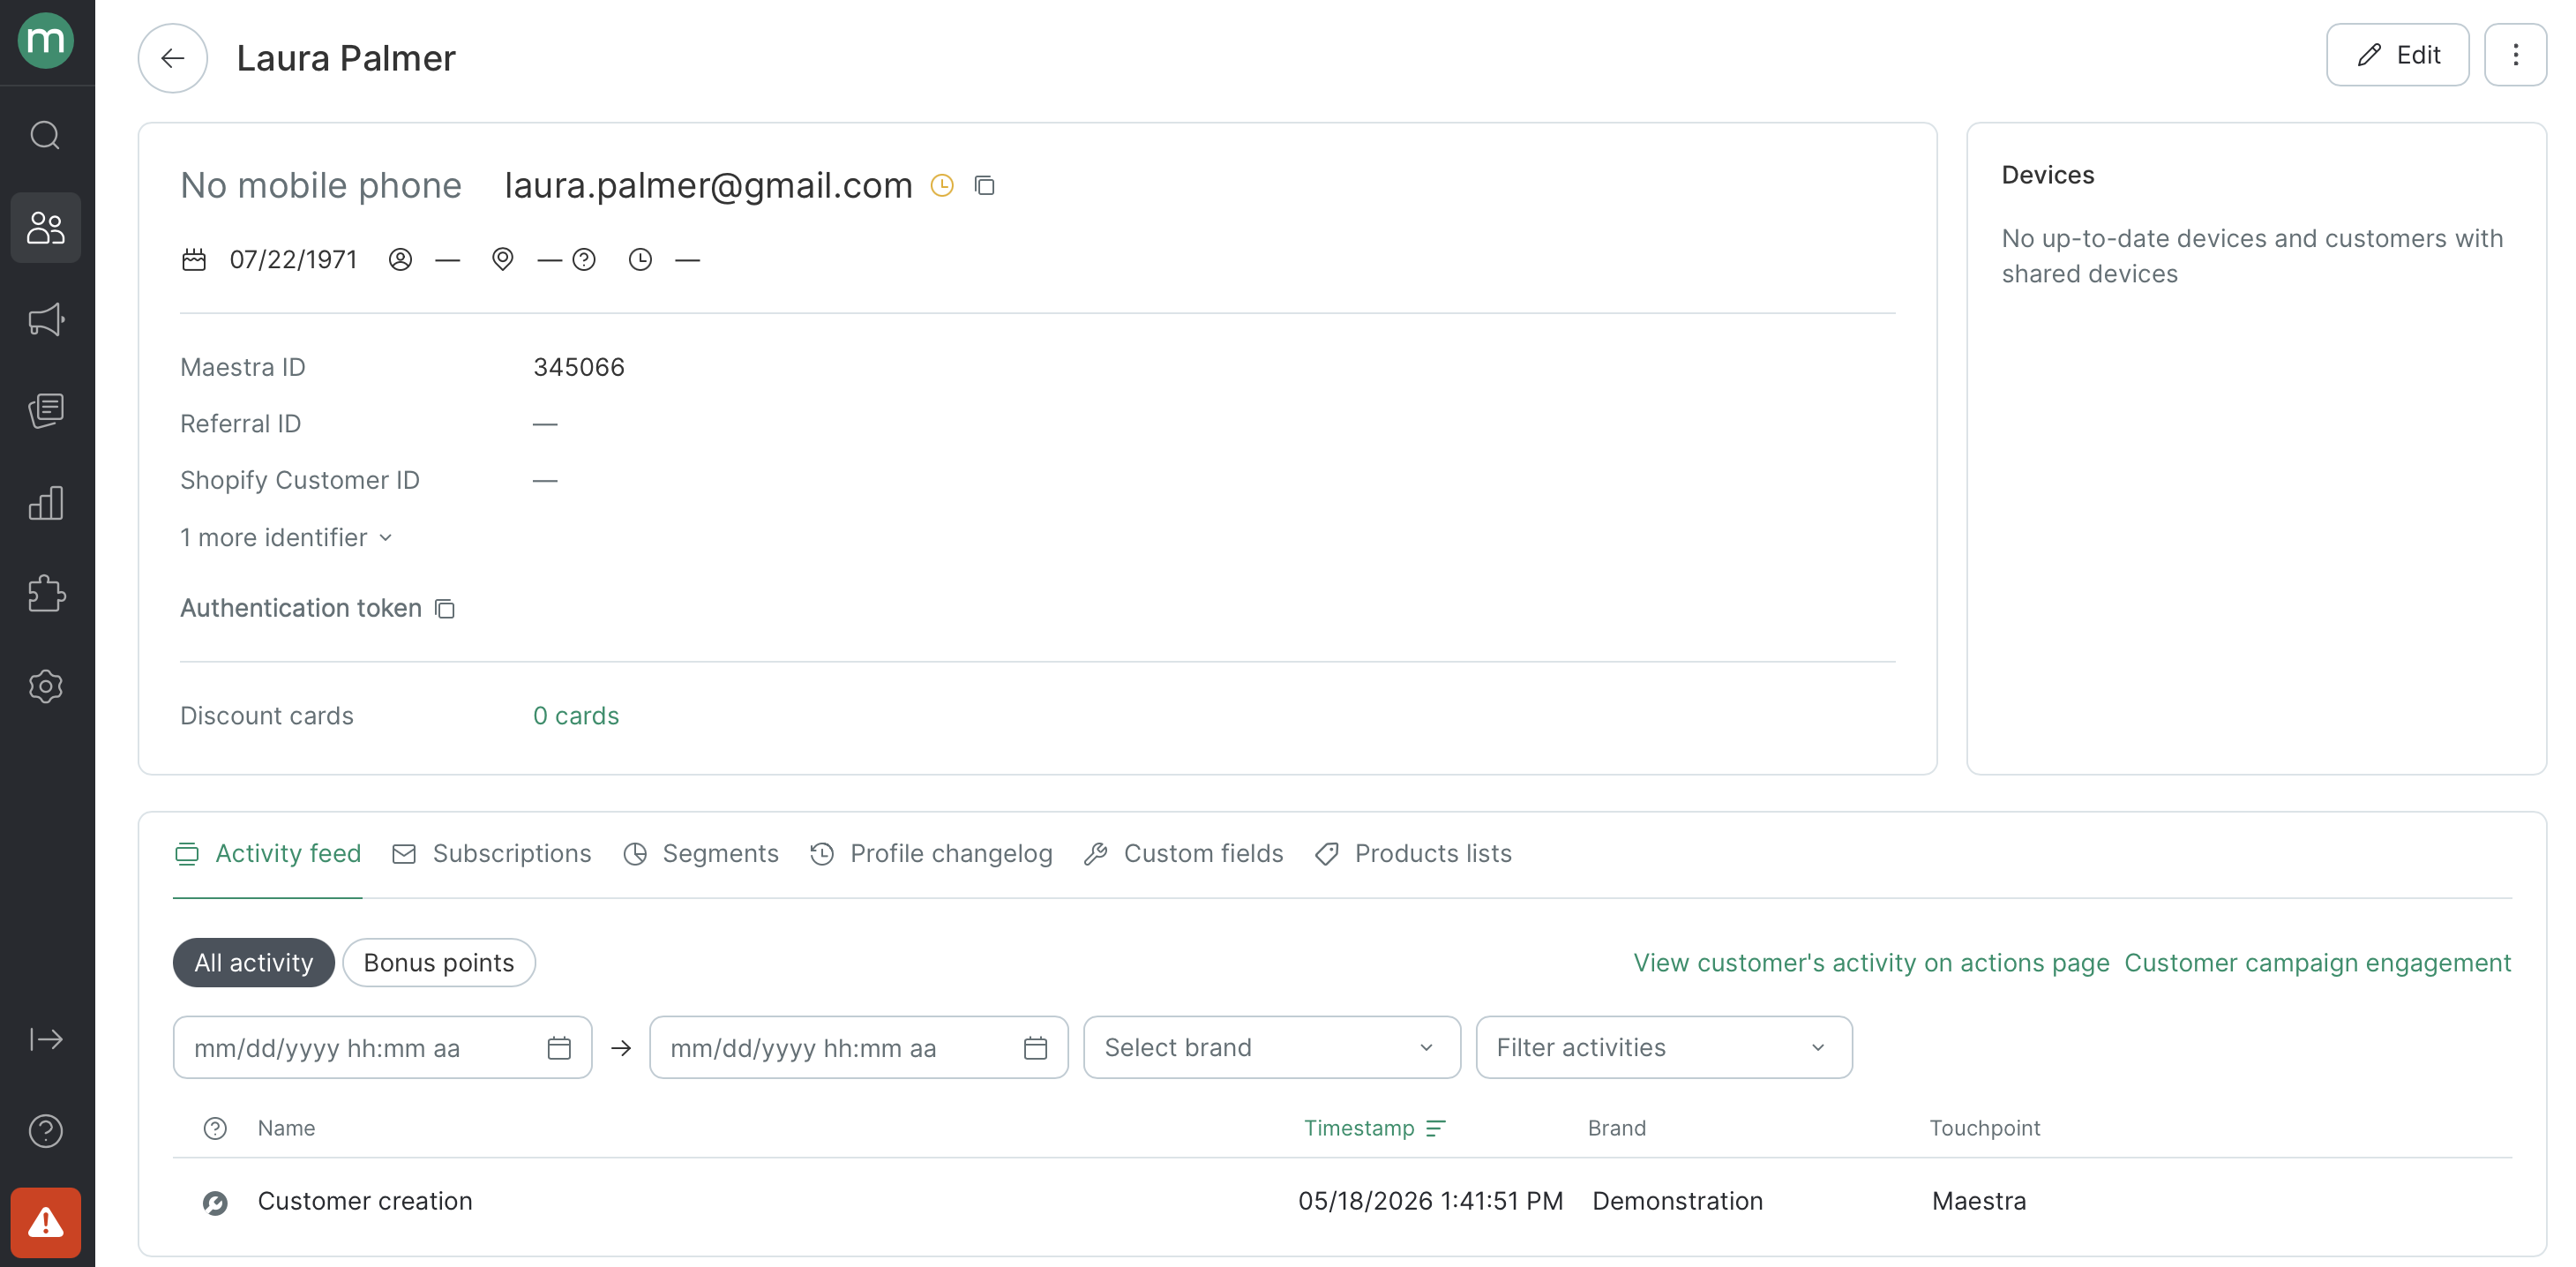
The customer account is now created:

<Frame>
  <img src="https://mintcdn.com/maestraio/lKPNgBeiIiY8g7bJ/images/2026-05-18-13.42.58.png?fit=max&auto=format&n=lKPNgBeiIiY8g7bJ&q=85&s=5c7d741c7238f4b79514274f730381f0" alt="2026 05 18 13 42 58" width="2920" height="1436" data-path="images/2026-05-18-13.42.58.png" />
</Frame>