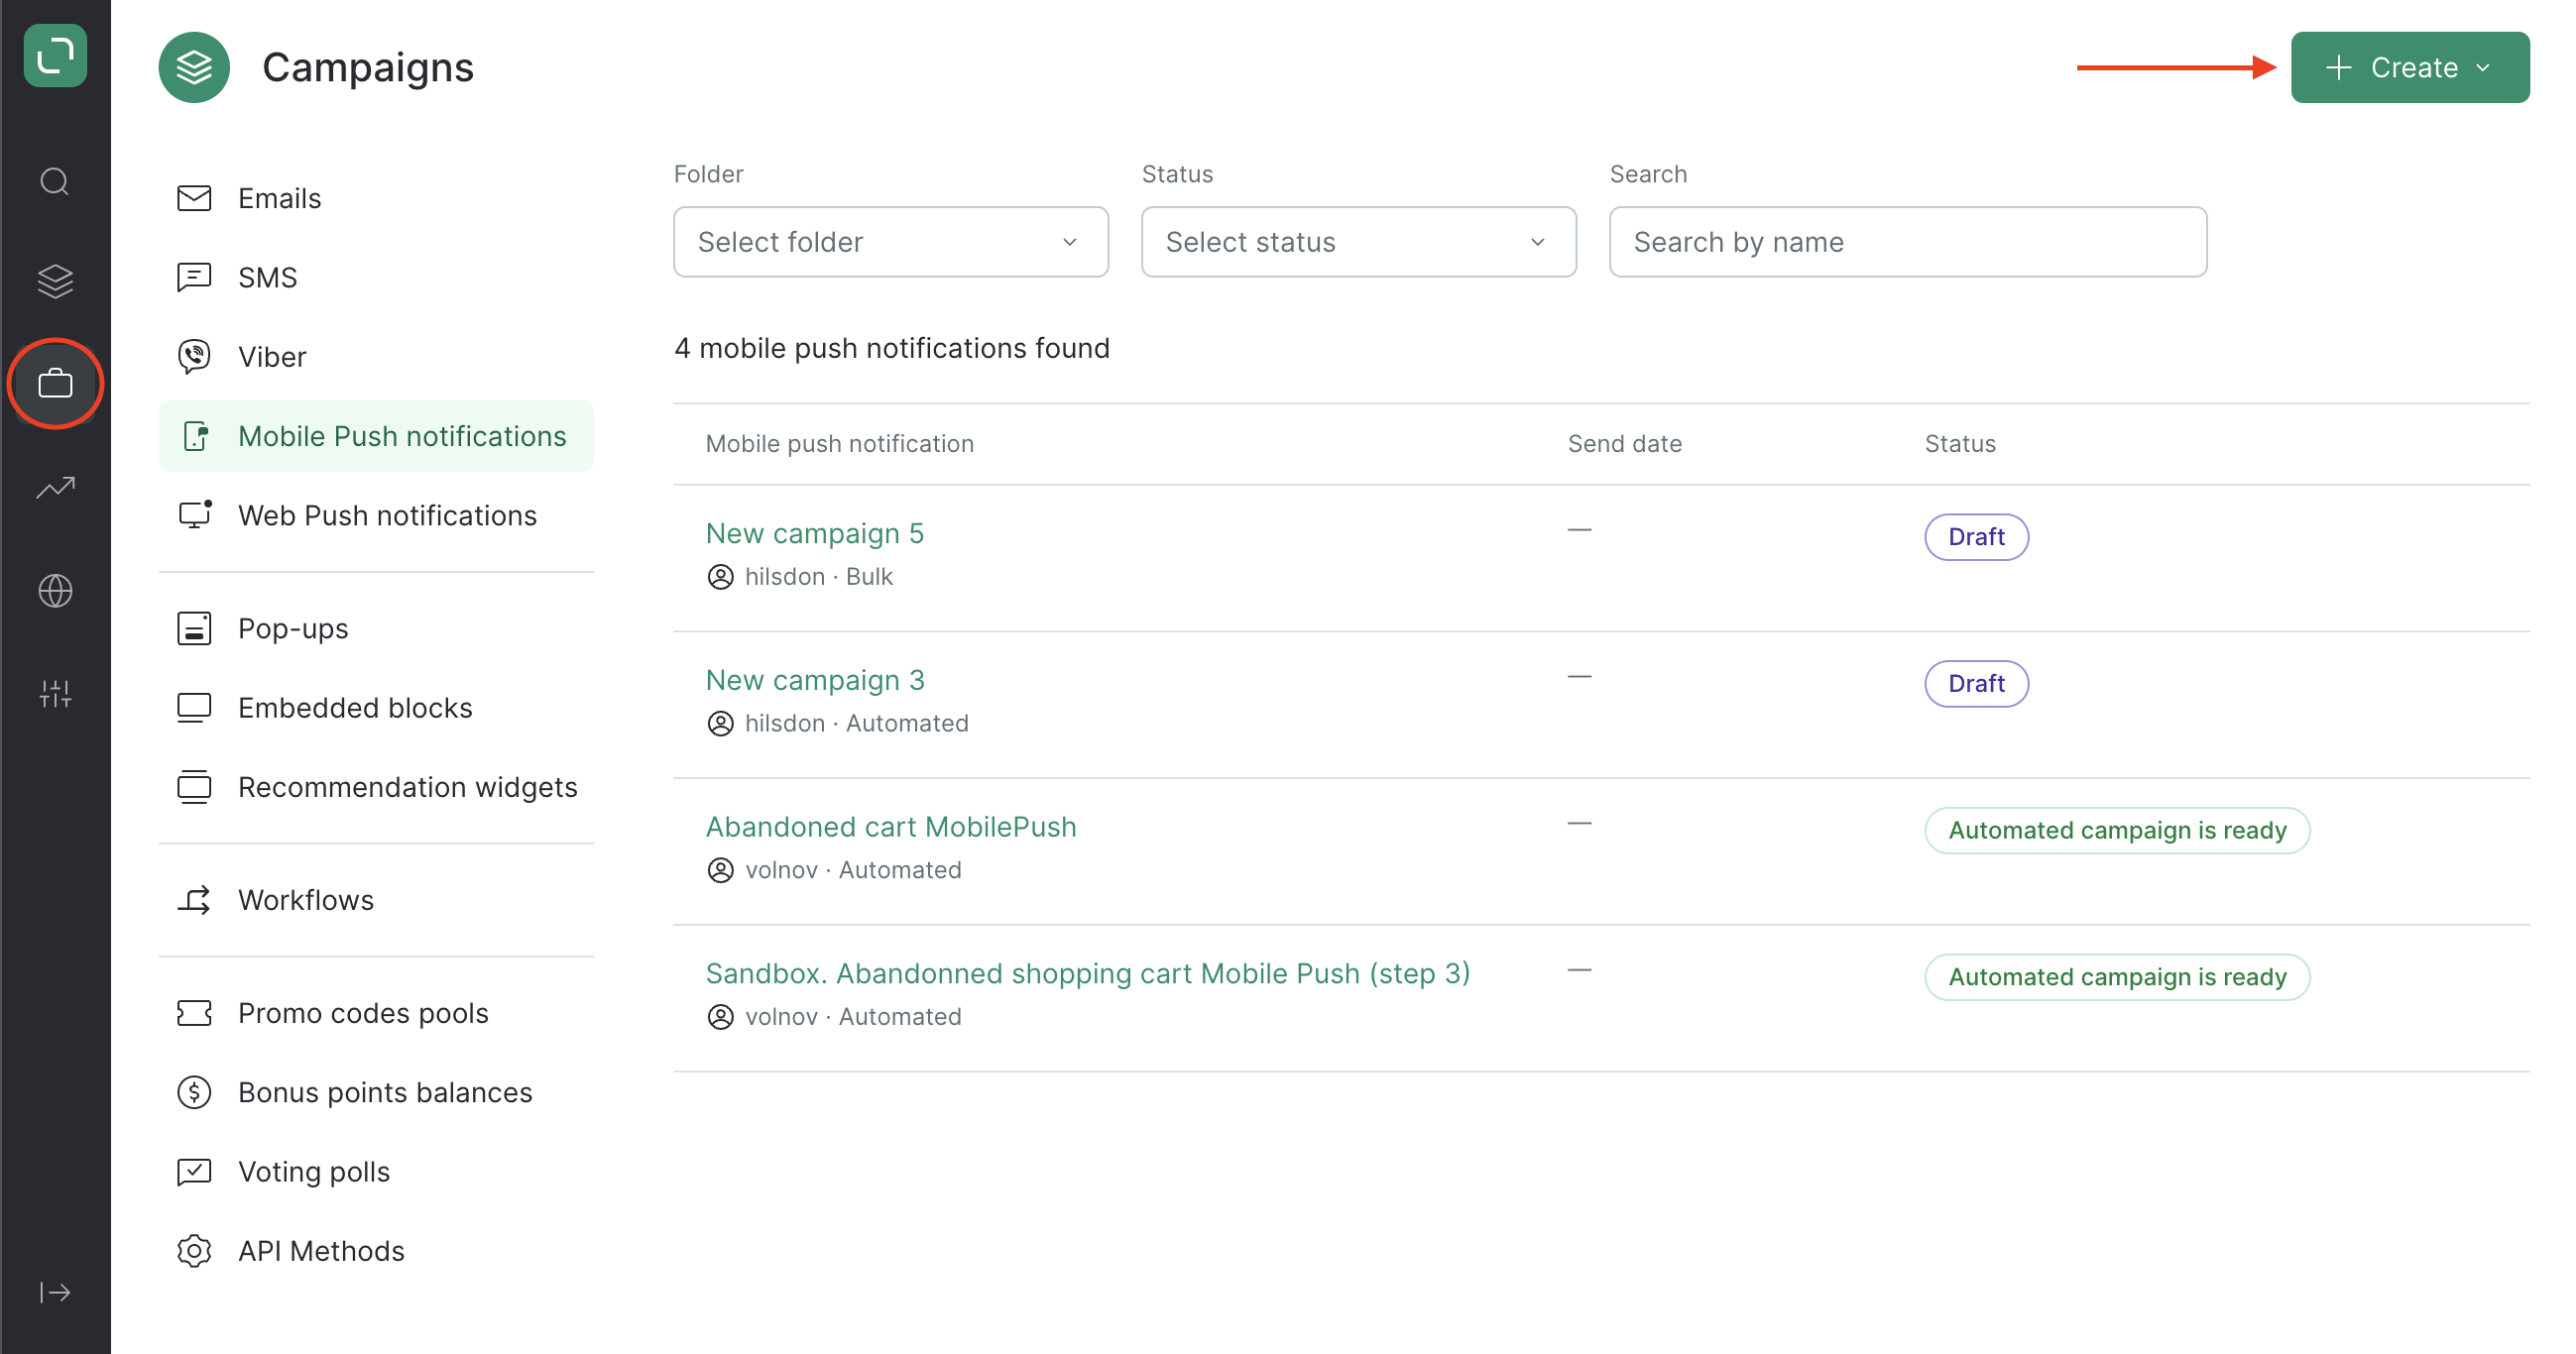
- Go to Campaigns and click Create:
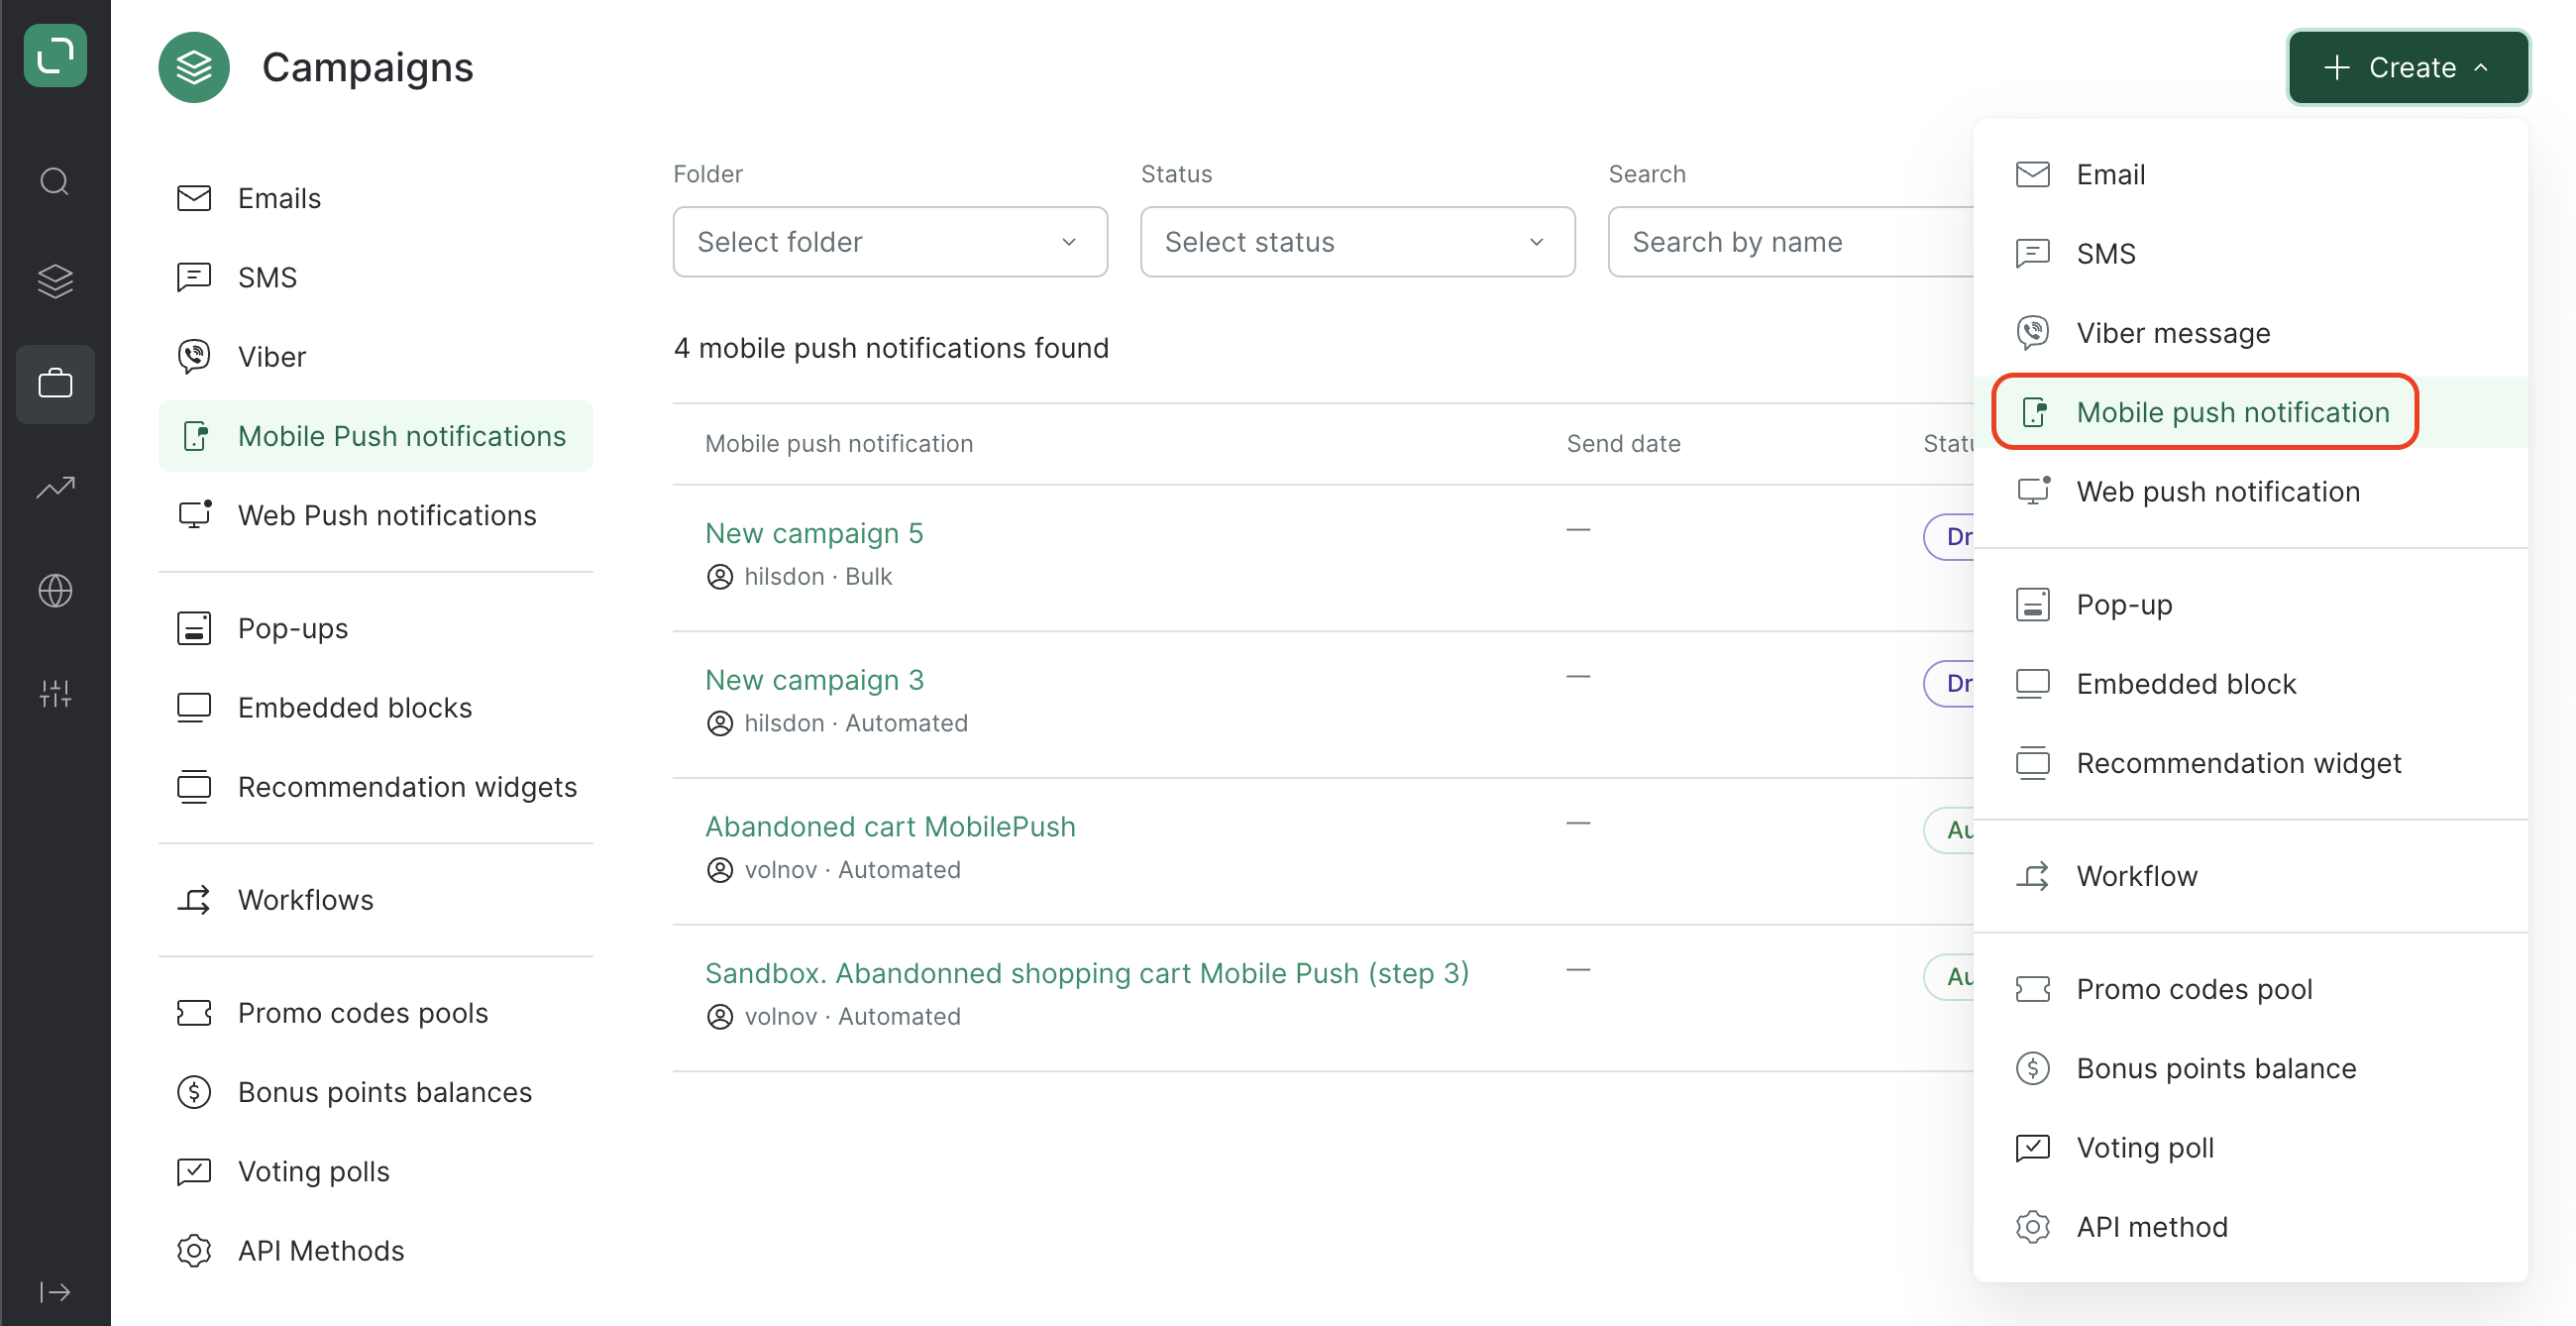
- Select the MobilePush channel:
- Select the bulk type and the folder in which your campaign will be created:
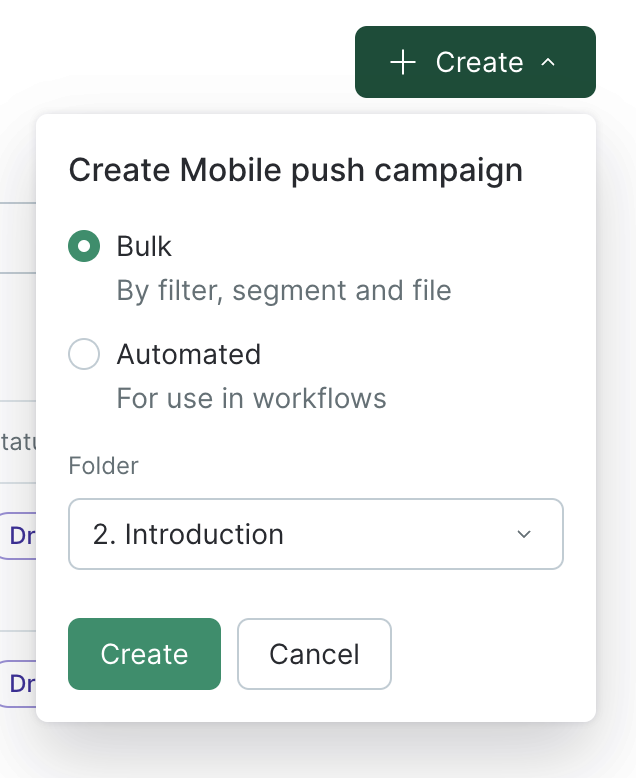
If you don’t yet have any folders, create a new one.
- Enter your campaign title and select a Topic if applicable:
Please note that to select an app, you need to have an Android or iOS app integration point with an integrated app:

Android and iOS campaigns are set up separately.
-
Select the Message profile — standard or manual. If you select manual, you can choose to disable the global control group.
-
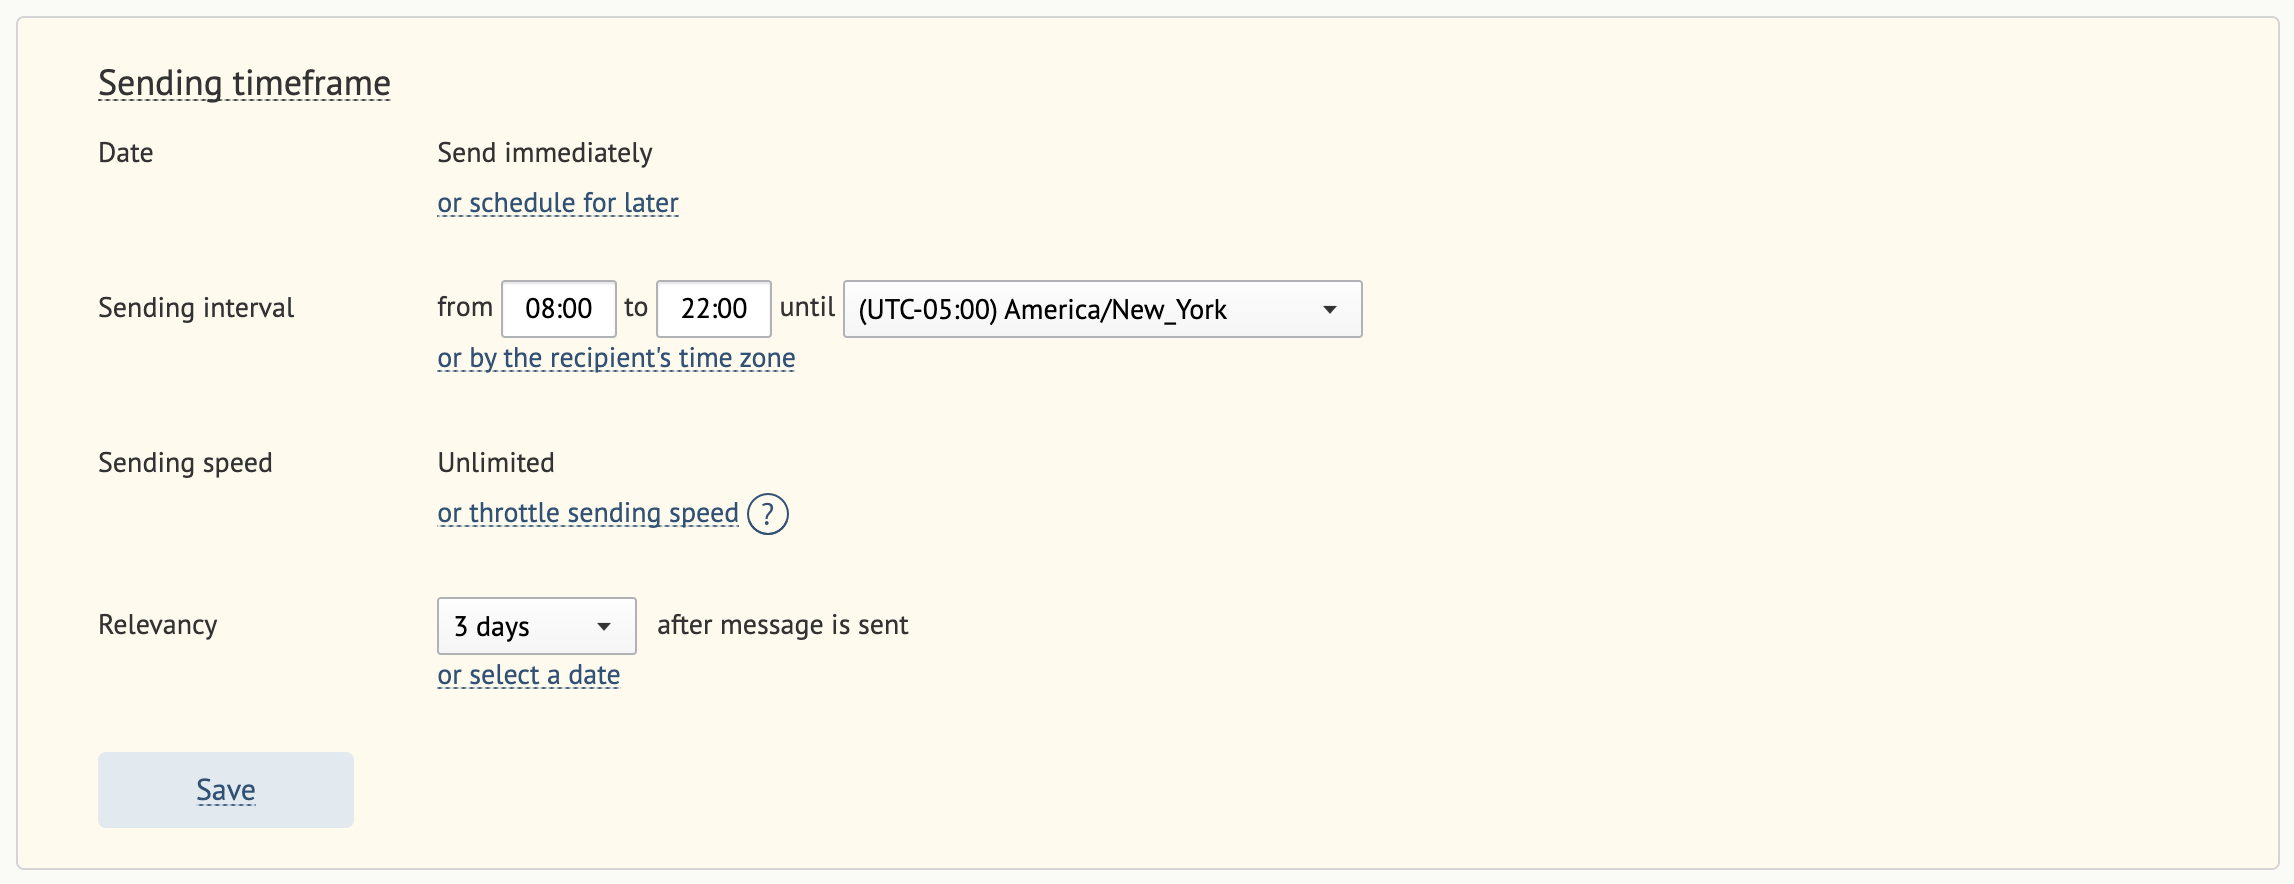
Fill in the Sending timeframe fields.
Use the Date to specify when the campaign will begin sending: immediately after saving or according to a schedule.
The Sending interval is the interval in which your customers will receive the notification. Note that their time zones will be taken into account. If you set only the sending hours, messages will be sent immediately (as quickly as possible).
Sending speed is unlimited by default. You can throttle sending speed as necessary.
Relevancy is the timeframe in which your bulk campaign is valid. Specify an interval (for example, 3 days from the time the message was sent) or a date (for example, until 01/07/2023 00:00 (UTC-05:00) America/New York).
More on the Relevancy section:
To send mobile push notifications, Maestra sends a push notification to Firebase or APNs, then Firebase or APNs sends this push to the app.
The period specified in the Relevancy section is applied to both these steps with the countdown beginning at the same time. The only difference is what you receive when the sending period expires.
For example, if you select a 3-day Relevancy period, you will either:
a) see a "Not sent" status if Maestra fails to send your push notification to Firebase or APNs during these 3 days;
b) get no Firebase or APNs failure information in your project if Maestra successfully sent the push to Firebase/ APNs and they failed to send the push notification during its time-to-live (TTL) — this is because Firebase and APNs do not send delivery failure statuses to Maestra.
- Enter your push notification text and a clickable URL. Optionally, add a title, image, button, or any additional push components.
Click Save.
You can view how your push notification will be displayed on a mobile device in the interface:
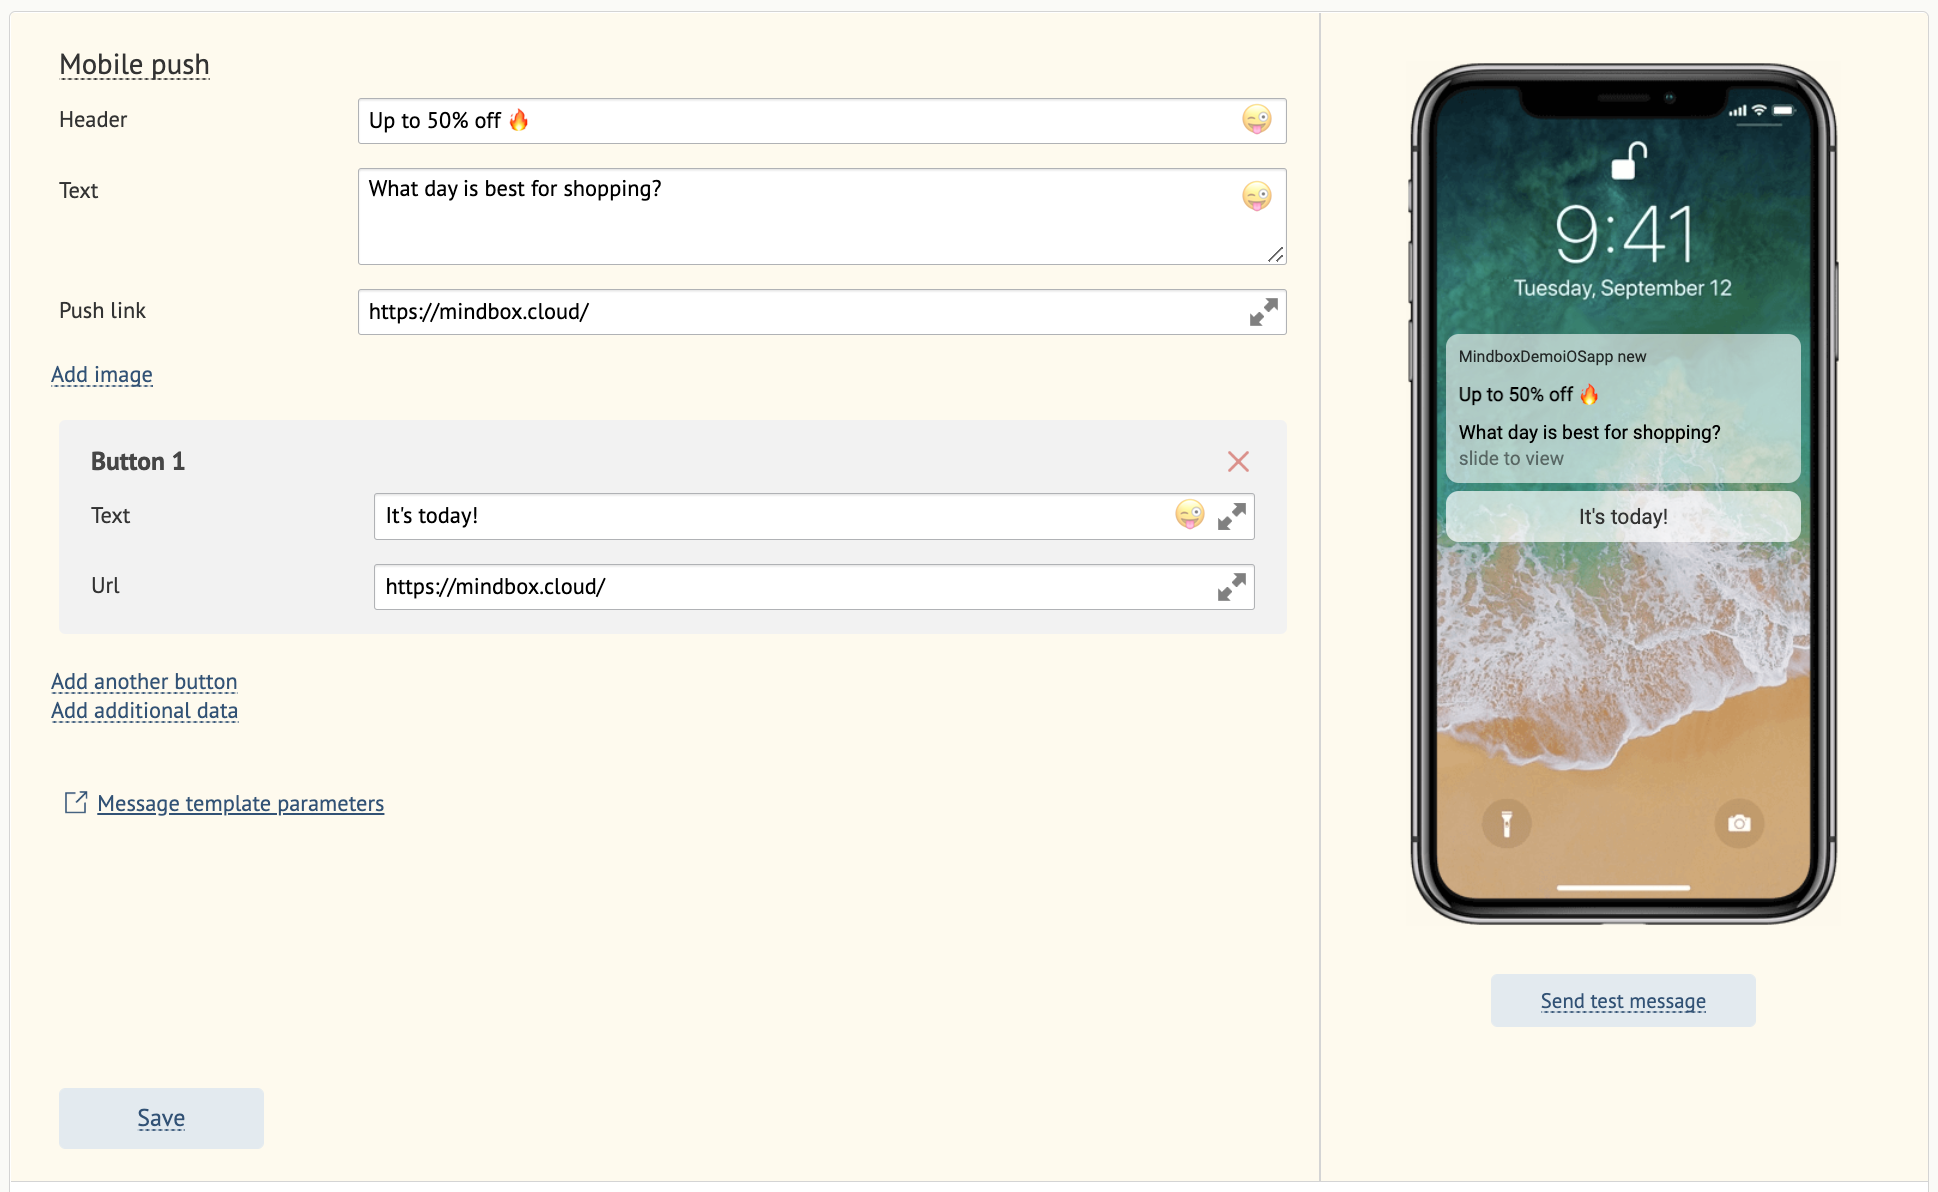
To test the push notification, click Send test message and find your contact details.
- There are 3 ways to specify campaign recipients:
- Using a customer segment,
- By creating a filter,
- By uploading a file for manual import. This works the same as in a bulk email campaign, but without creating new customers.
Using Filter or Manual import, you can view all the conditions that are automatically applied to bulk campaigns.
- Click Send now to launch your campaign immediately:

This button is active if the Campaign profile, Sending timeframe, MobilePush, and Recipients sections are all filled in, and an app has been selected.
To check that a section has been filled in, look for a tick next to the section title. Once everything is ready to go, your campaign’s status will change to Ready to send:

Scheduled sending
If you schedule your message for a later date/time, its status switches to Sending scheduled.
Please note that once you click Send now, the system will launch your campaign immediately. You need to click Save and exit to launch your campaign later:
