You can choose how to test your campaign depending on the task at hand and applicable parameters.
The following three types of parameters can be used in campaigns:
— Event-based parameters. These parameters retrieve data from events, so they can be passed only from scenarios/methods that contain relevant steps. For example: Order, Session.
— Non-event-based parameters that retrieve data already available in the project at the time the message is created — e.g. Recipient, Products.
— Custom parameters. These retrieve external data that is not available in the project but submitted through a call/file. This refers to CustomParameters only.
For more on parameters, please refer to this guide.
The testing method depends on the campaign type and parameters:
| Type | Send a test message | Preview a test message | Test mode for an automated campaign | Send to your own contact from a workflow | Generate a test request |
|---|---|---|---|---|---|
| Bulk campaign* | + | + | + | + | - |
| Automated campaign without event-based and custom parameters | + | + | + | + | +** |
| Automated campaign with event-based parameters | - | - | + | + | +** |
| Automated campaign with custom parameters | - | - | + | - | + |
*Exception: a bulk campaign where messages are sent based on a CustomParameters file. This type of campaign can only be tested by sending real messages to test accounts.
**When you use an API method to send an automated campaign.
Send a test message
You can send campaigns to selected customers without launching the real campaign.
This is available for all bulk and automated campaigns where you don’t have any event-based or custom parameters.
The following conditions are required:
- The customer needs to be in the database.
- Subscription is optional.
- Depending on the channel, customers should also have the following:
- Email: a valid email address.
- SMS and Viber: a valid cell phone number.
- Mobile Push: the customer has given permission to send push notifications to a selected app.
- Web Push: the customer has given permission to display push notifications on a selected website.
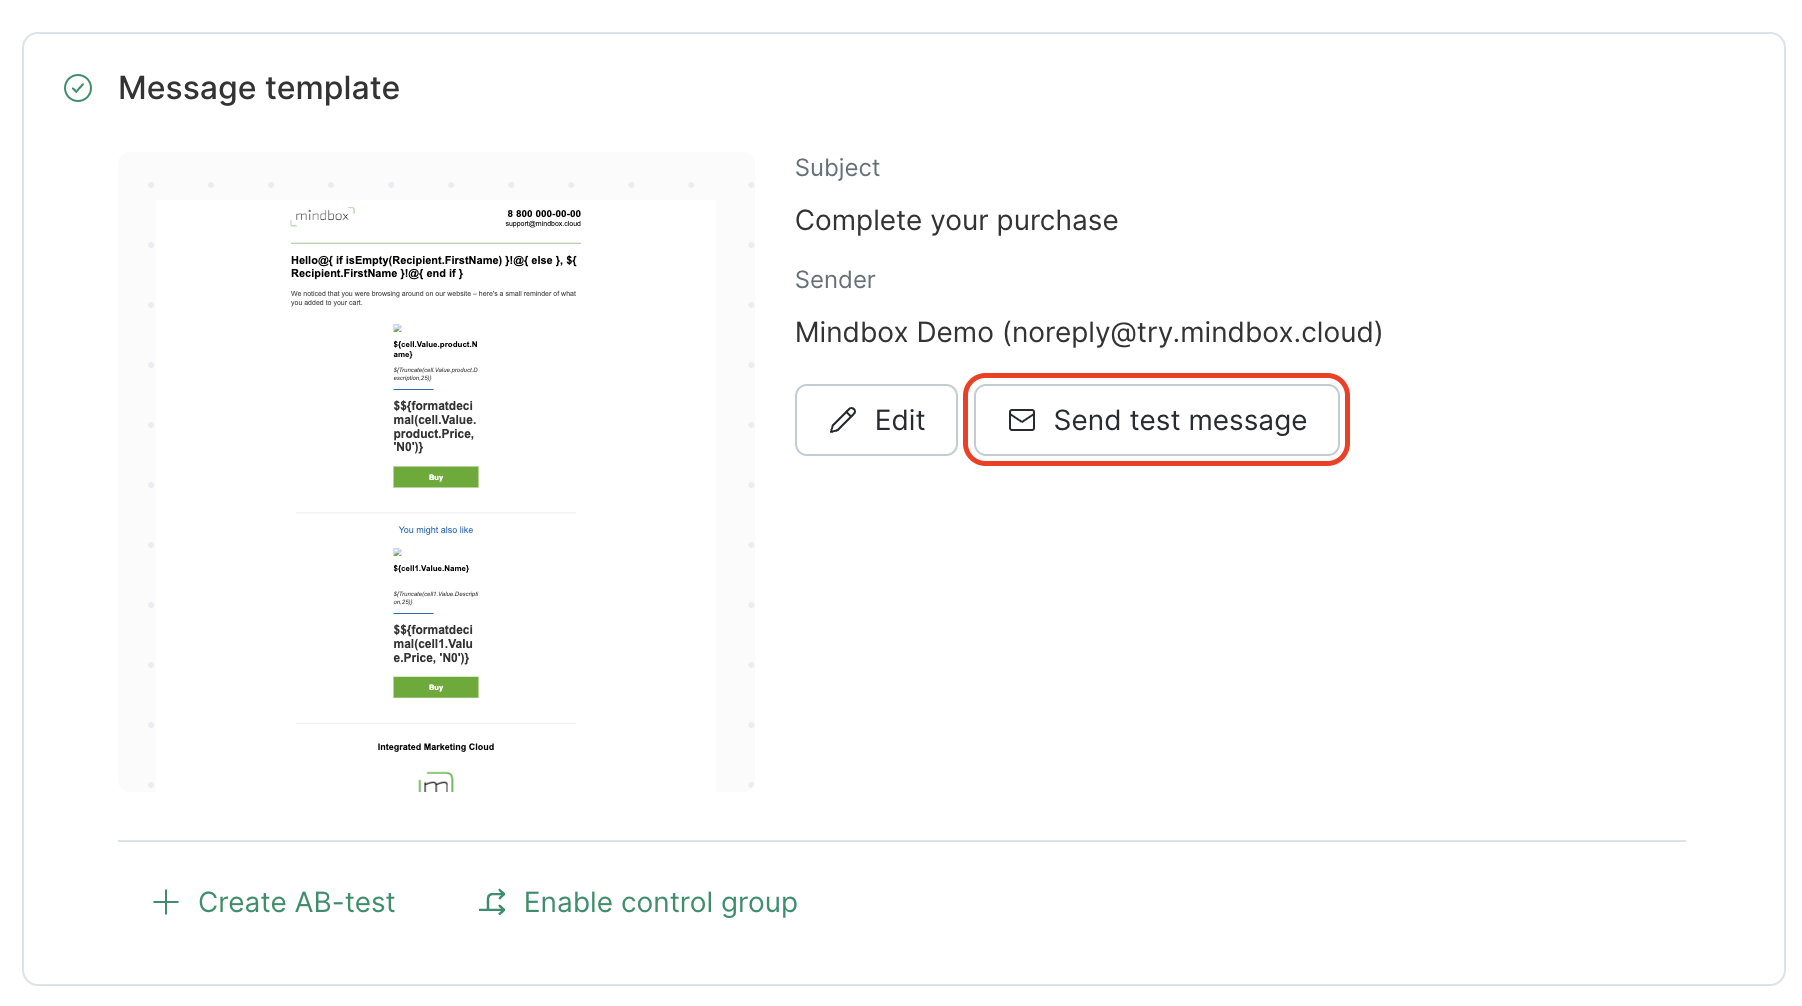
Click Send test message:
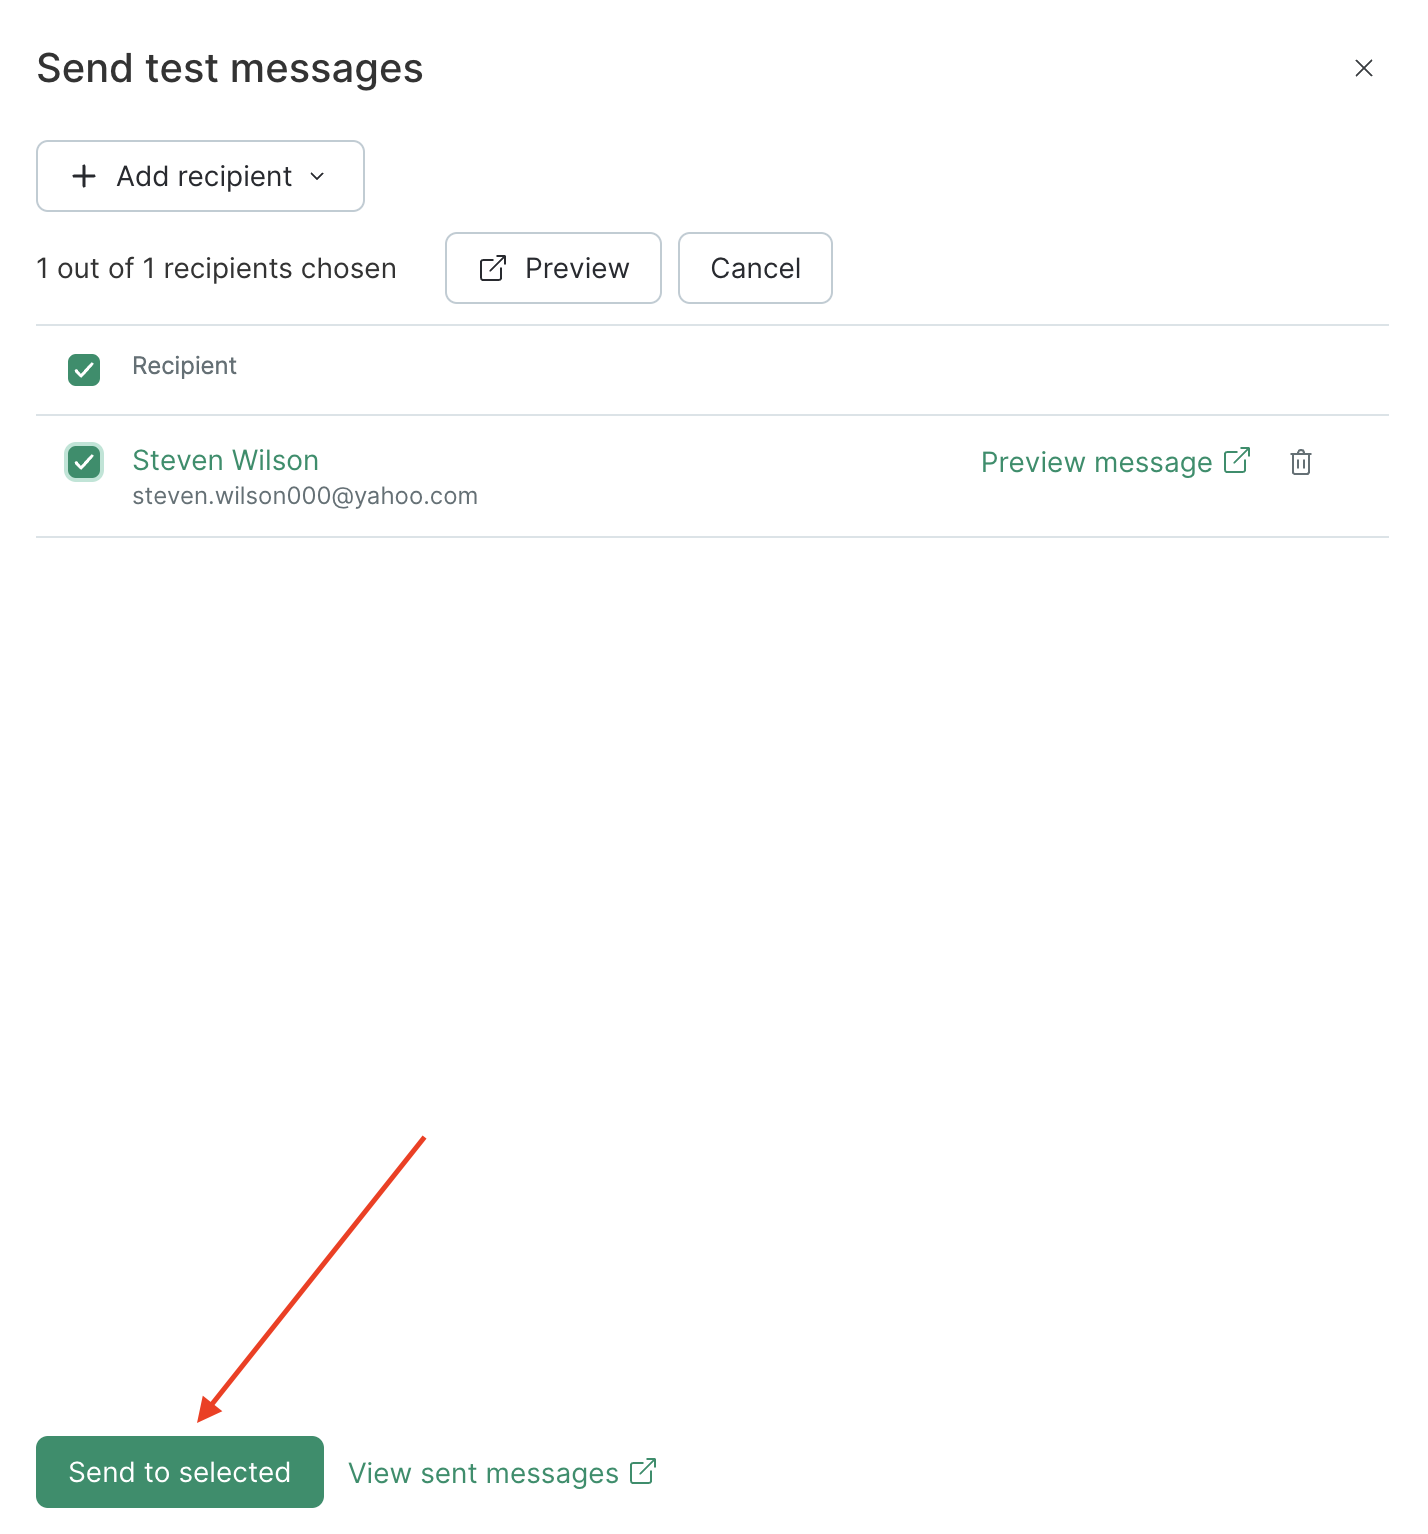
Find a customer using their ID and click "Send to selected":
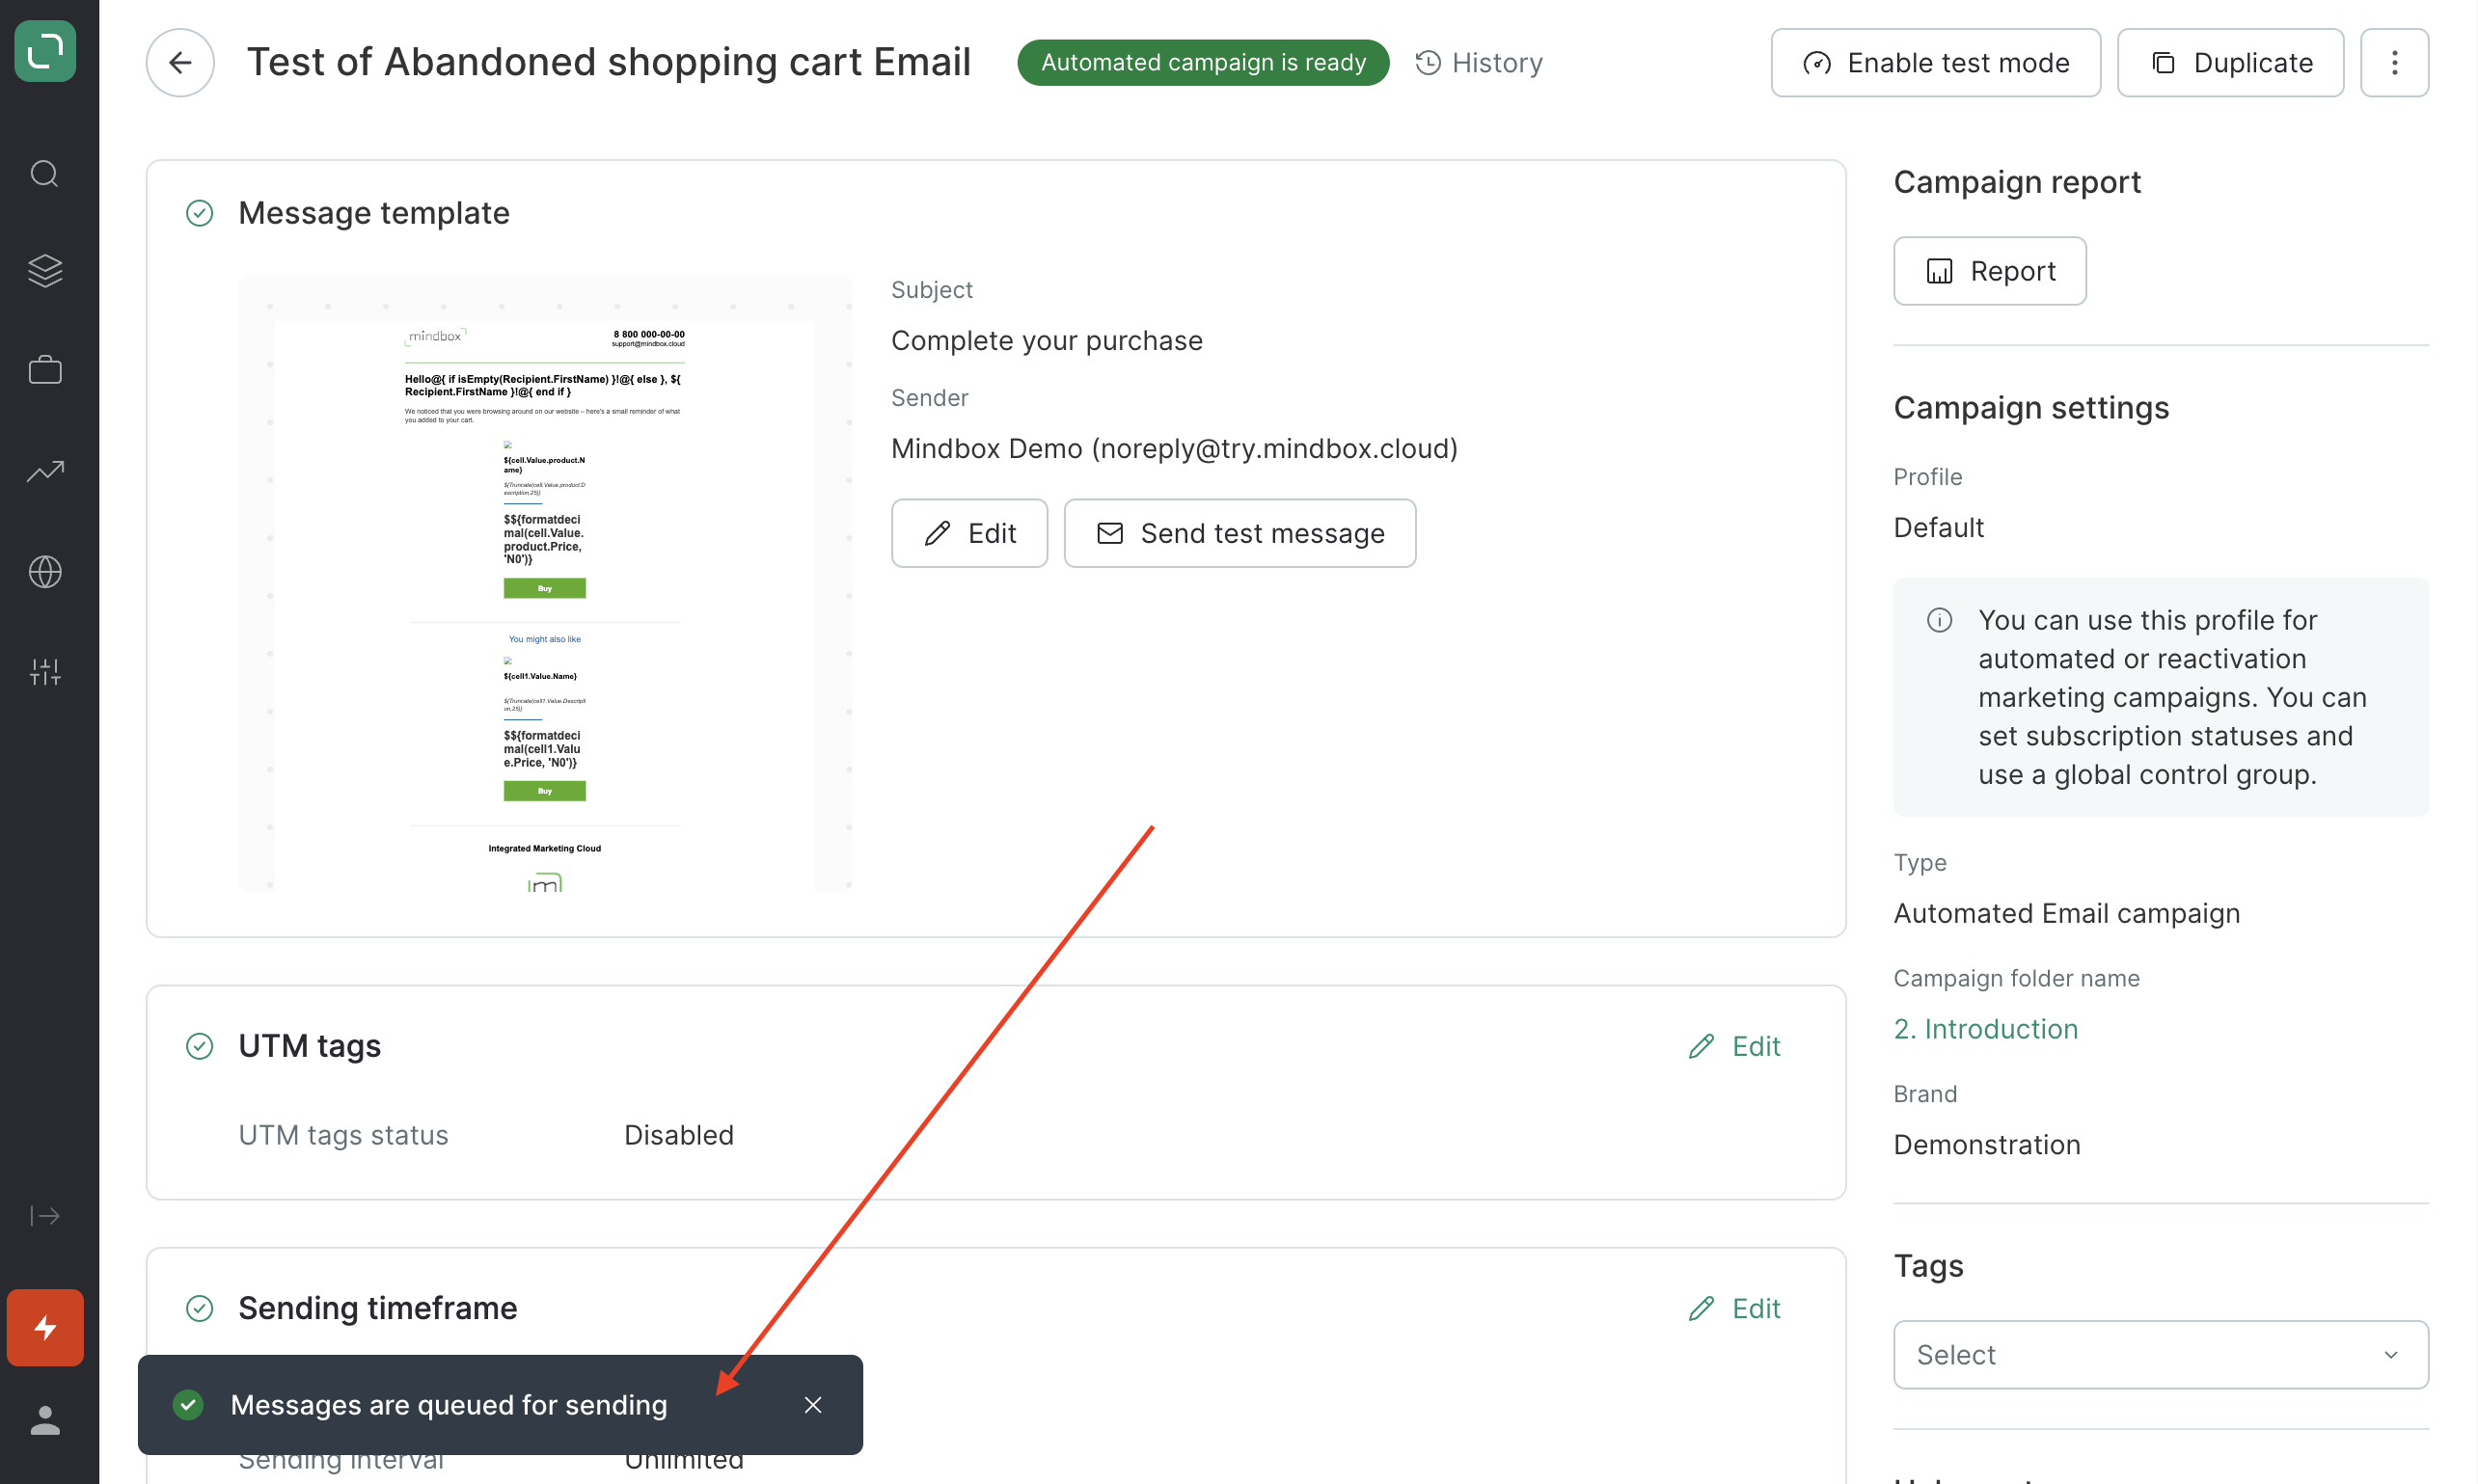
A message will appear:
Click "View sent messages":
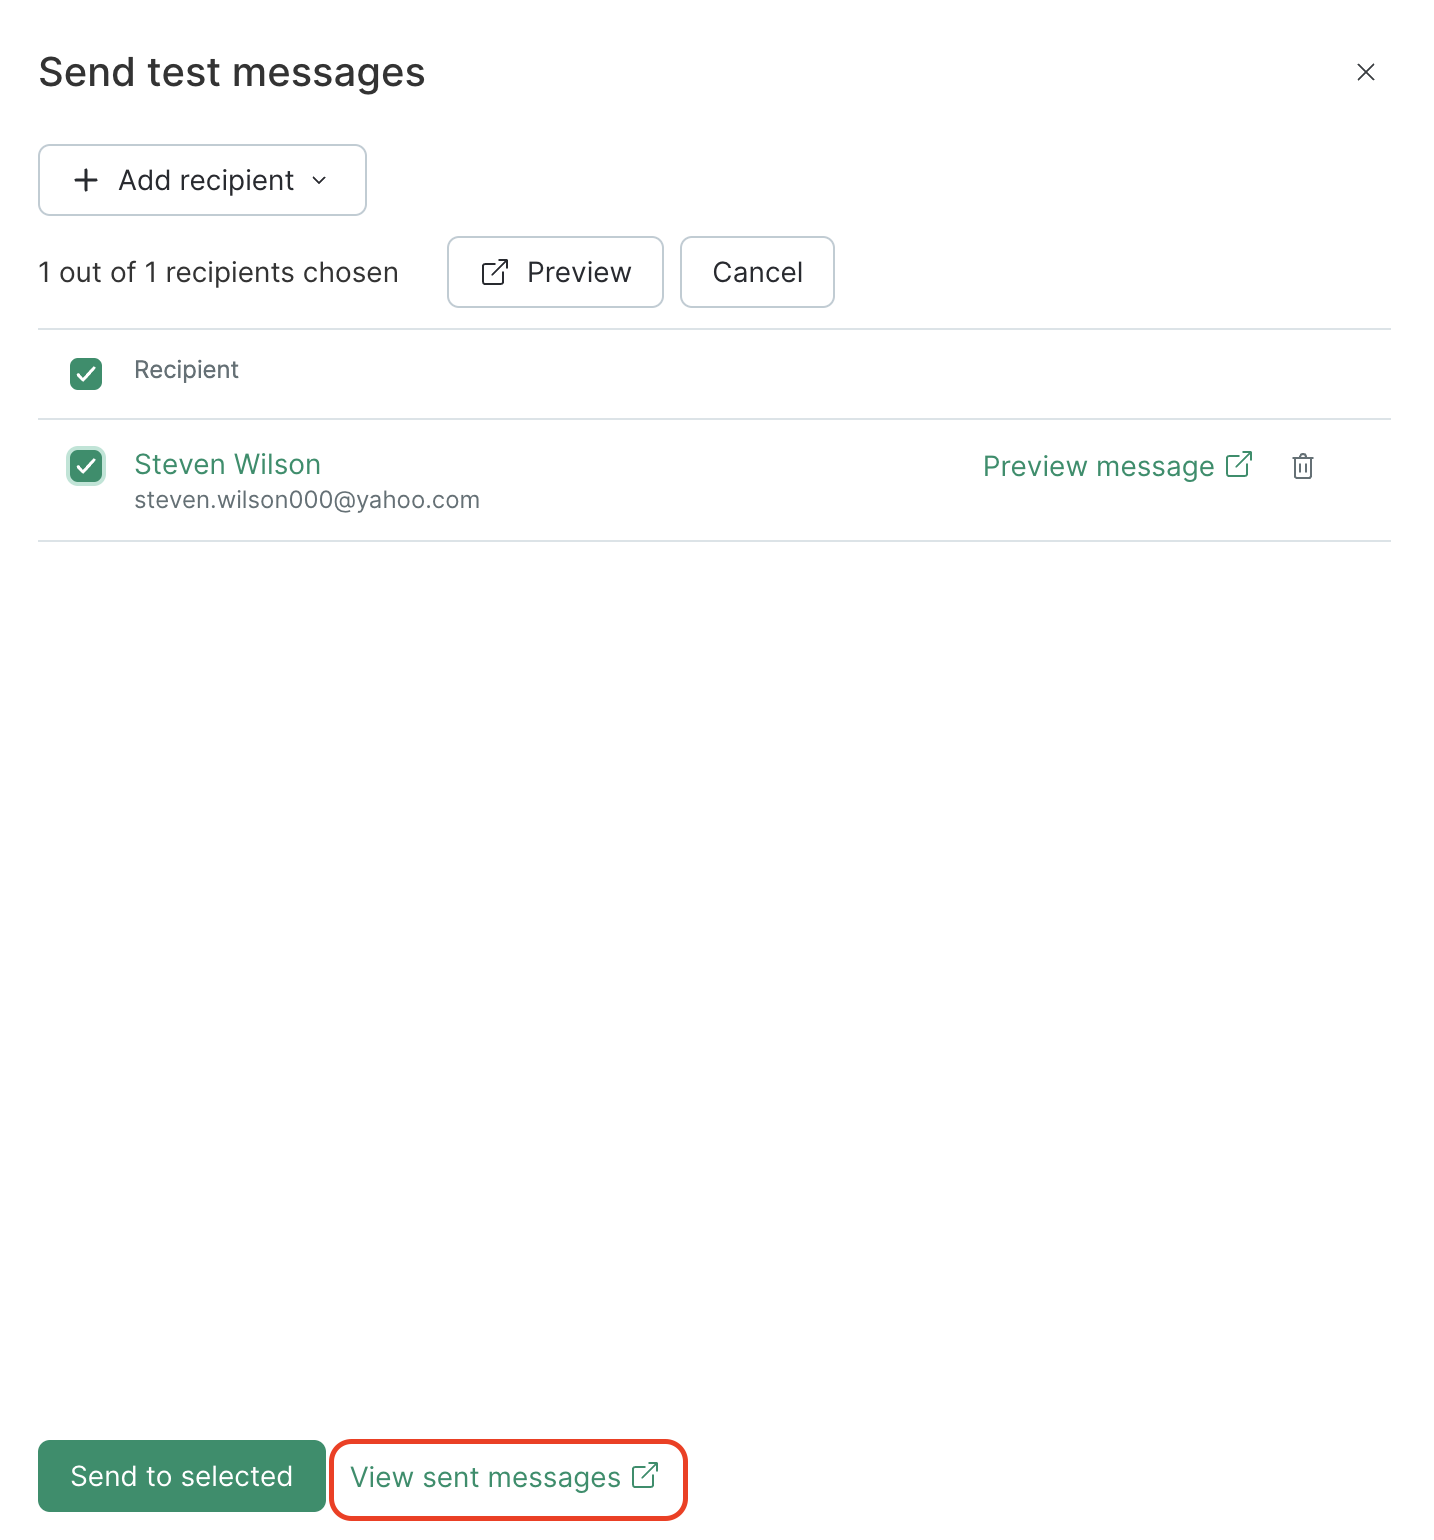
Go to the list to view the message and its status:

The customer needs to be in the database and may have any subscription status. This is available for the email channel only and you can forward up to 5 messages at a time.
Select a message in the list to forward it:

Forwarded messages will also be added to the test campaign list.
Preview a test message
Use preview mode to test your campaign without sending it to a customer:
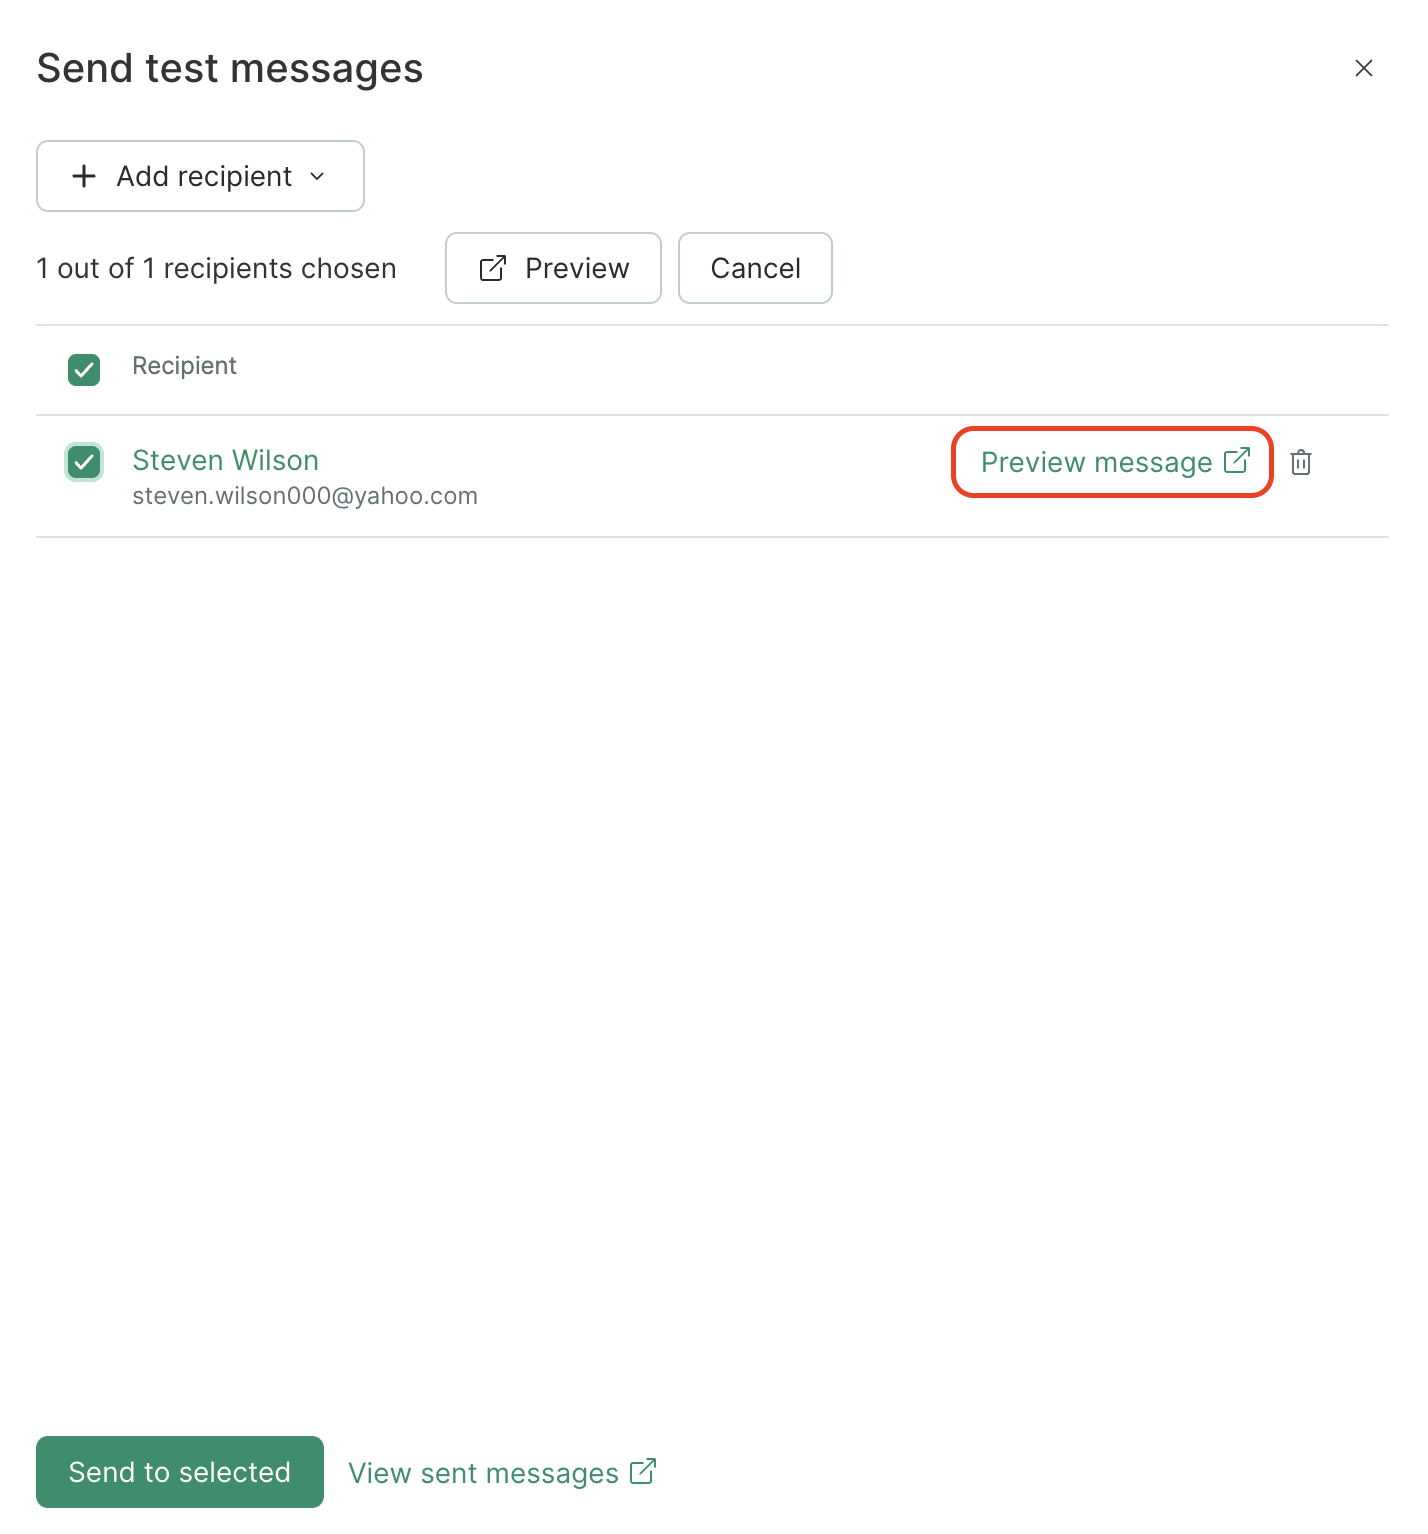
Please note that SMS, Mobile Push, and Web Push campaigns have limitations in the way some blank fields are processed in the preview.
With no data to display, the preview screen will show the parameter name:
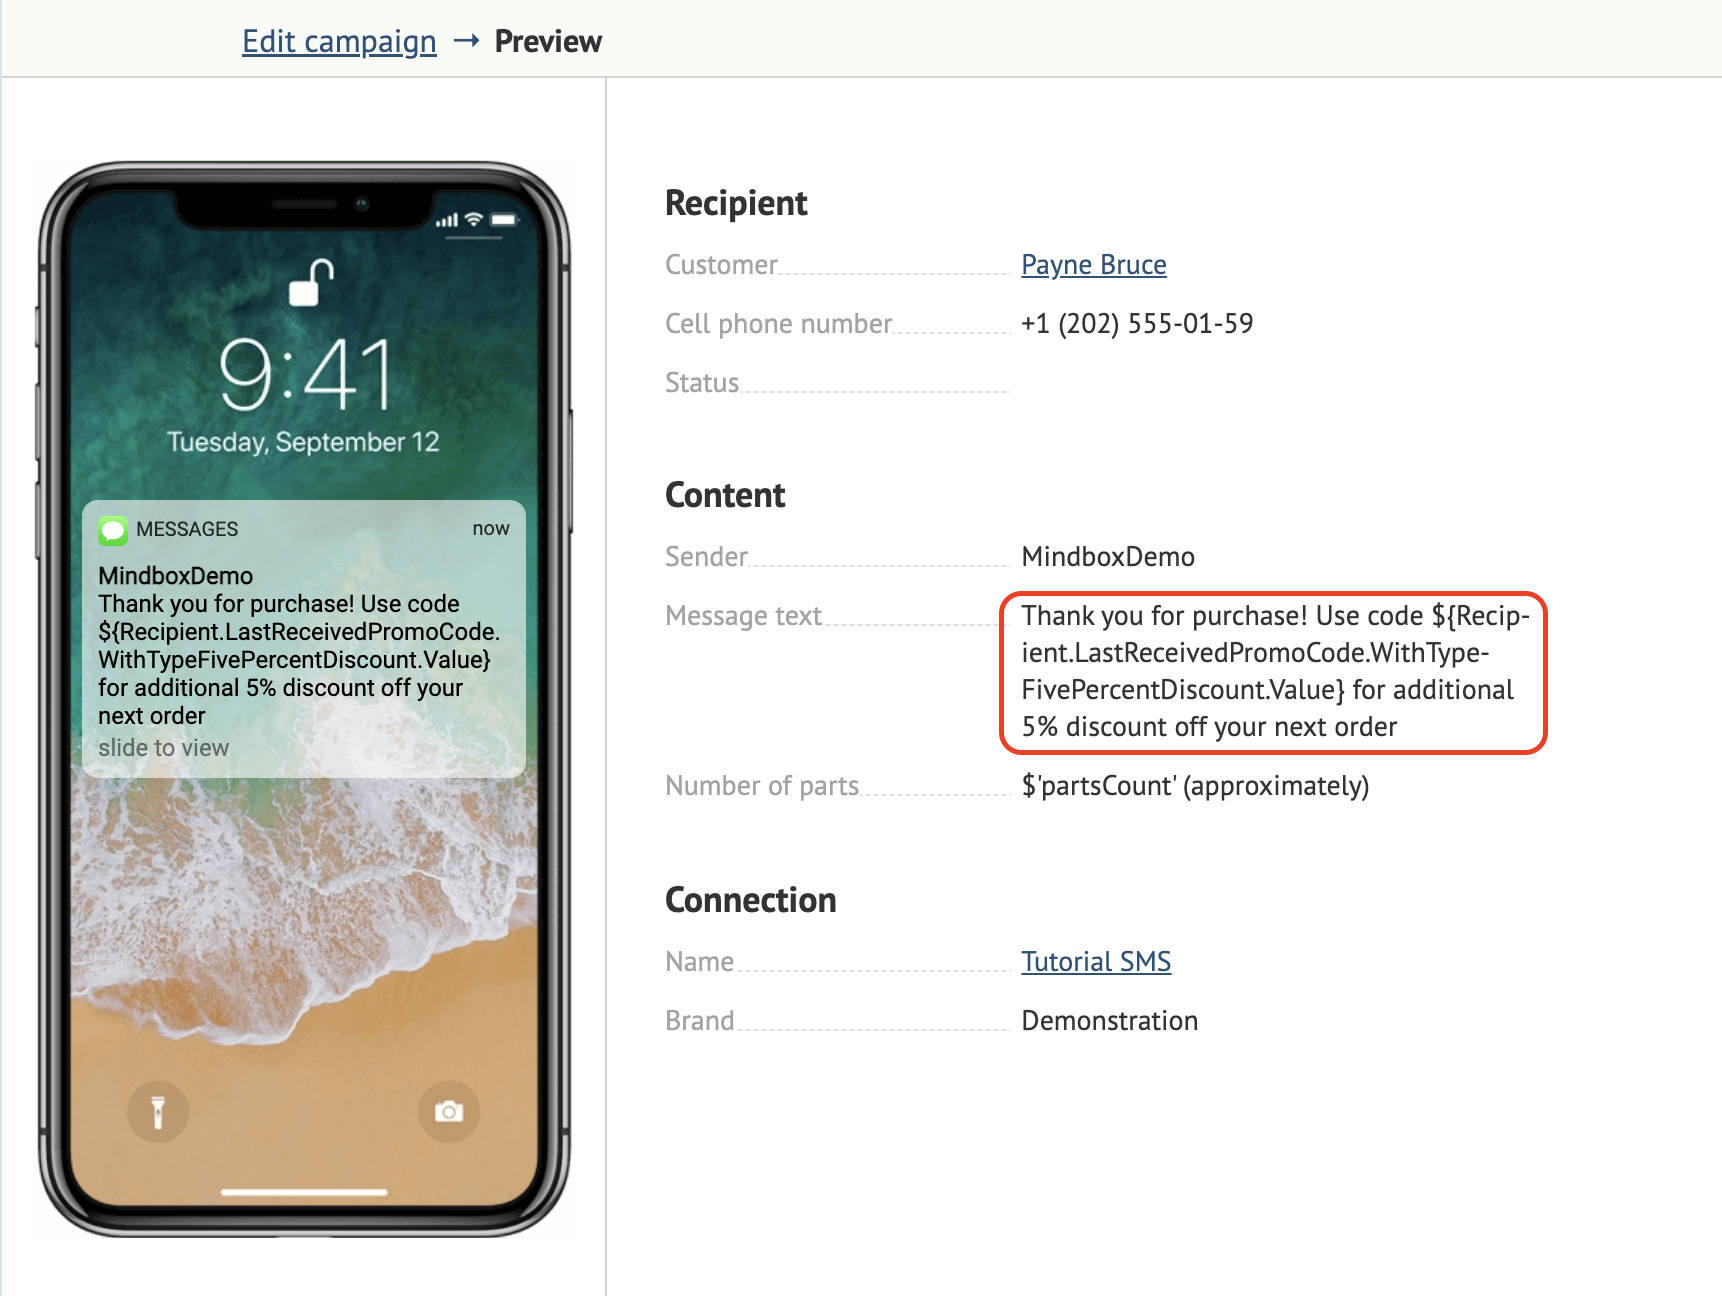
This type of message will not be sent via test mode or as part of a real campaign to a customer.
Filter customers for testing
To test specific parameters, either fill in your customer profile with relevant details or filter customers and preview your campaign.
For example, your can filter customers by an additional field that has been filled in:

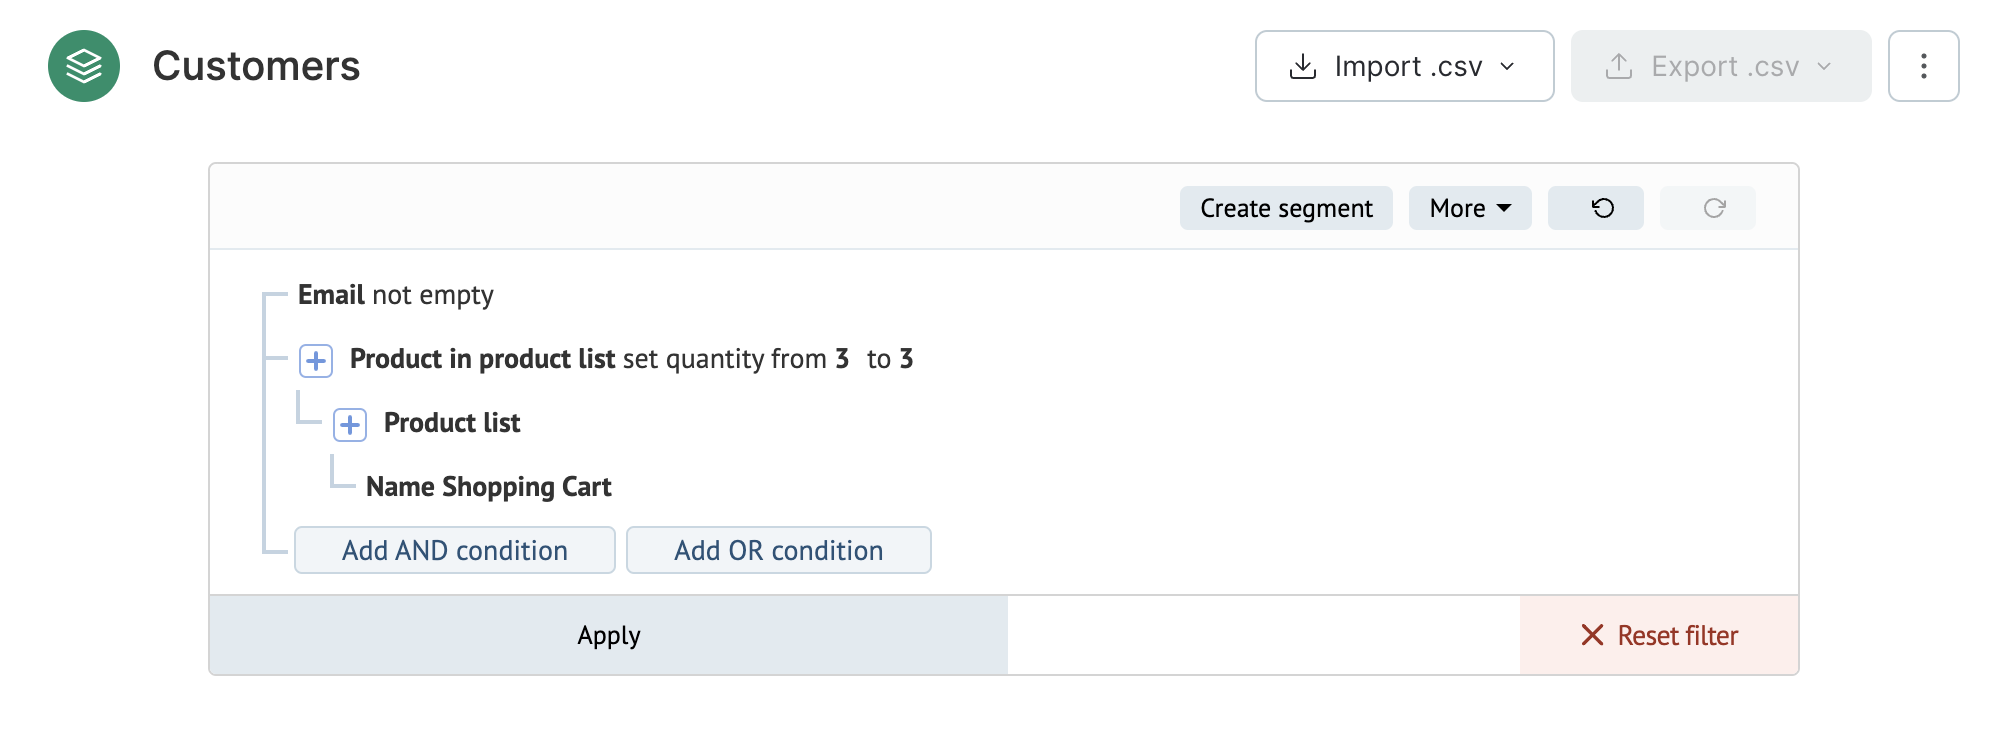
Or you can filter customers by the products in their cart: specify the quantity of products to test your message with various product grid layouts:
Test mode for automated campaigns
In this mode, campaigns are generated for but not sent to customers from a workflow / API method.
When you are happy with the campaigns in the test mode, you can send them.
The test mode is available for all automated campaigns.
Here’s an outline of the main steps (for more information, please refer to our guide on working with the test mode in automated campaigns):
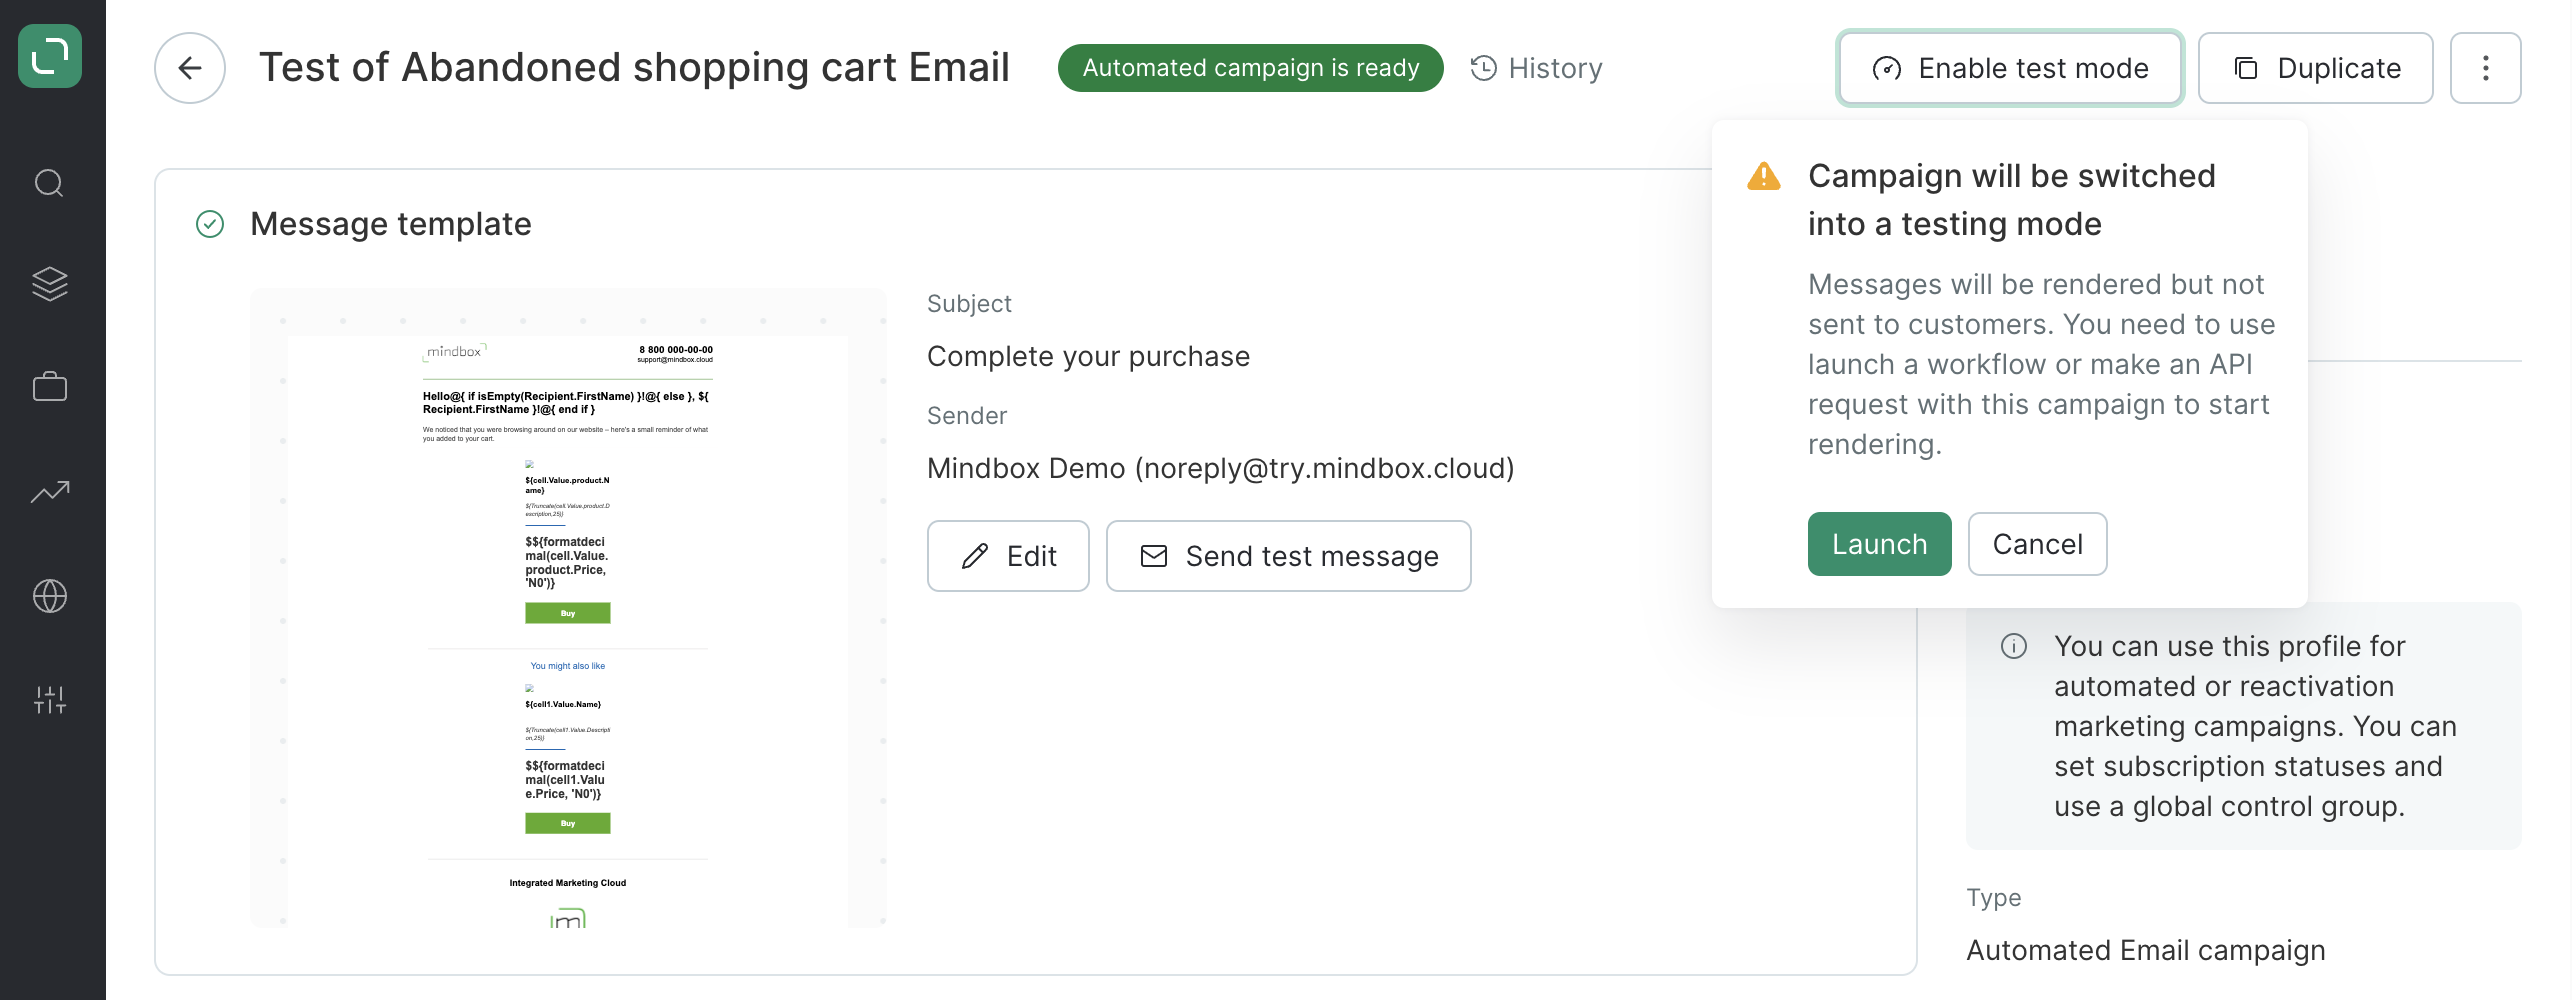
- Switch your campaign to test mode:
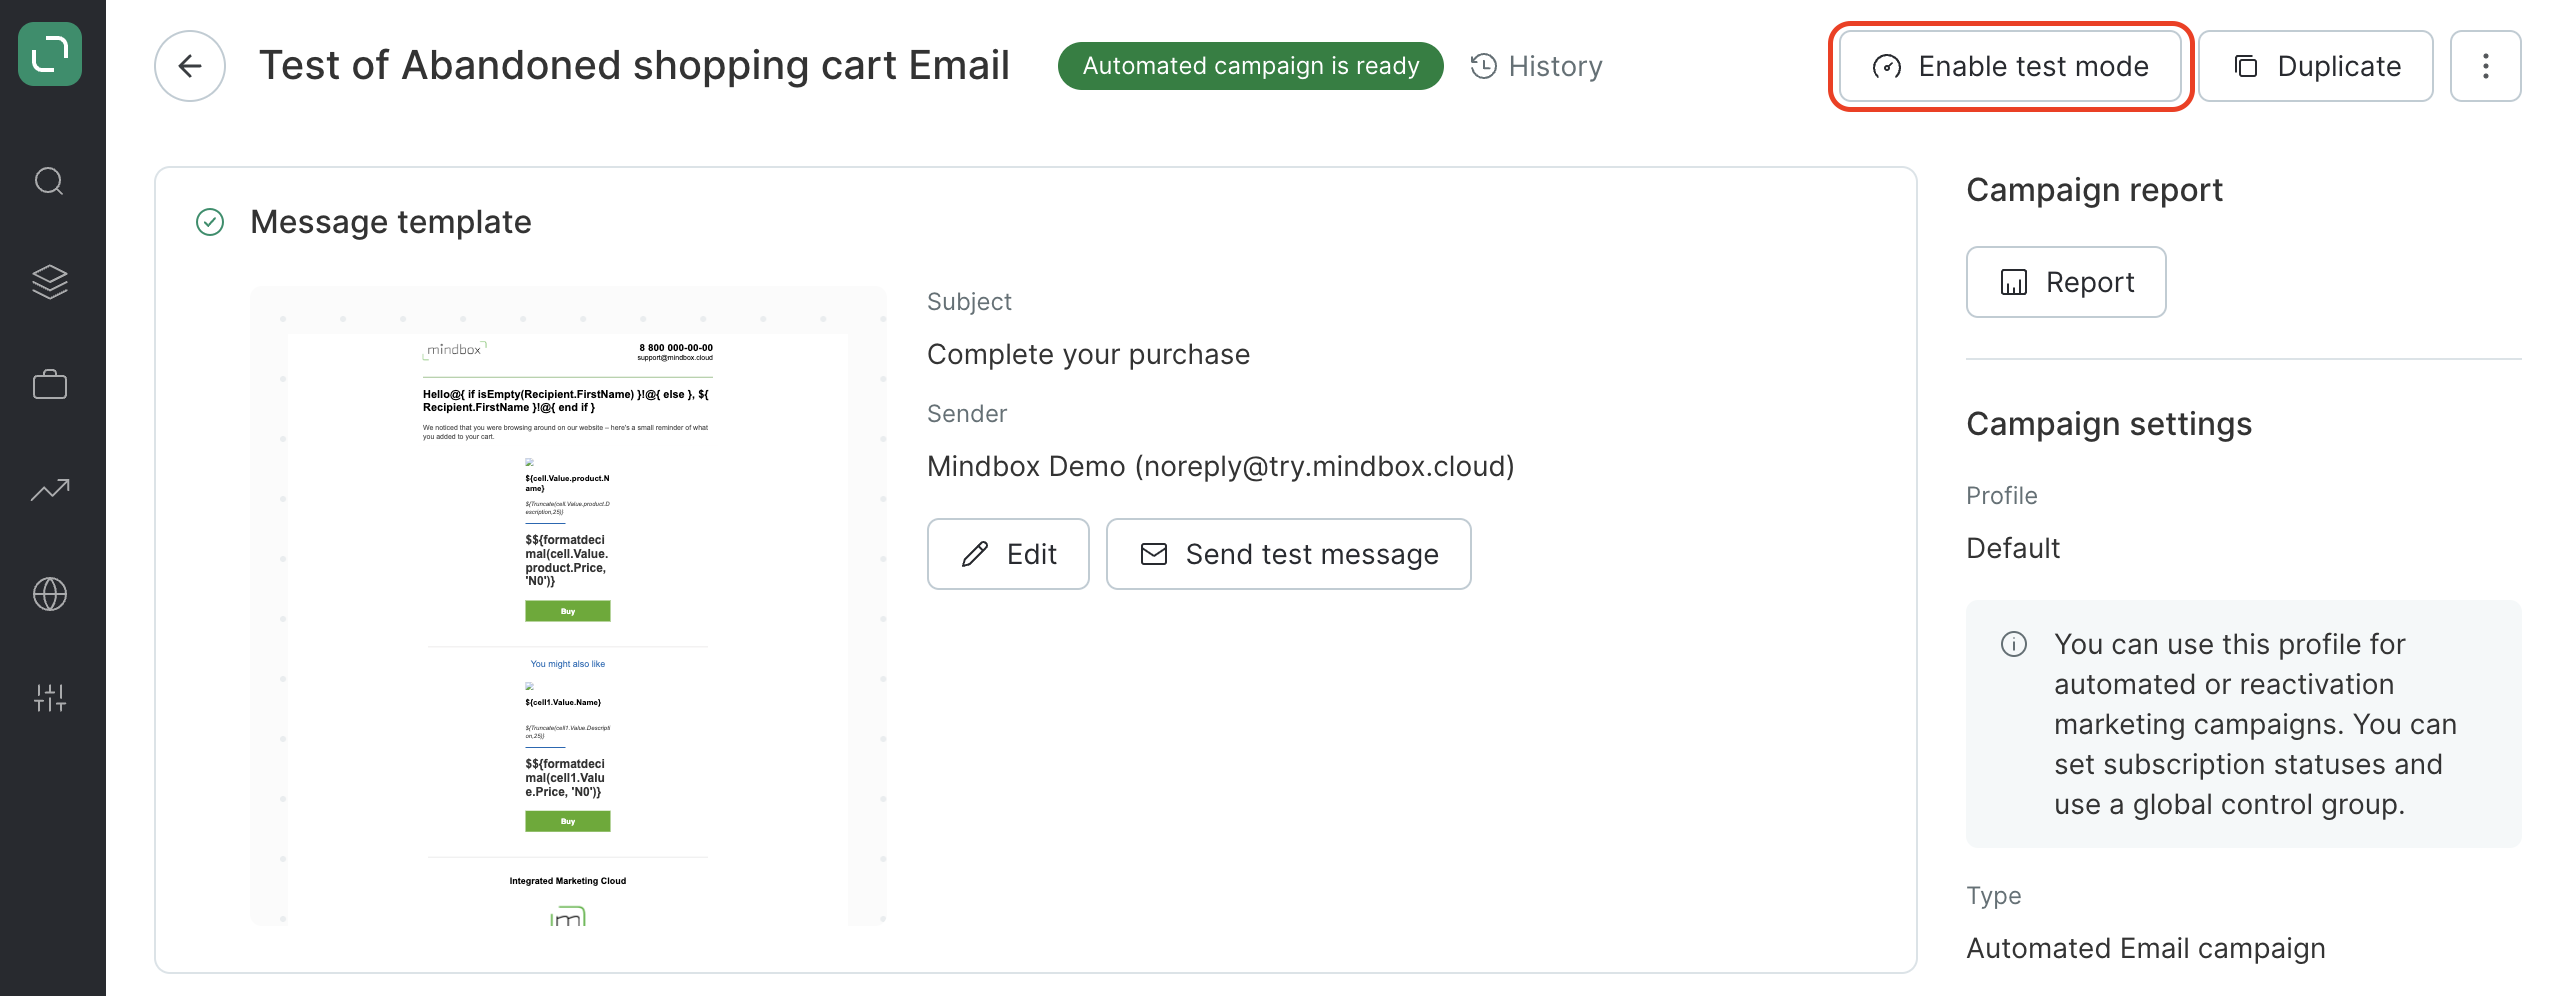
You’ll see a message:
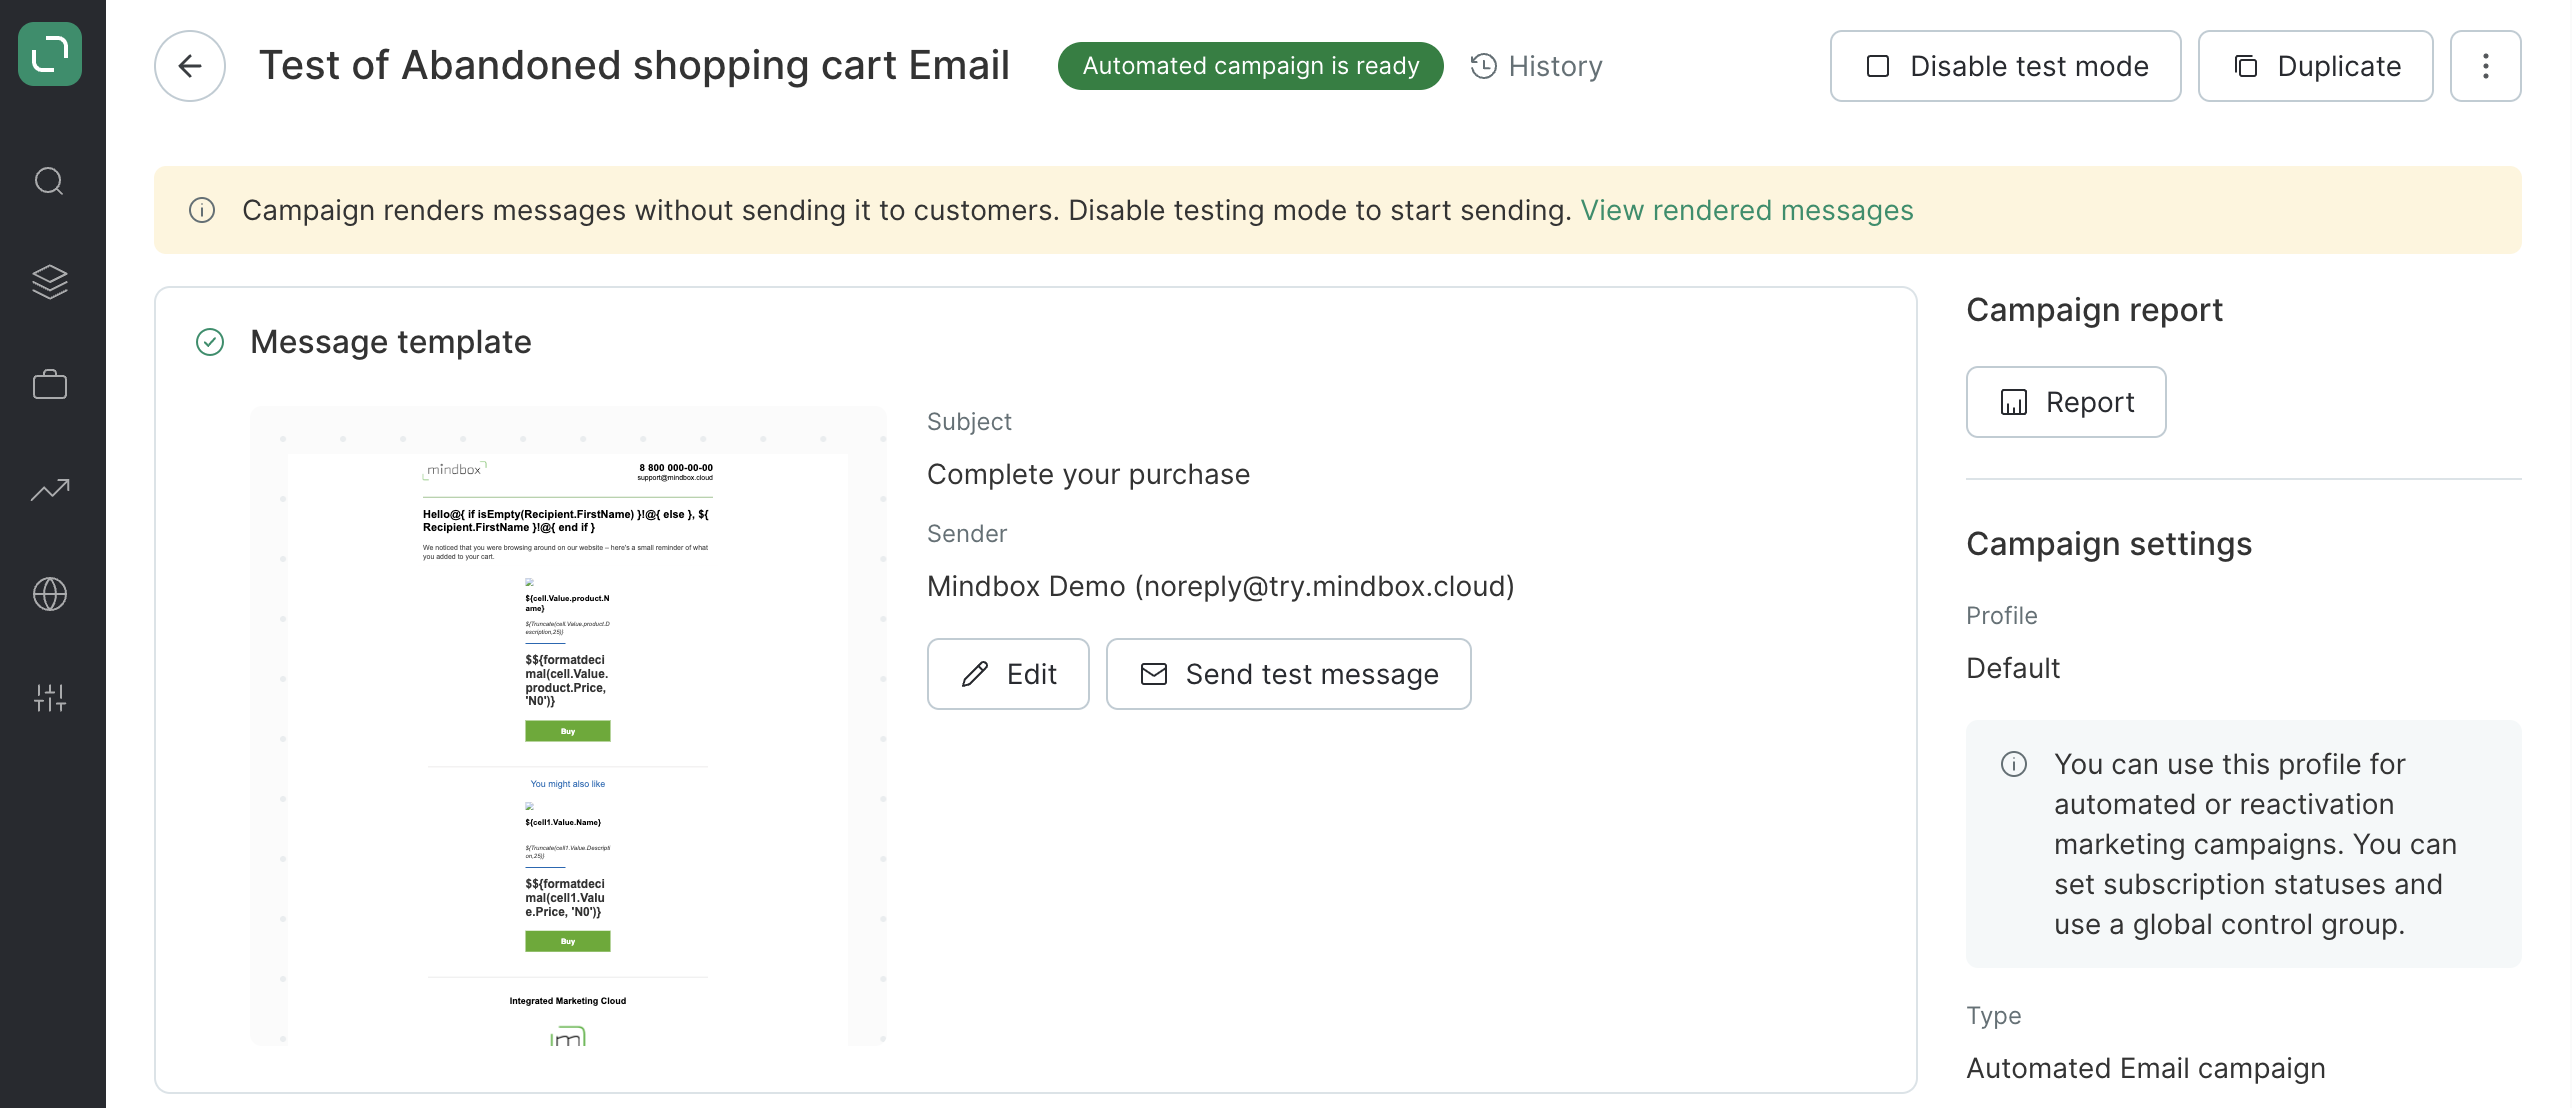
Then you’ll see a Test mode indicator:
- Add the campaign to your workflow:
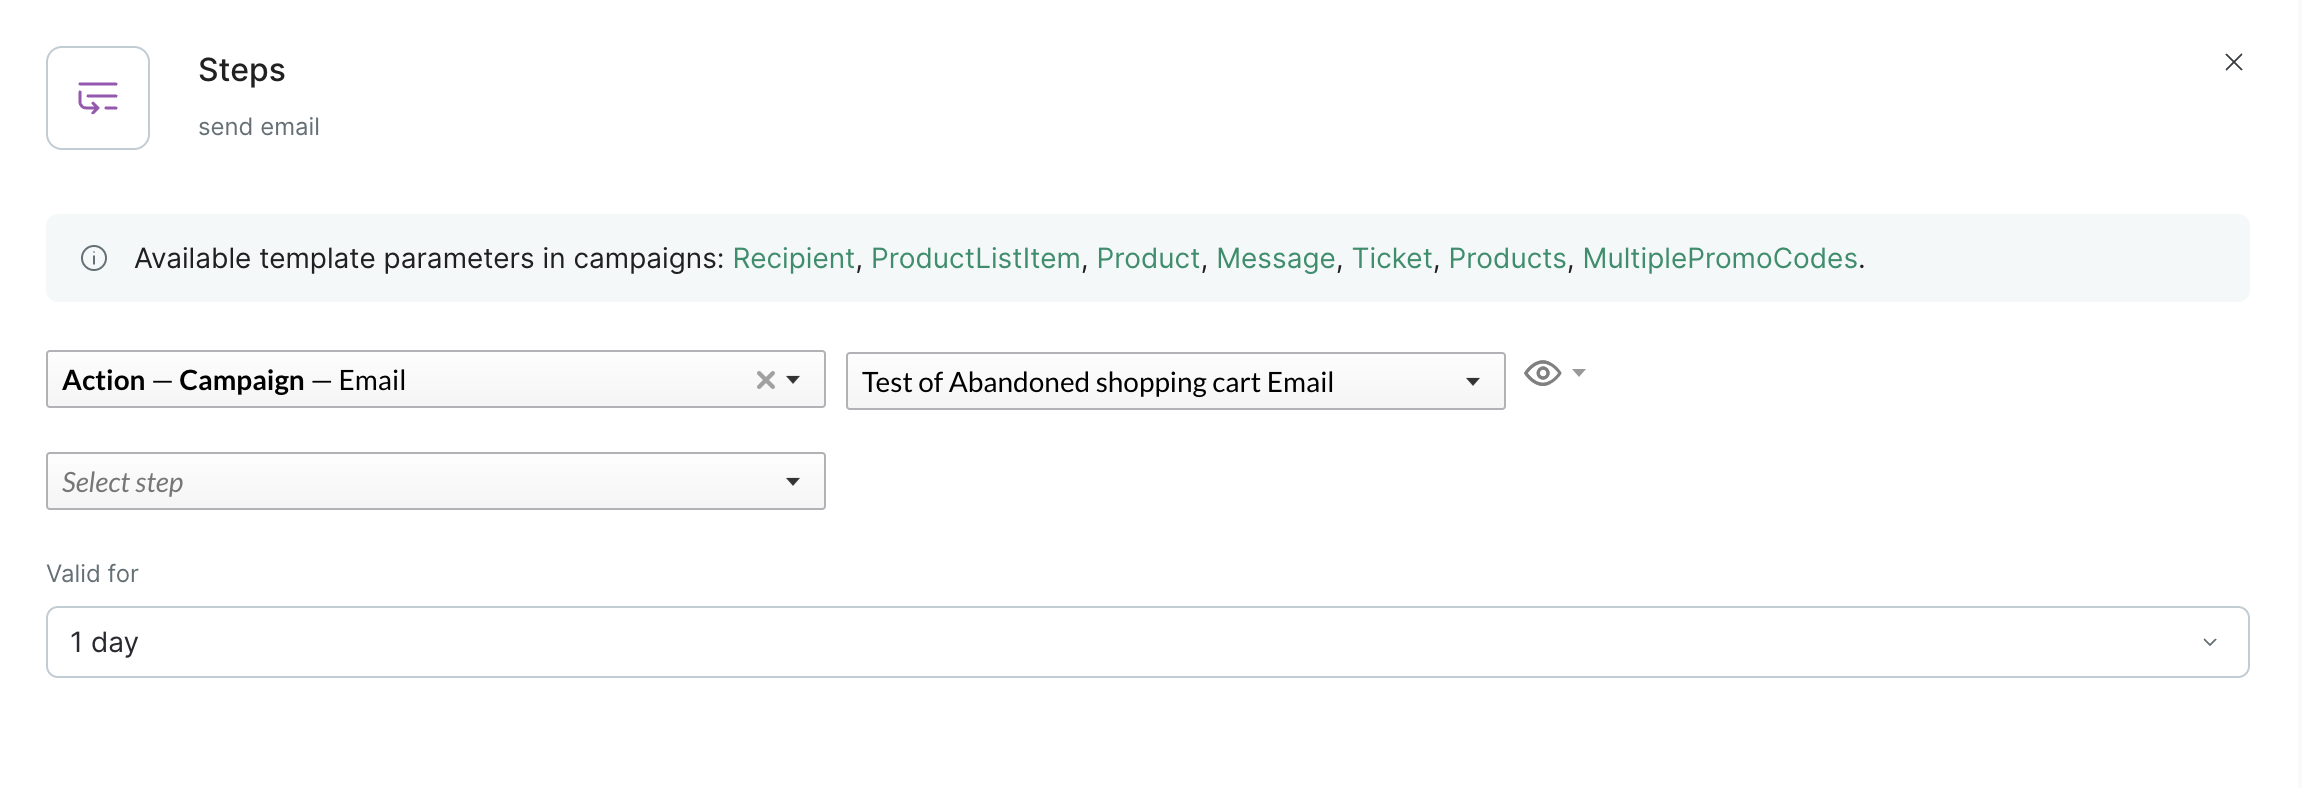
The workflow will generate campaigns which are not sent to customers while the test mode is active.
If you need to replace your current campaign with a new one without stopping it, leave the current campaign in the workflow and add your new campaign as a second step:
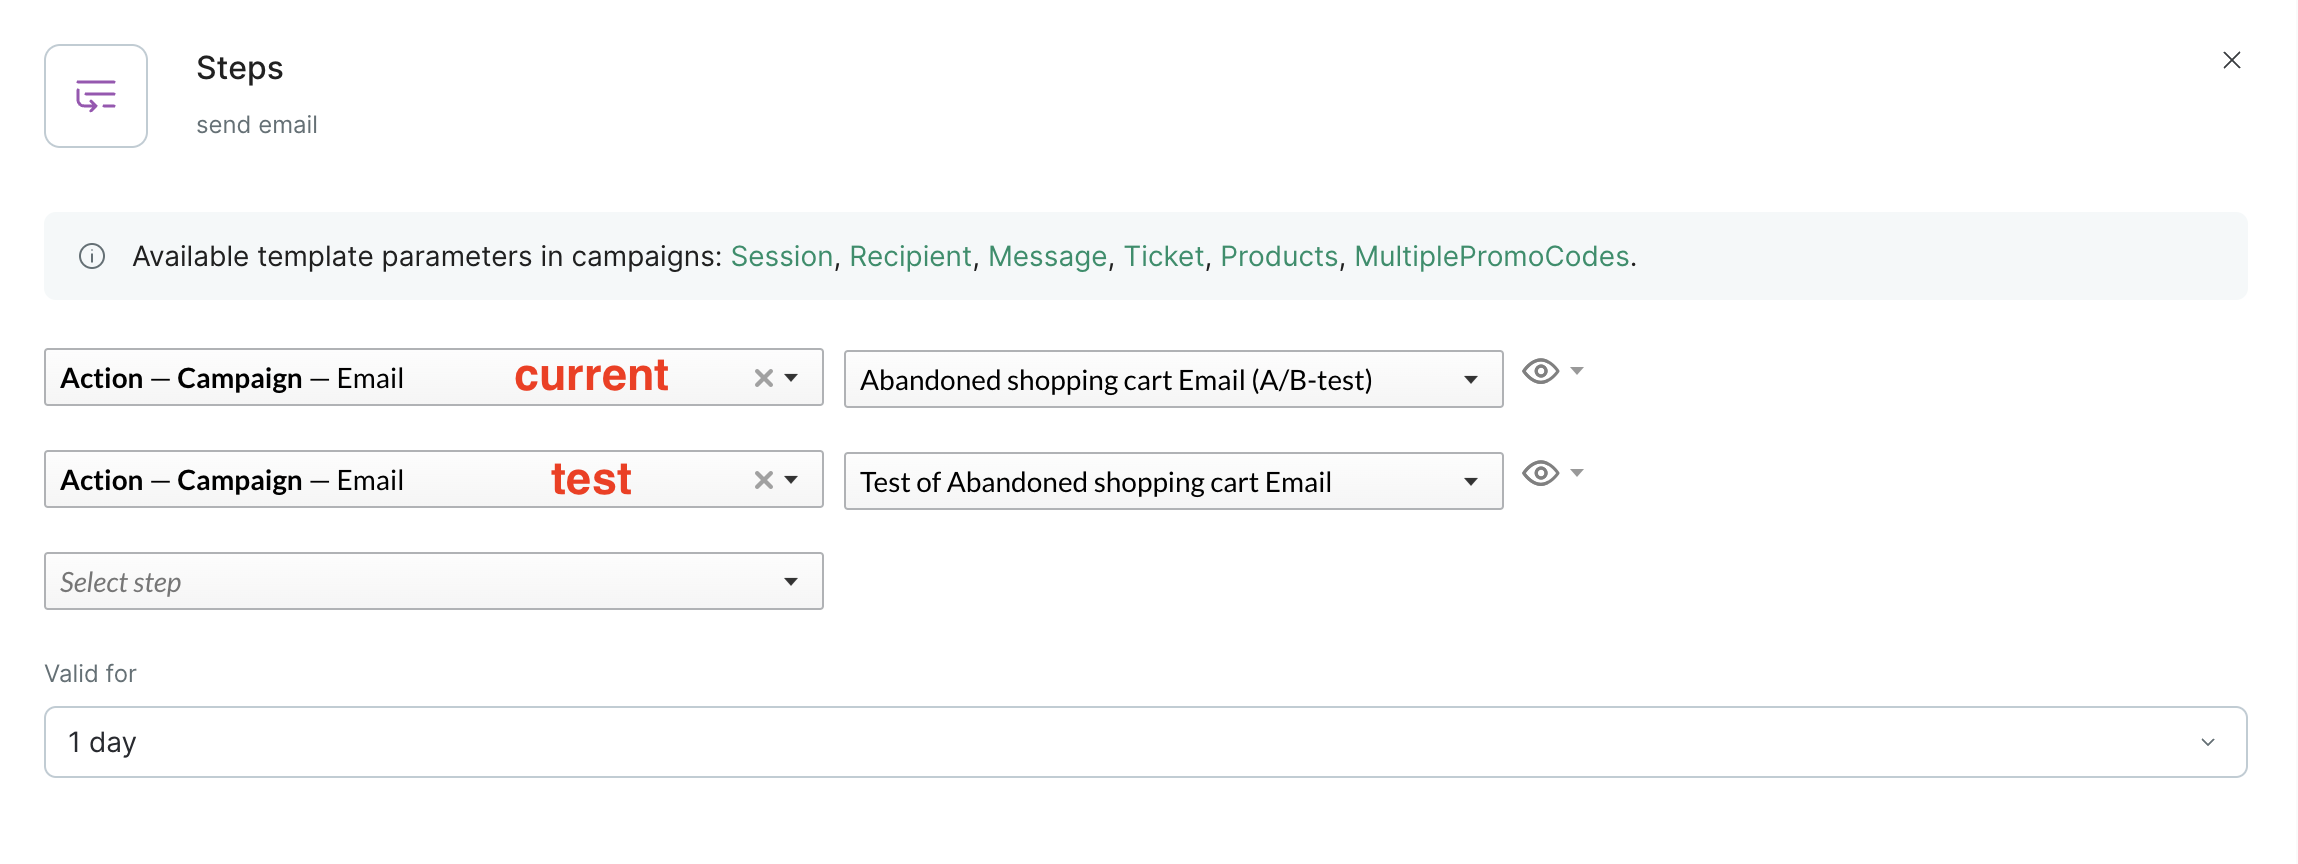
Customers still receive campaigns generated with the current template, with new test campaigns generated for them simultaneously.
Click the link to see the generated campaigns:
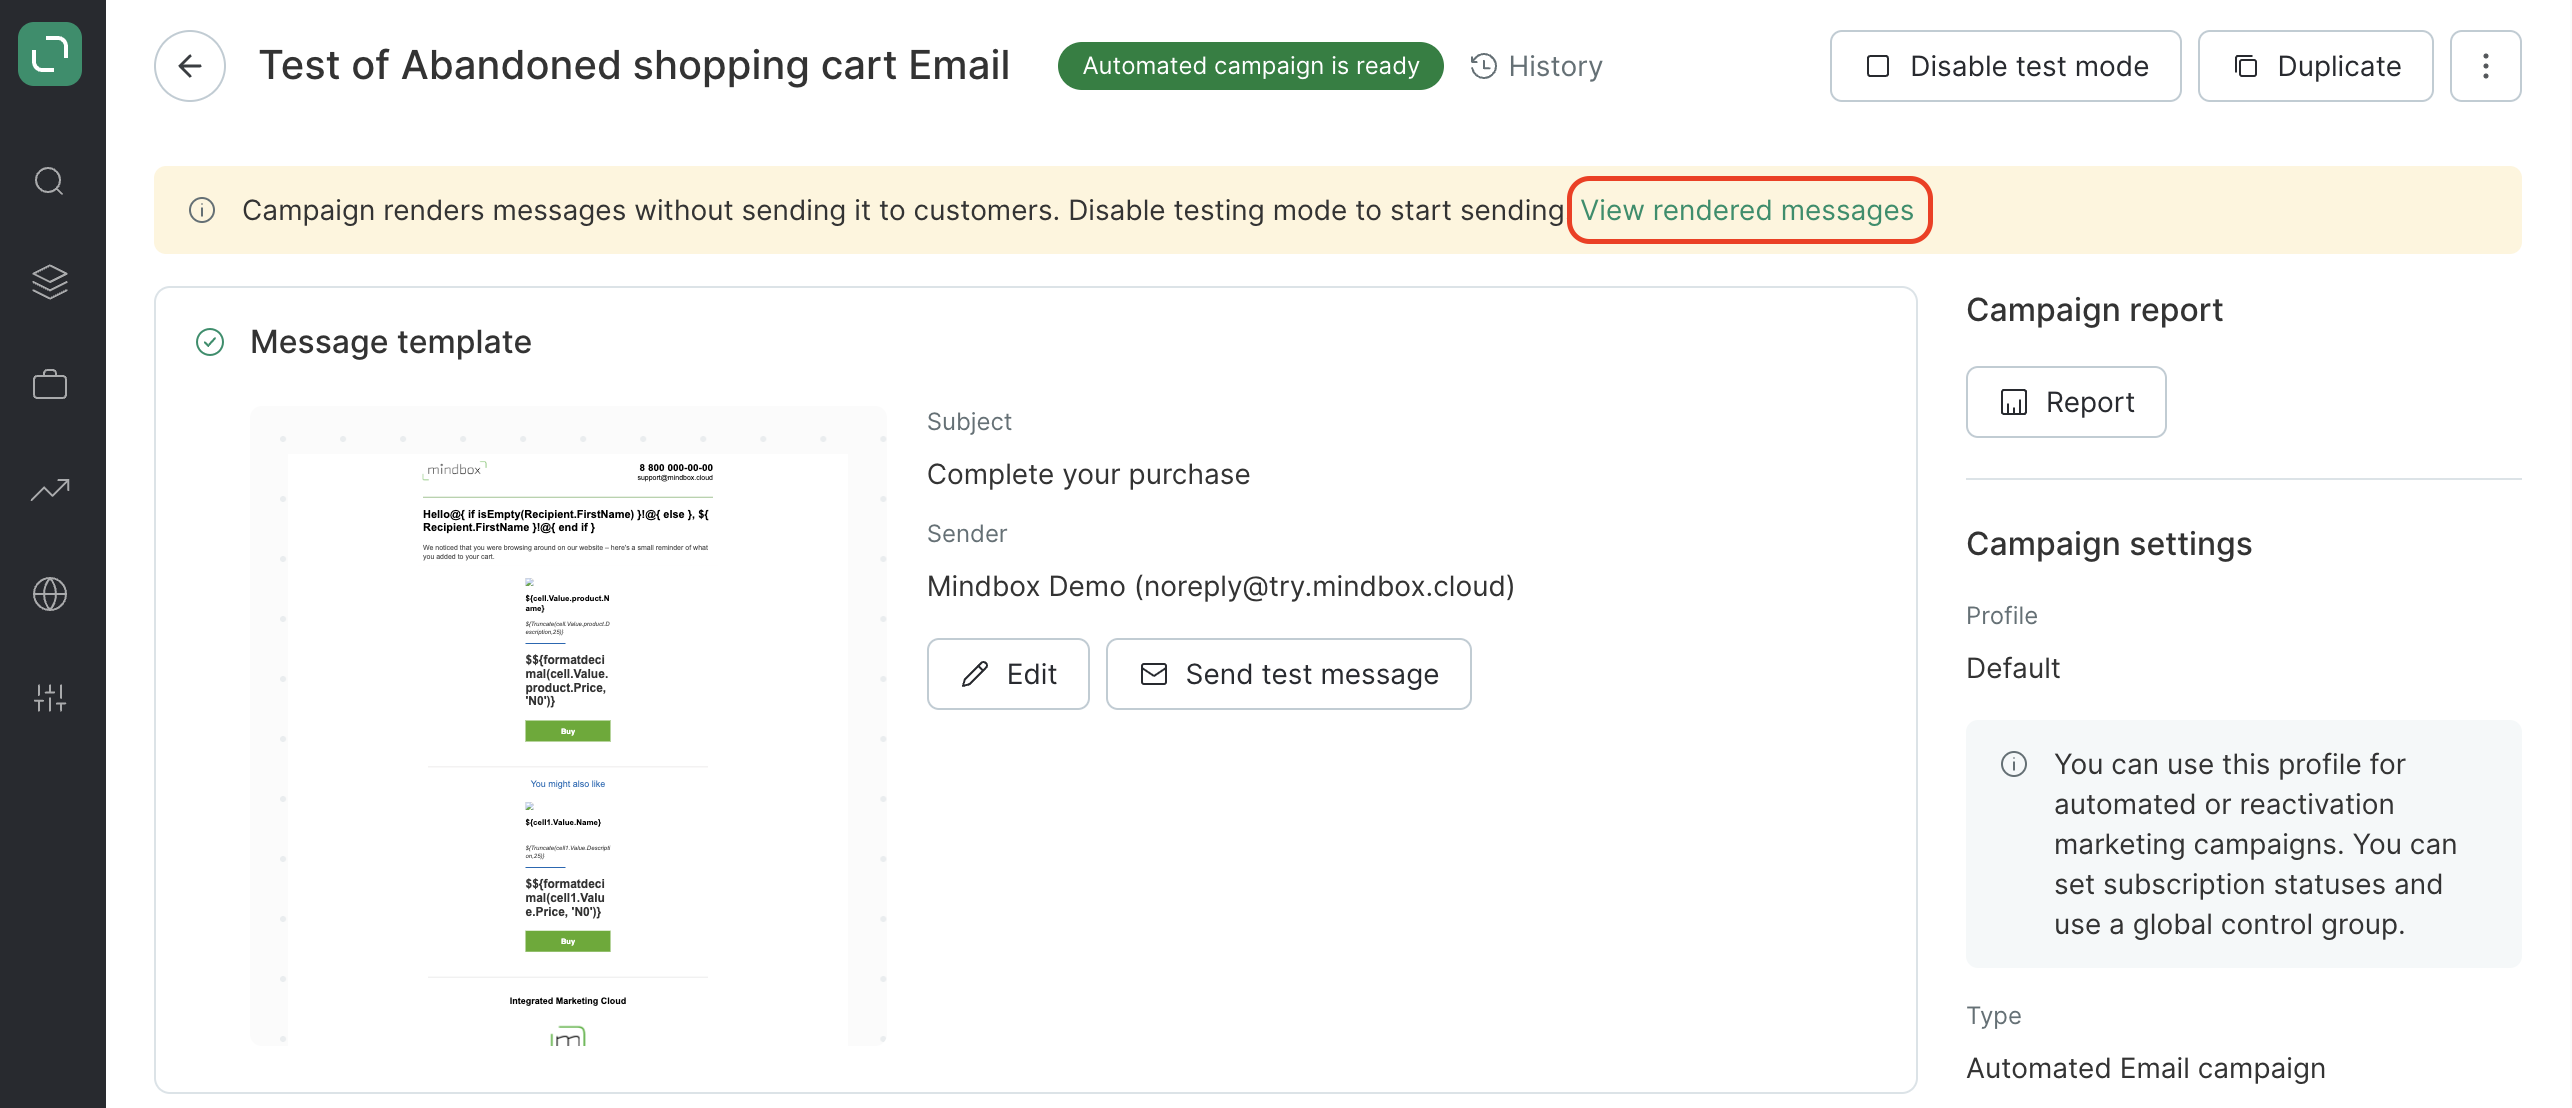
The list does not show the total number of messages and they cannot be filtered.
If you need stats on this, add the "Issue an action" step with a relevant template into the workflow.
Once this step has been added, the listed customers are marked with actions near the test messages. You can use this to filter your customers.
The customer needs to be in the database and may have any subscription status. This is available for the email channel only and you can forward up to 5 messages at a time. You cannot forward messages that have been canceled.
Select a message from the list and click Forward:

Forwarded messages will appear on the test campaign list.
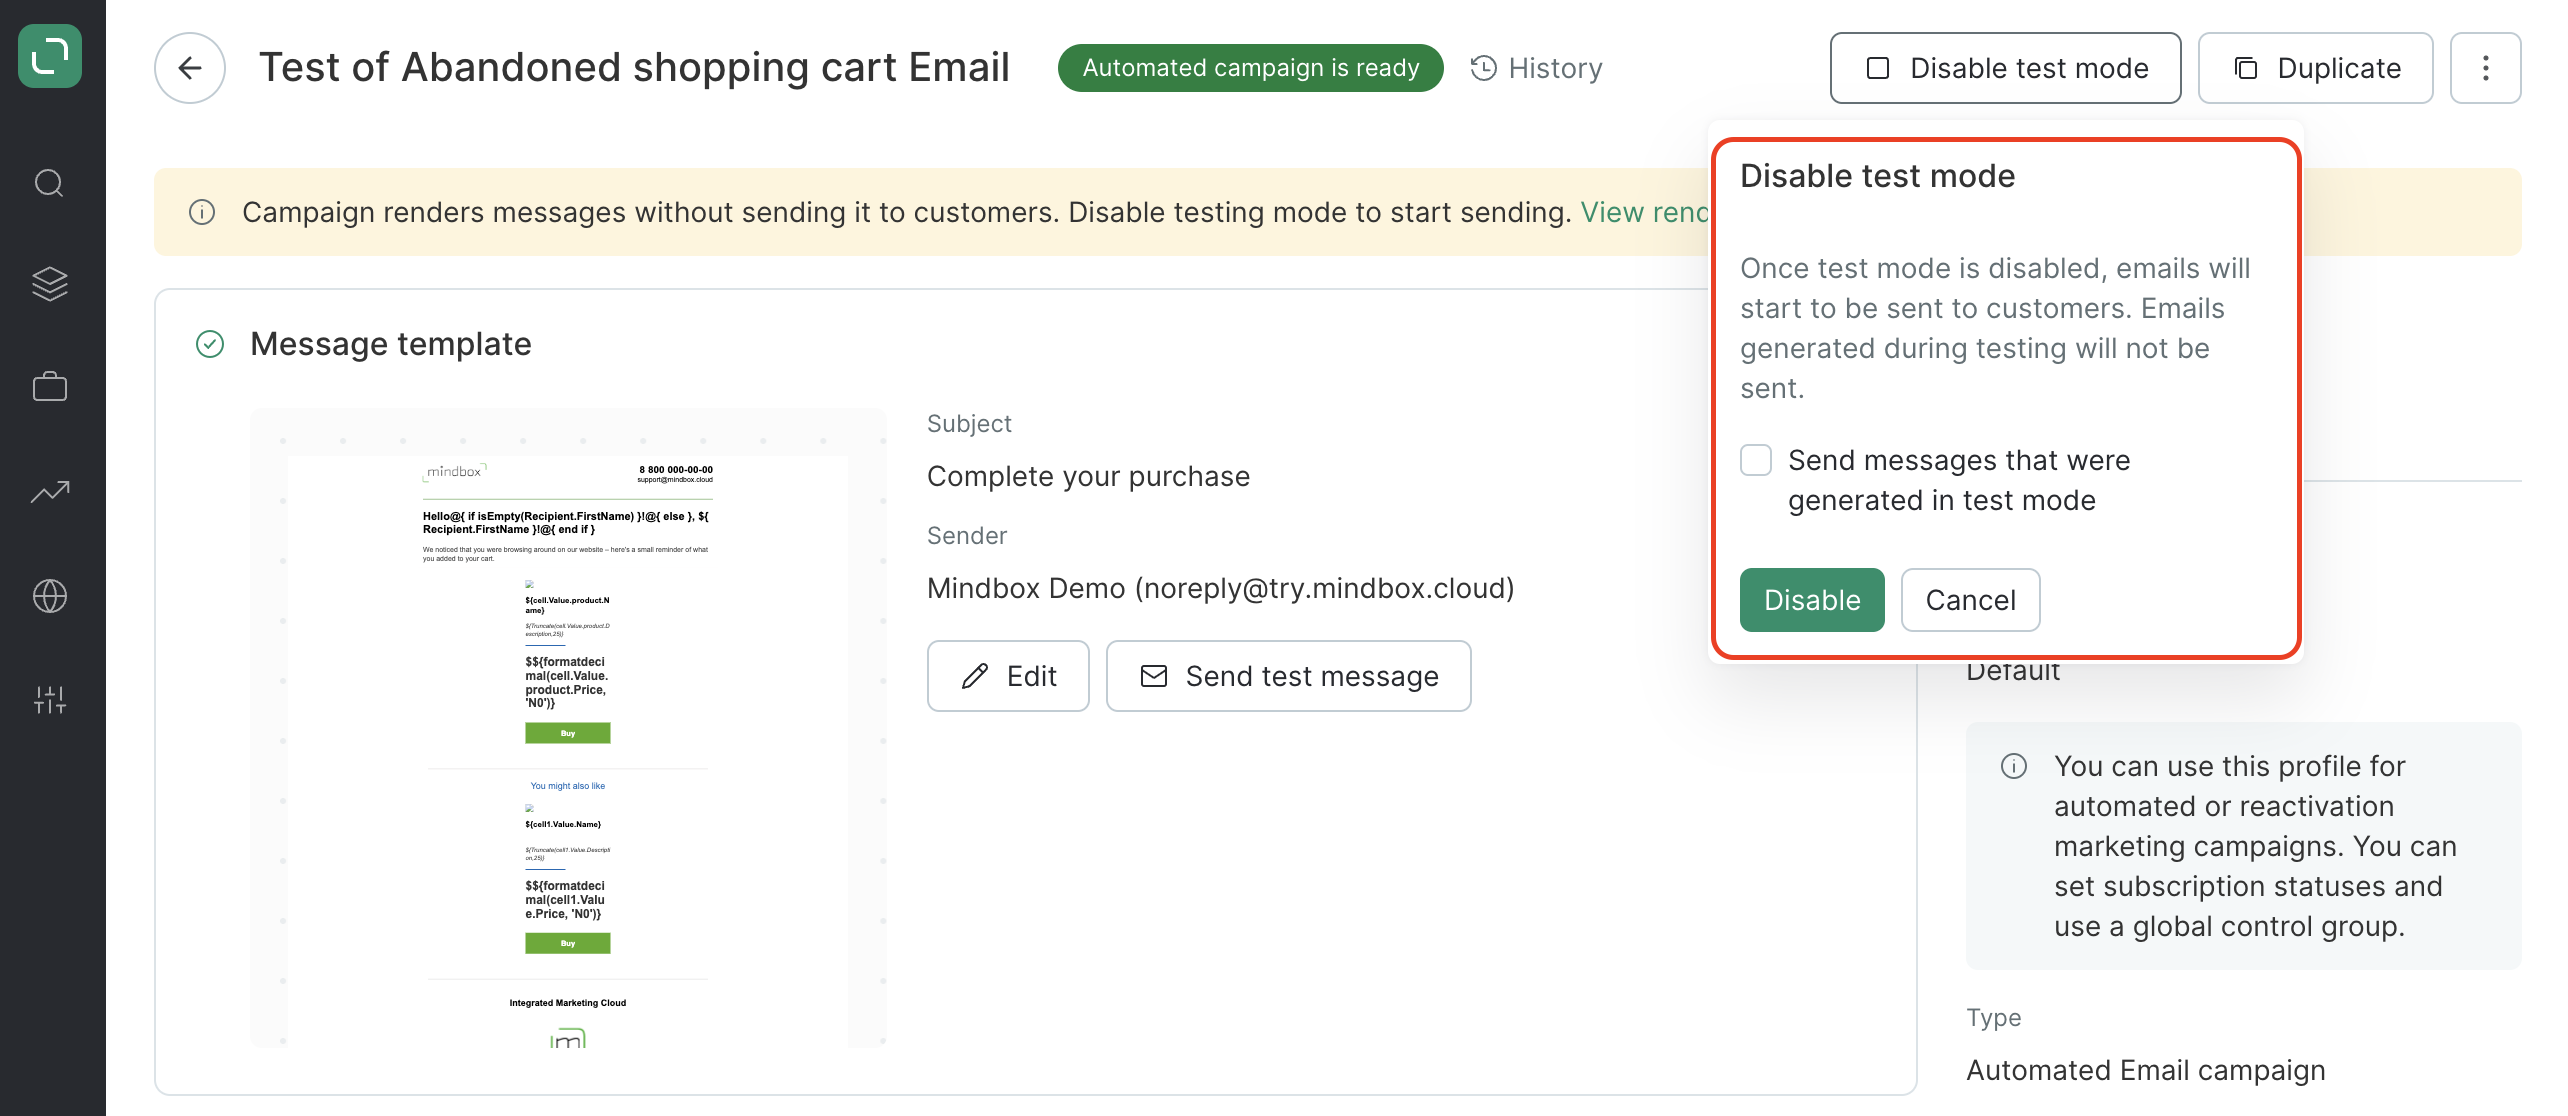
You can send messages generated in test mode to your customers
Simply tick the checkbox in the window that pops up when ending test mode:
Sending the campaign to yourself via the workflow
Send a real campaign to yourself by meeting all the necessary conditions.
This option is available in all automated campaigns.
To ensure the message can be sent:
- You should be subscribed to the channel (and the topic, if selected) of your campaign.
- Depending on the channel you use, you should also have the following:
- Email: a valid email address.
- SMS and Viber: a valid cell phone number.
- Mobile Push: enabled mobile push permissions for the selected app.
- Web Push: permission to display push notifications on the selected website.
If you use a global control group on your project, you should not belong to the group (otherwise, go to the campaign profile and click "ignore global control group settings").
You can run this test in the following two ways:
— Assign an action to your customer profile (such as products added to cart) or carry out the necessary action so that you match the workflow’s conditions.
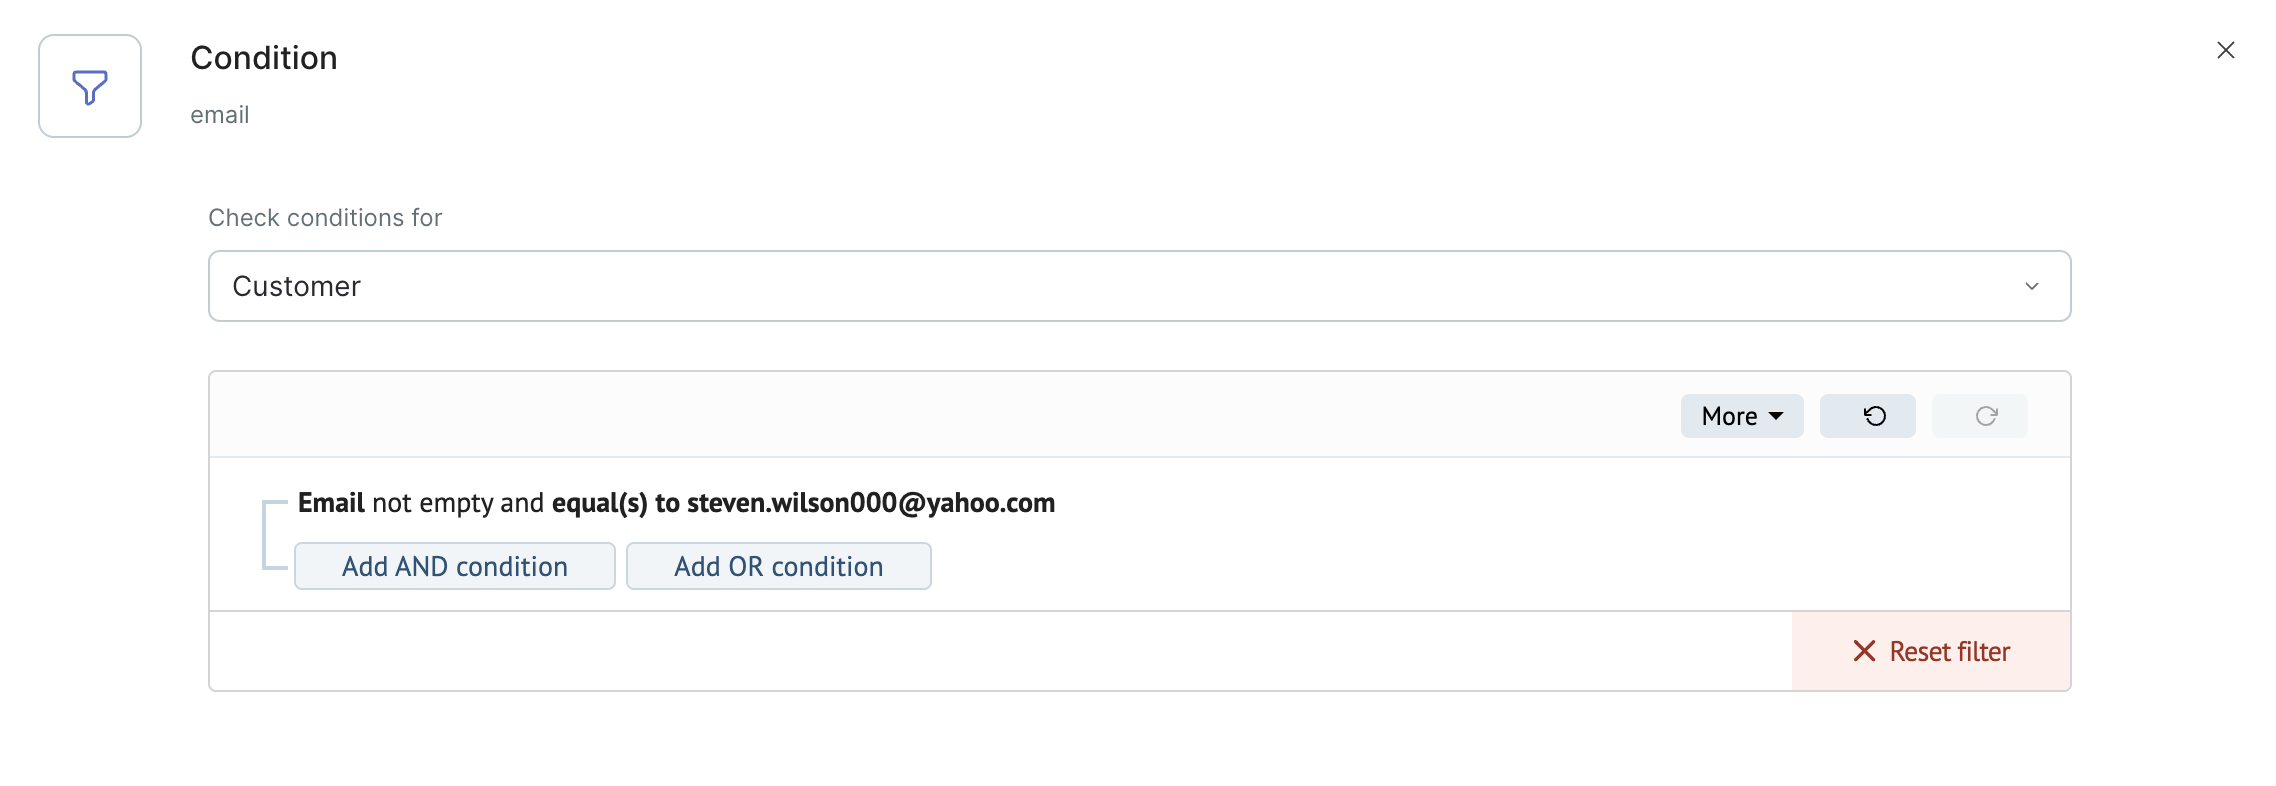
— Create a new workflow that runs only for your customer profile and launch it. Simply specify your email address in the conditions:
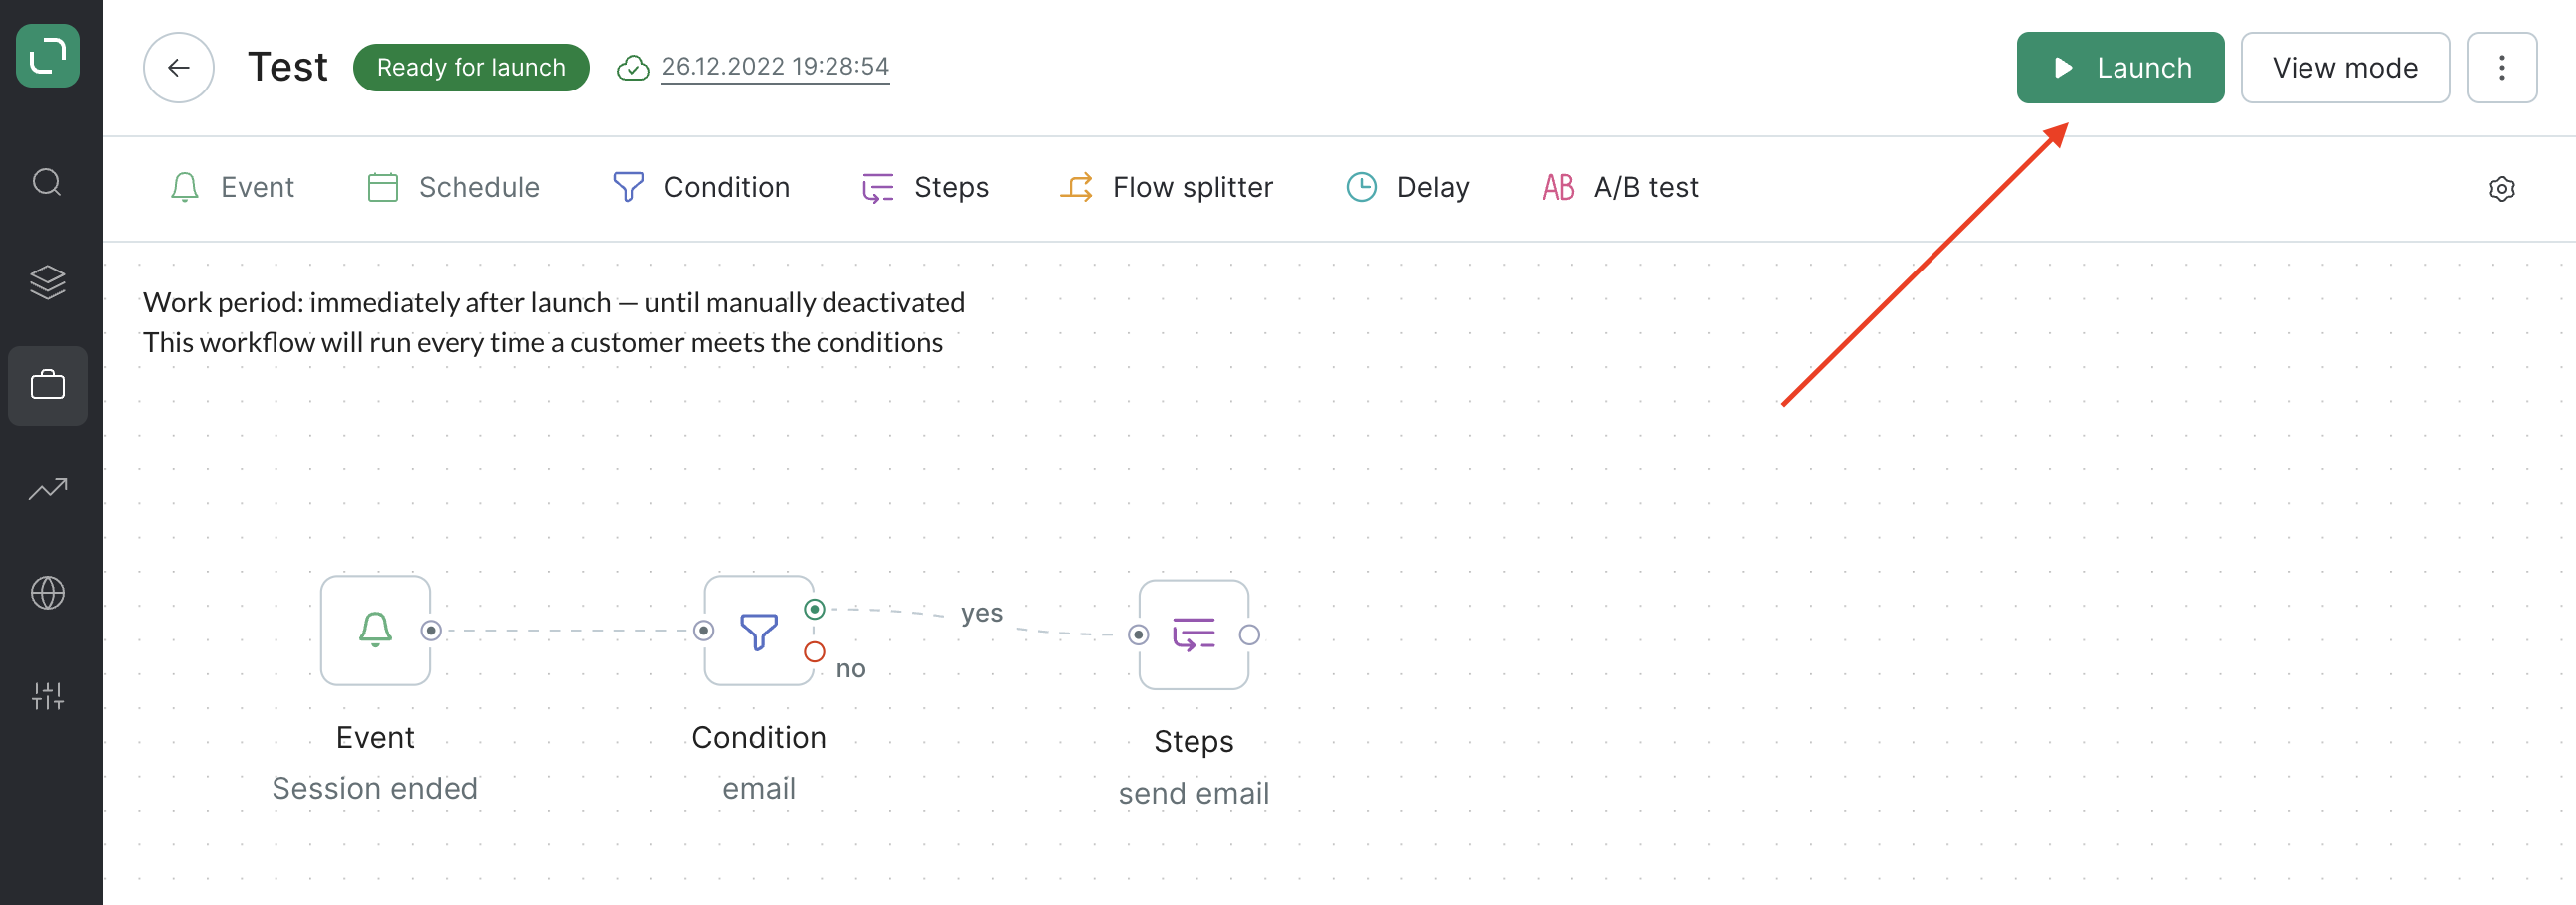
And click Launch:
Now you need to match the workflow’s conditions.
If the event is:
— a placed or changed order → import the order, add it as a test request or place a test order;
— a completed session → go to the website, add products to the cart/view product cards, wait for the session to end, etc.
An inactive session ends in 30 minutes, but you can also end it manually.
To do this, enter the following code in the console:
maestra("closeSession")
You can forward messages that have been sent.
The conditions here are the same as listed above — this option is available for the email channel only, you must be in the database and may have any subscription status.
In the customer profile, choose any action template, click the menu button, and select Forward message:

The account of the new recipient now shows the campaign participation action and the message sending action. This data will also be included in the report.
Campaign open and click actions are not recorded in the system.