Step 1. Create an integration
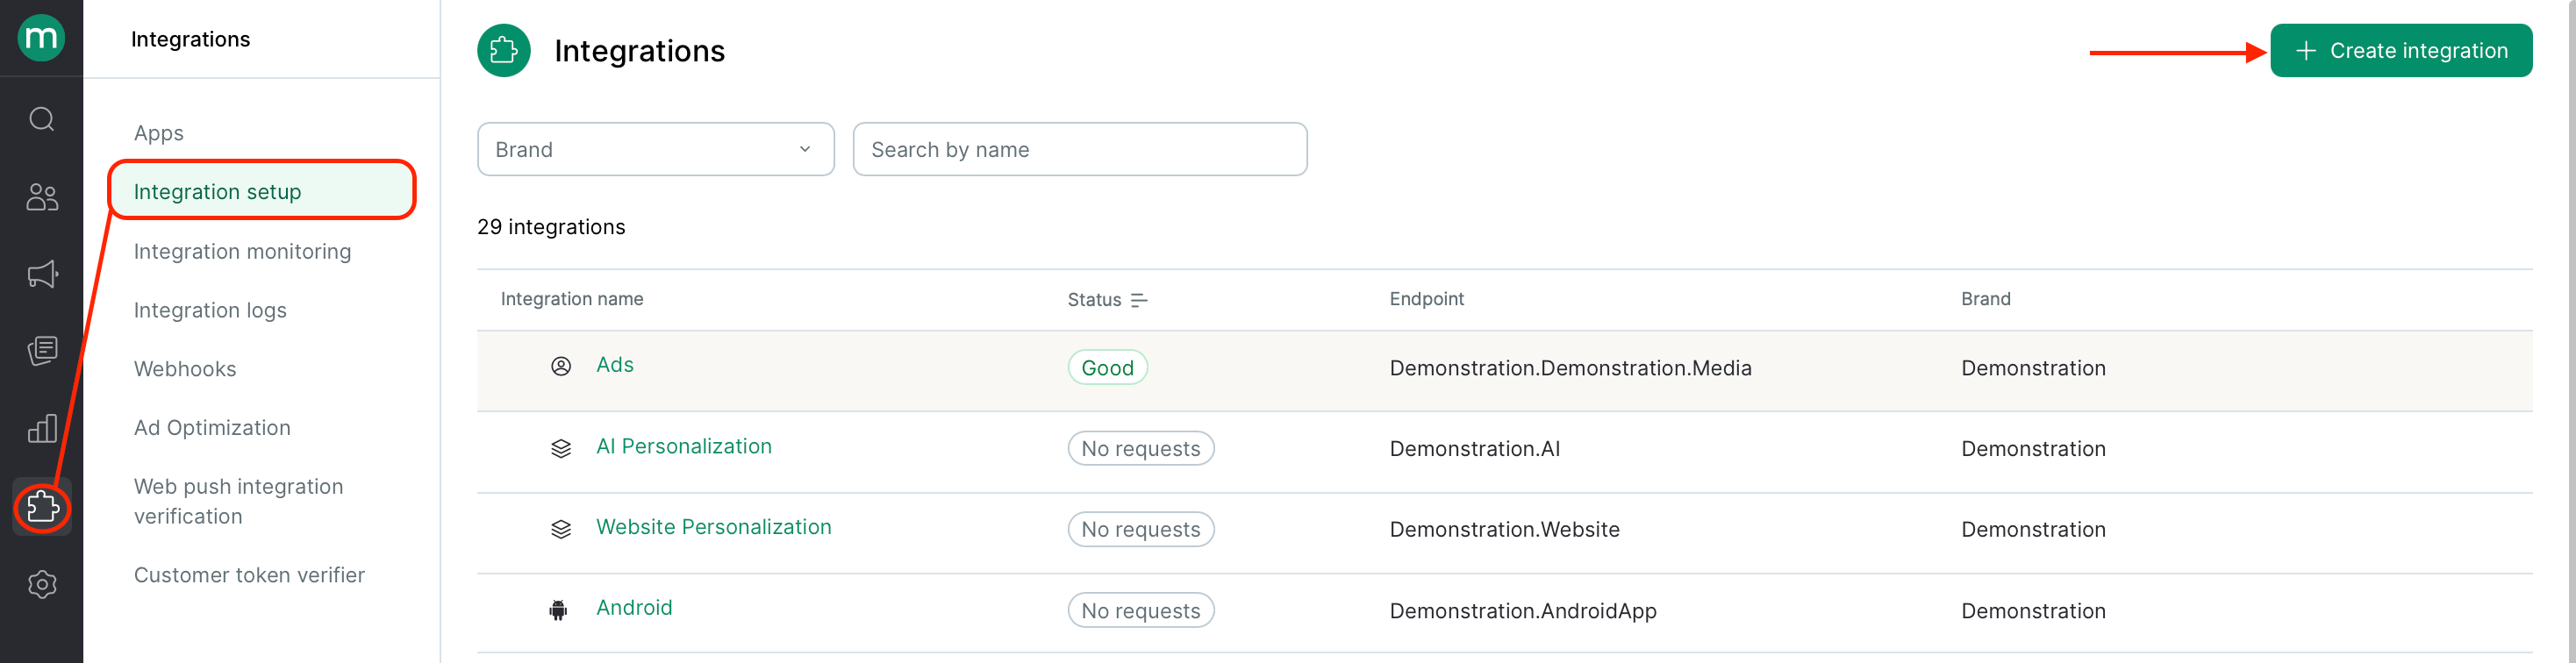
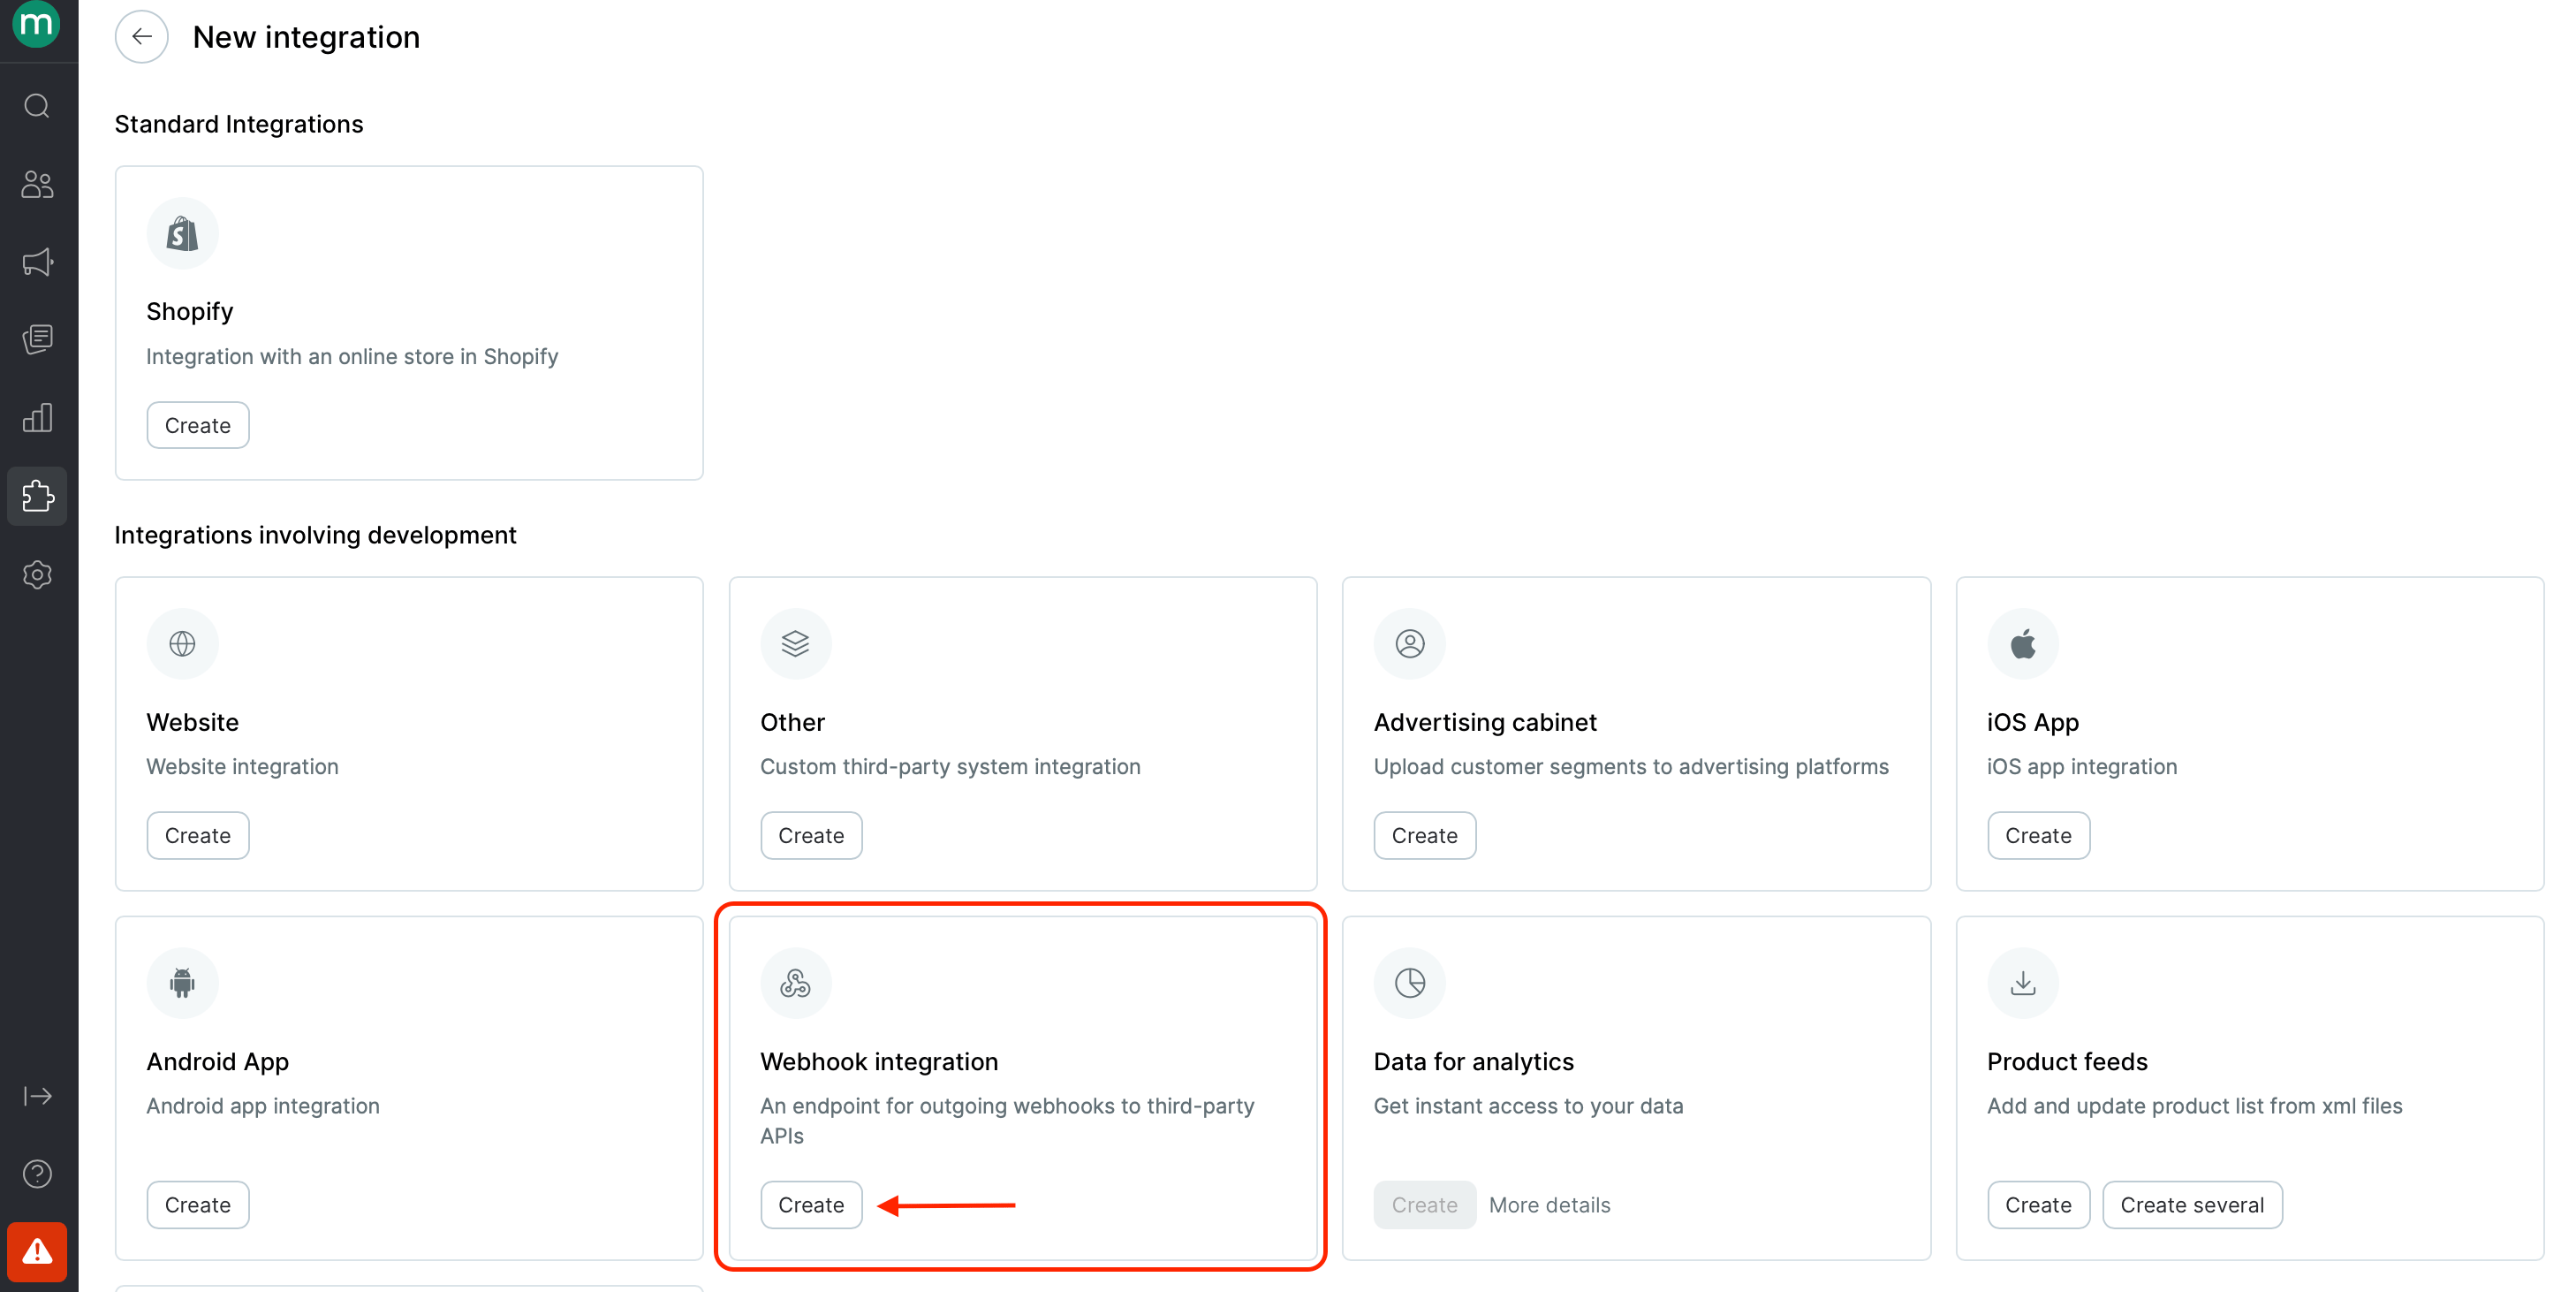

- URL — the base URL of your service. You can specify just the root and add path-specific parts in each webhook separately.
- Headers —
Authorization,Content-Type, and anything else your API requires. - Request rate limit per second — set to Not specified so Maestra doesn’t rate-limit outbound sends.
- Click Create

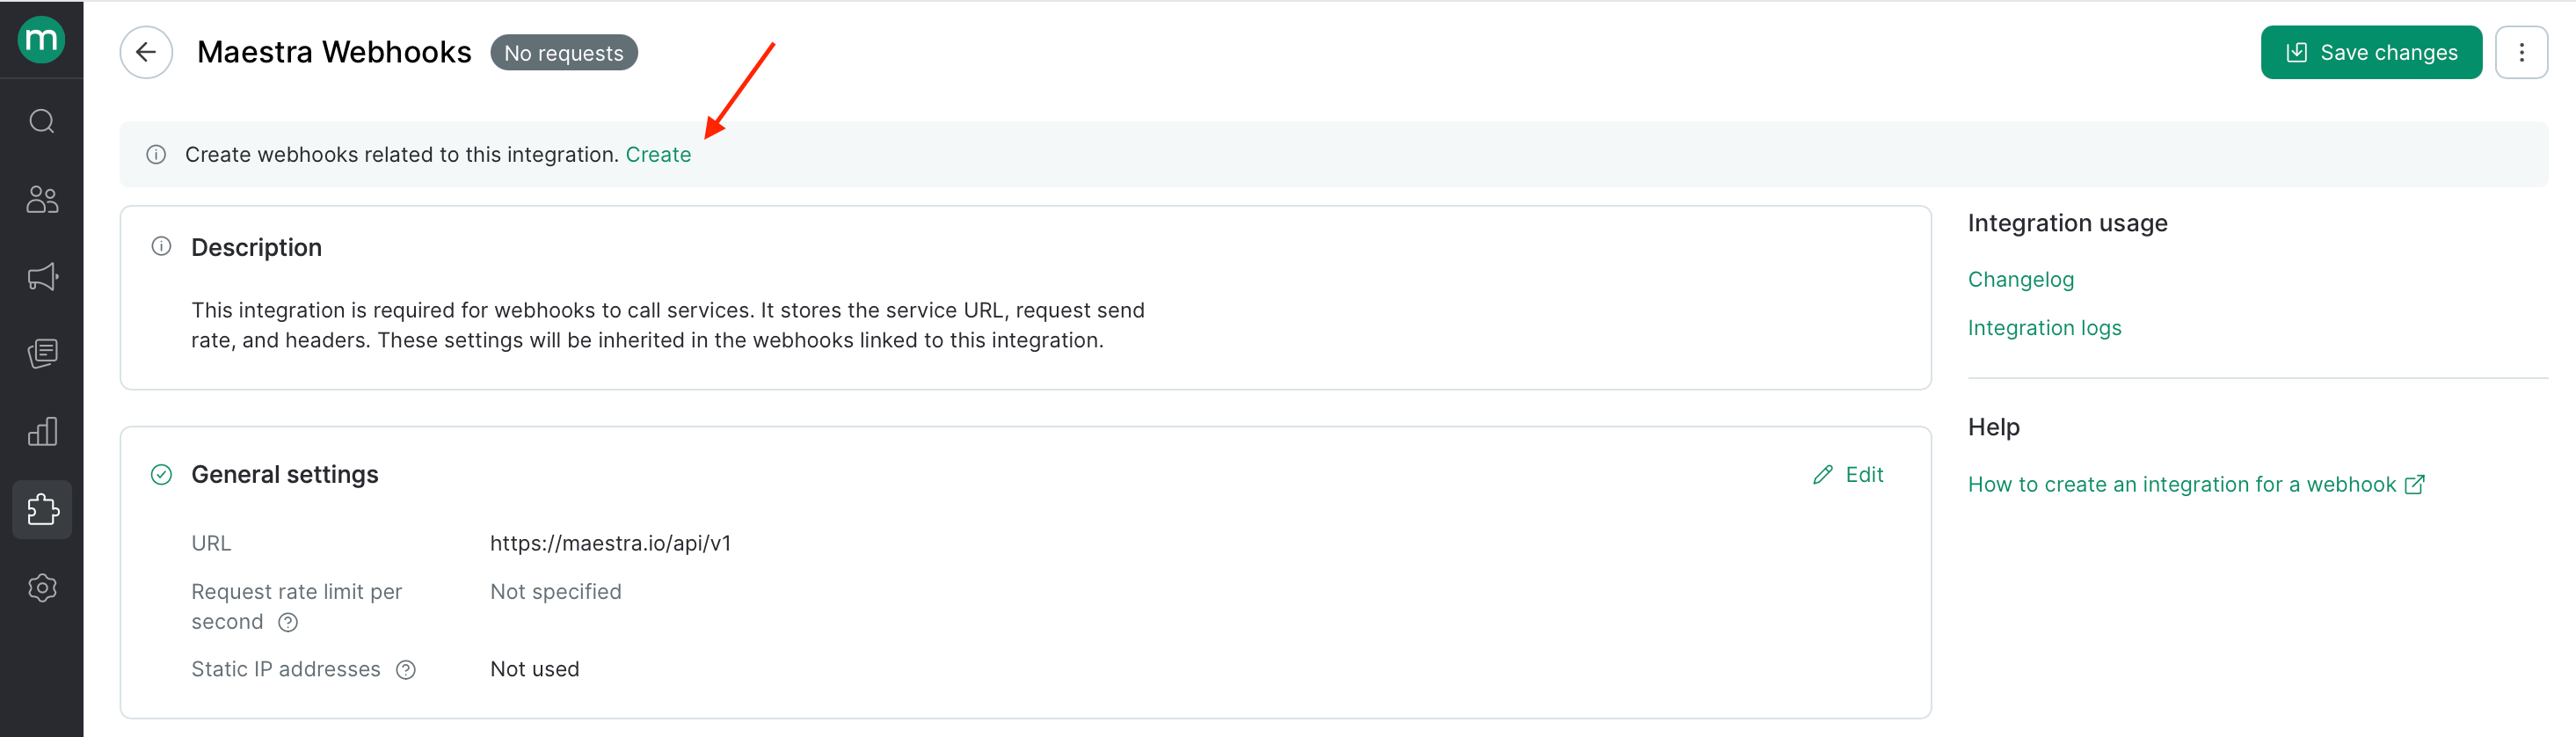
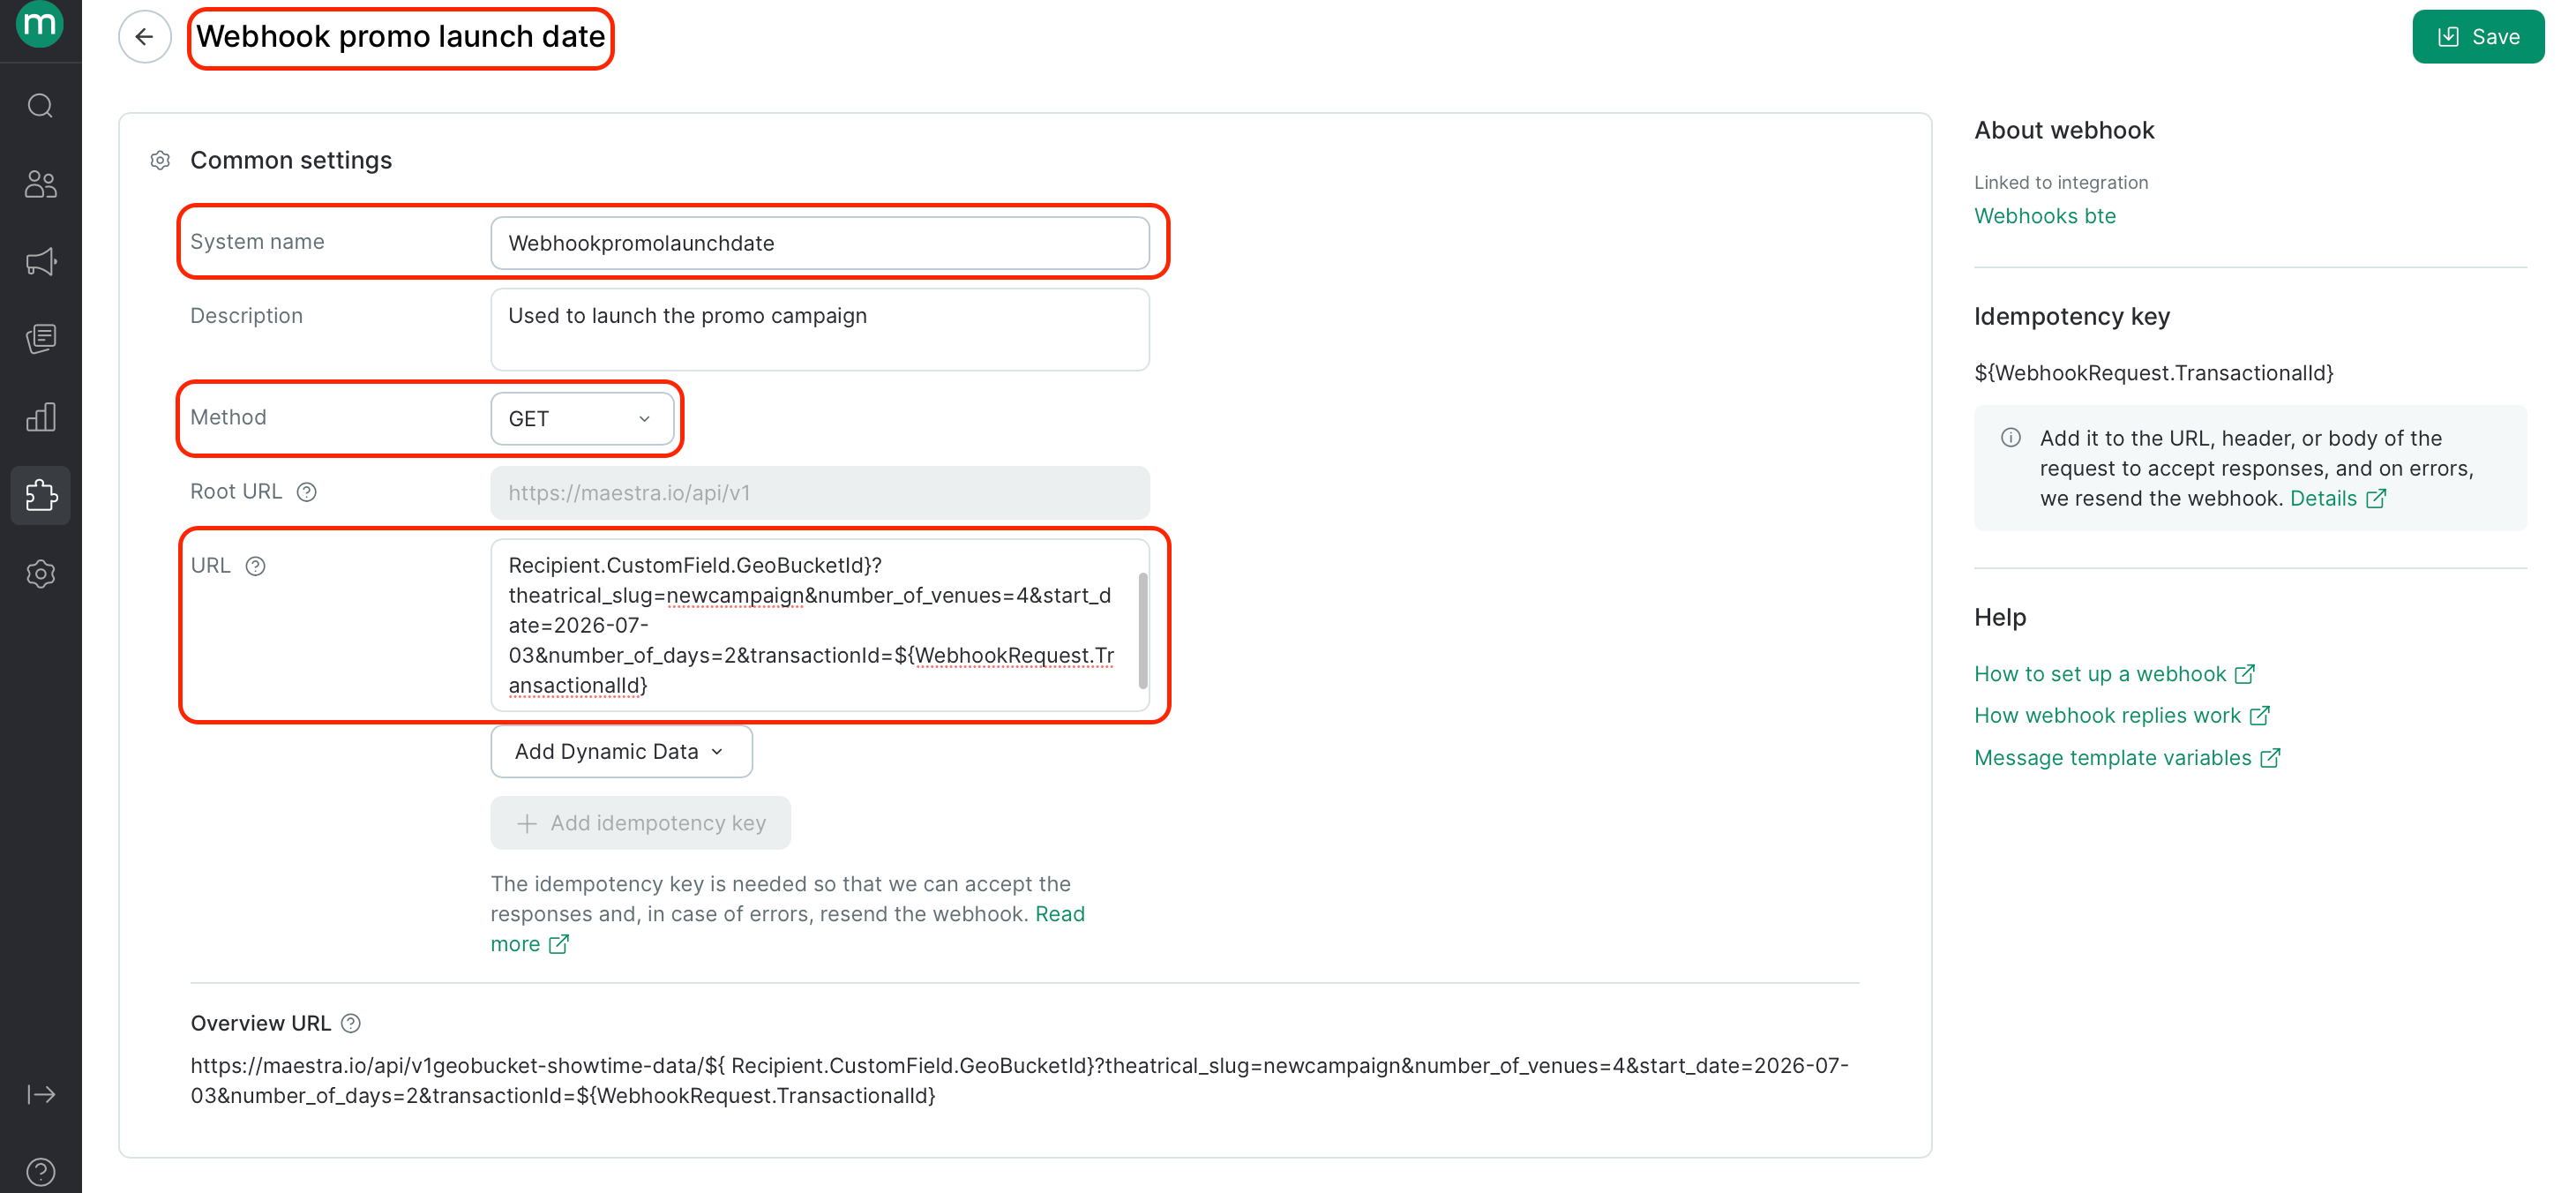
Step 2. Create a webhook with “Use full response as campaign content”
How this differs from the standard webhook mode
How this differs from the standard webhook mode
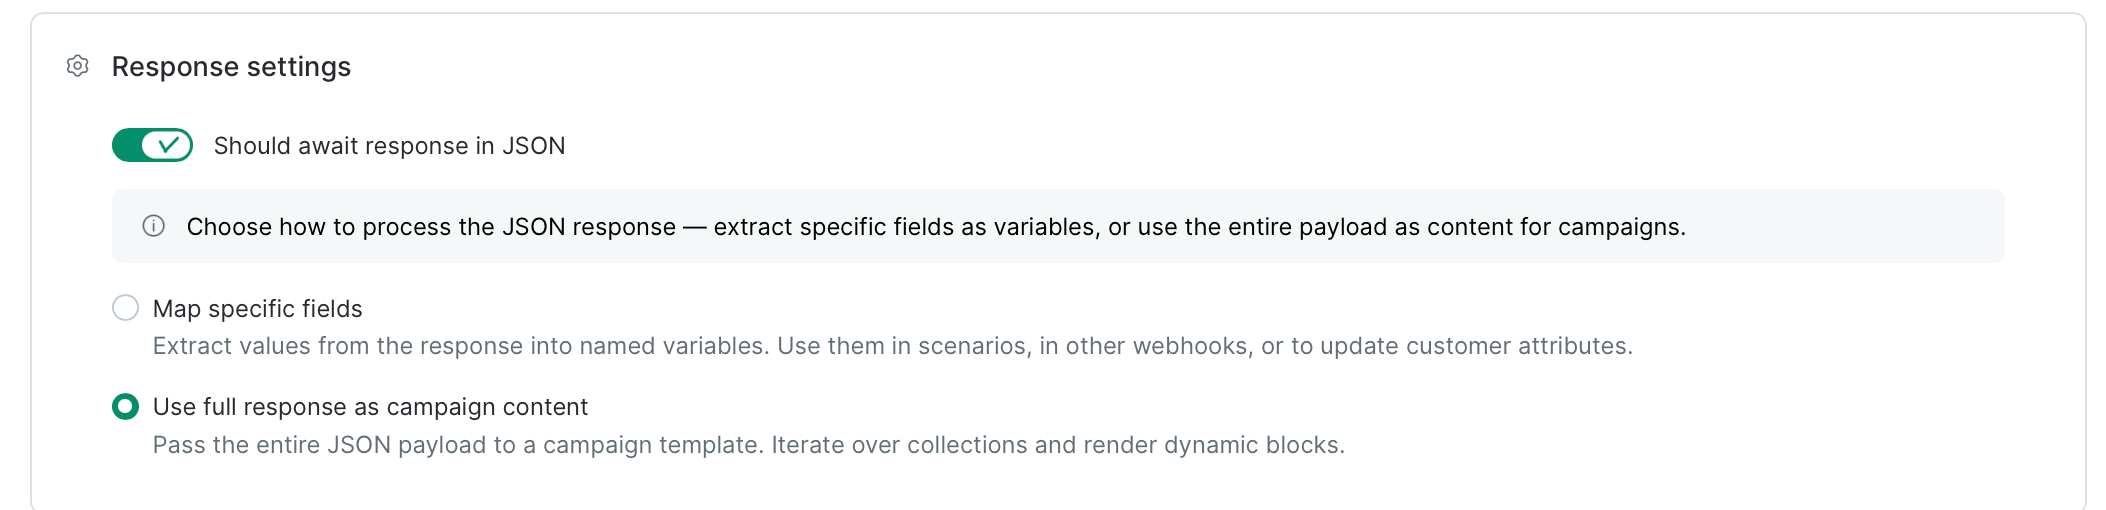
Webhooks support two modes:
- Map specific fields — the existing behavior. Used for integrations and response checks inside flow scenarios: individual values are pulled from the response by path and saved in a flow session for use in Condition nodes or campaigns as individual data points.
- Use full response as campaign content — the new mode. The entire JSON response becomes available inside the campaign template, where you can iterate it with
for…end for, branch withif, and render content directly in your email block using Dynamic parameters.

Step 3. Reference the webhook in your campaign
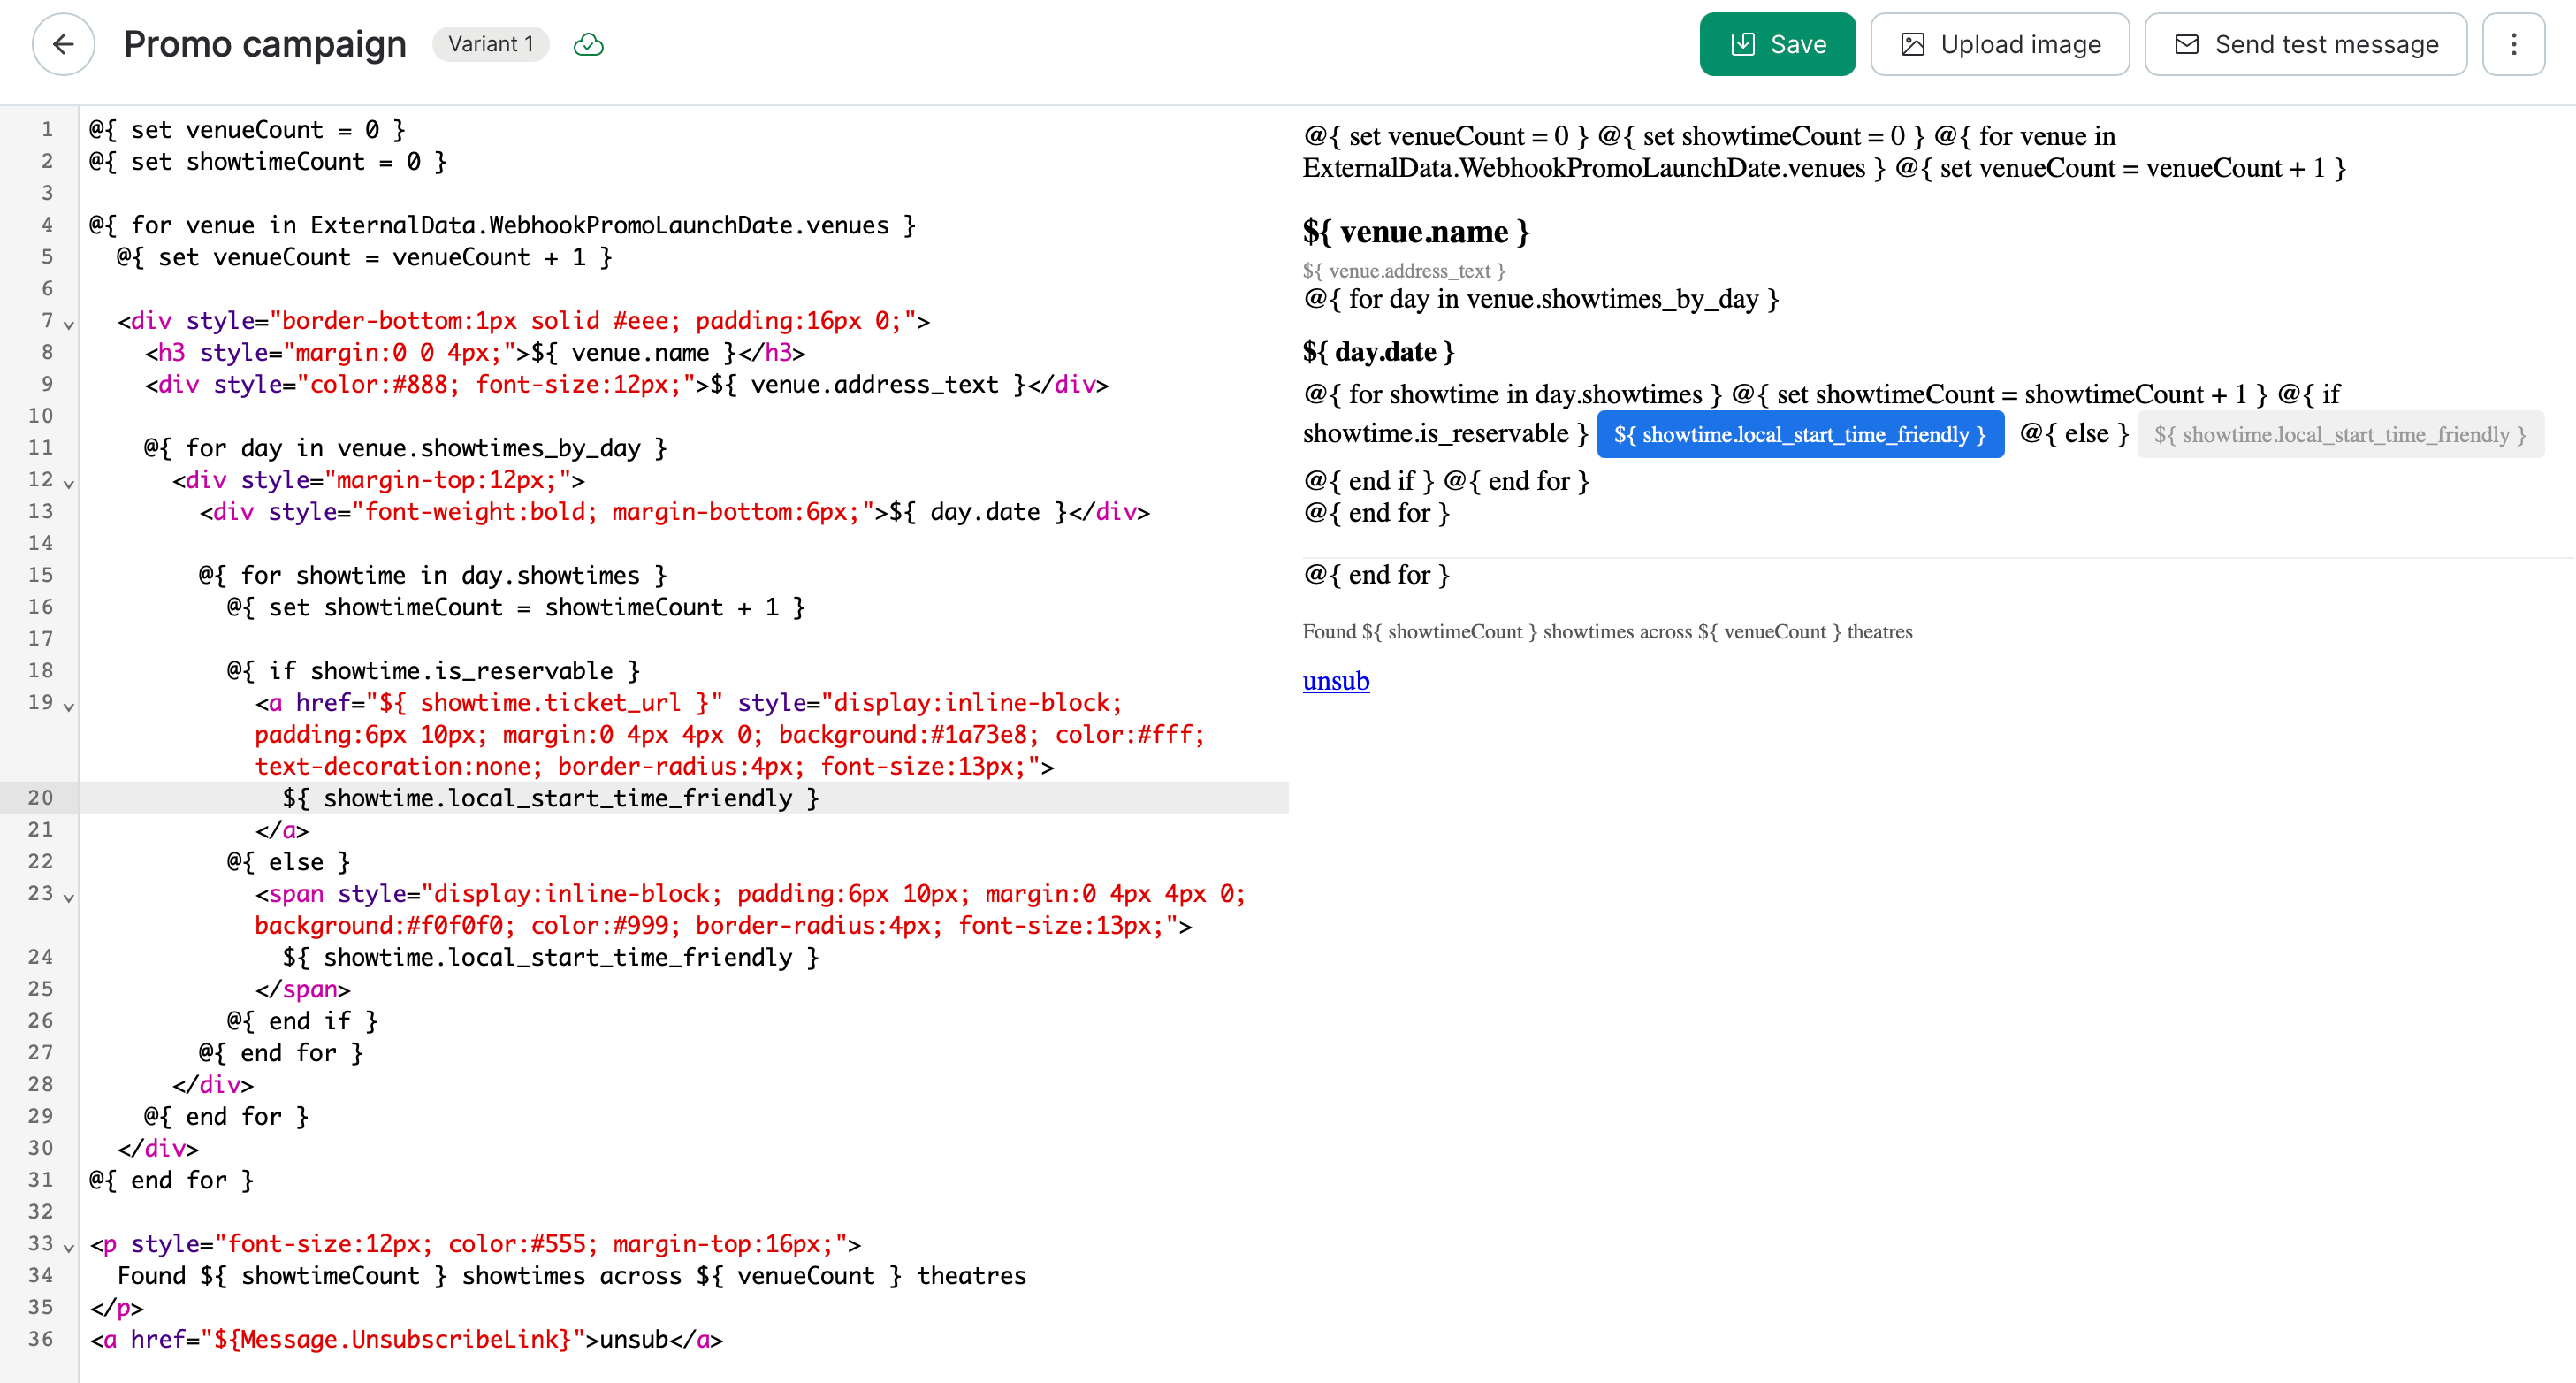
Open a campaign and reference the webhook response using this parameter syntax:Example: Angel Studios
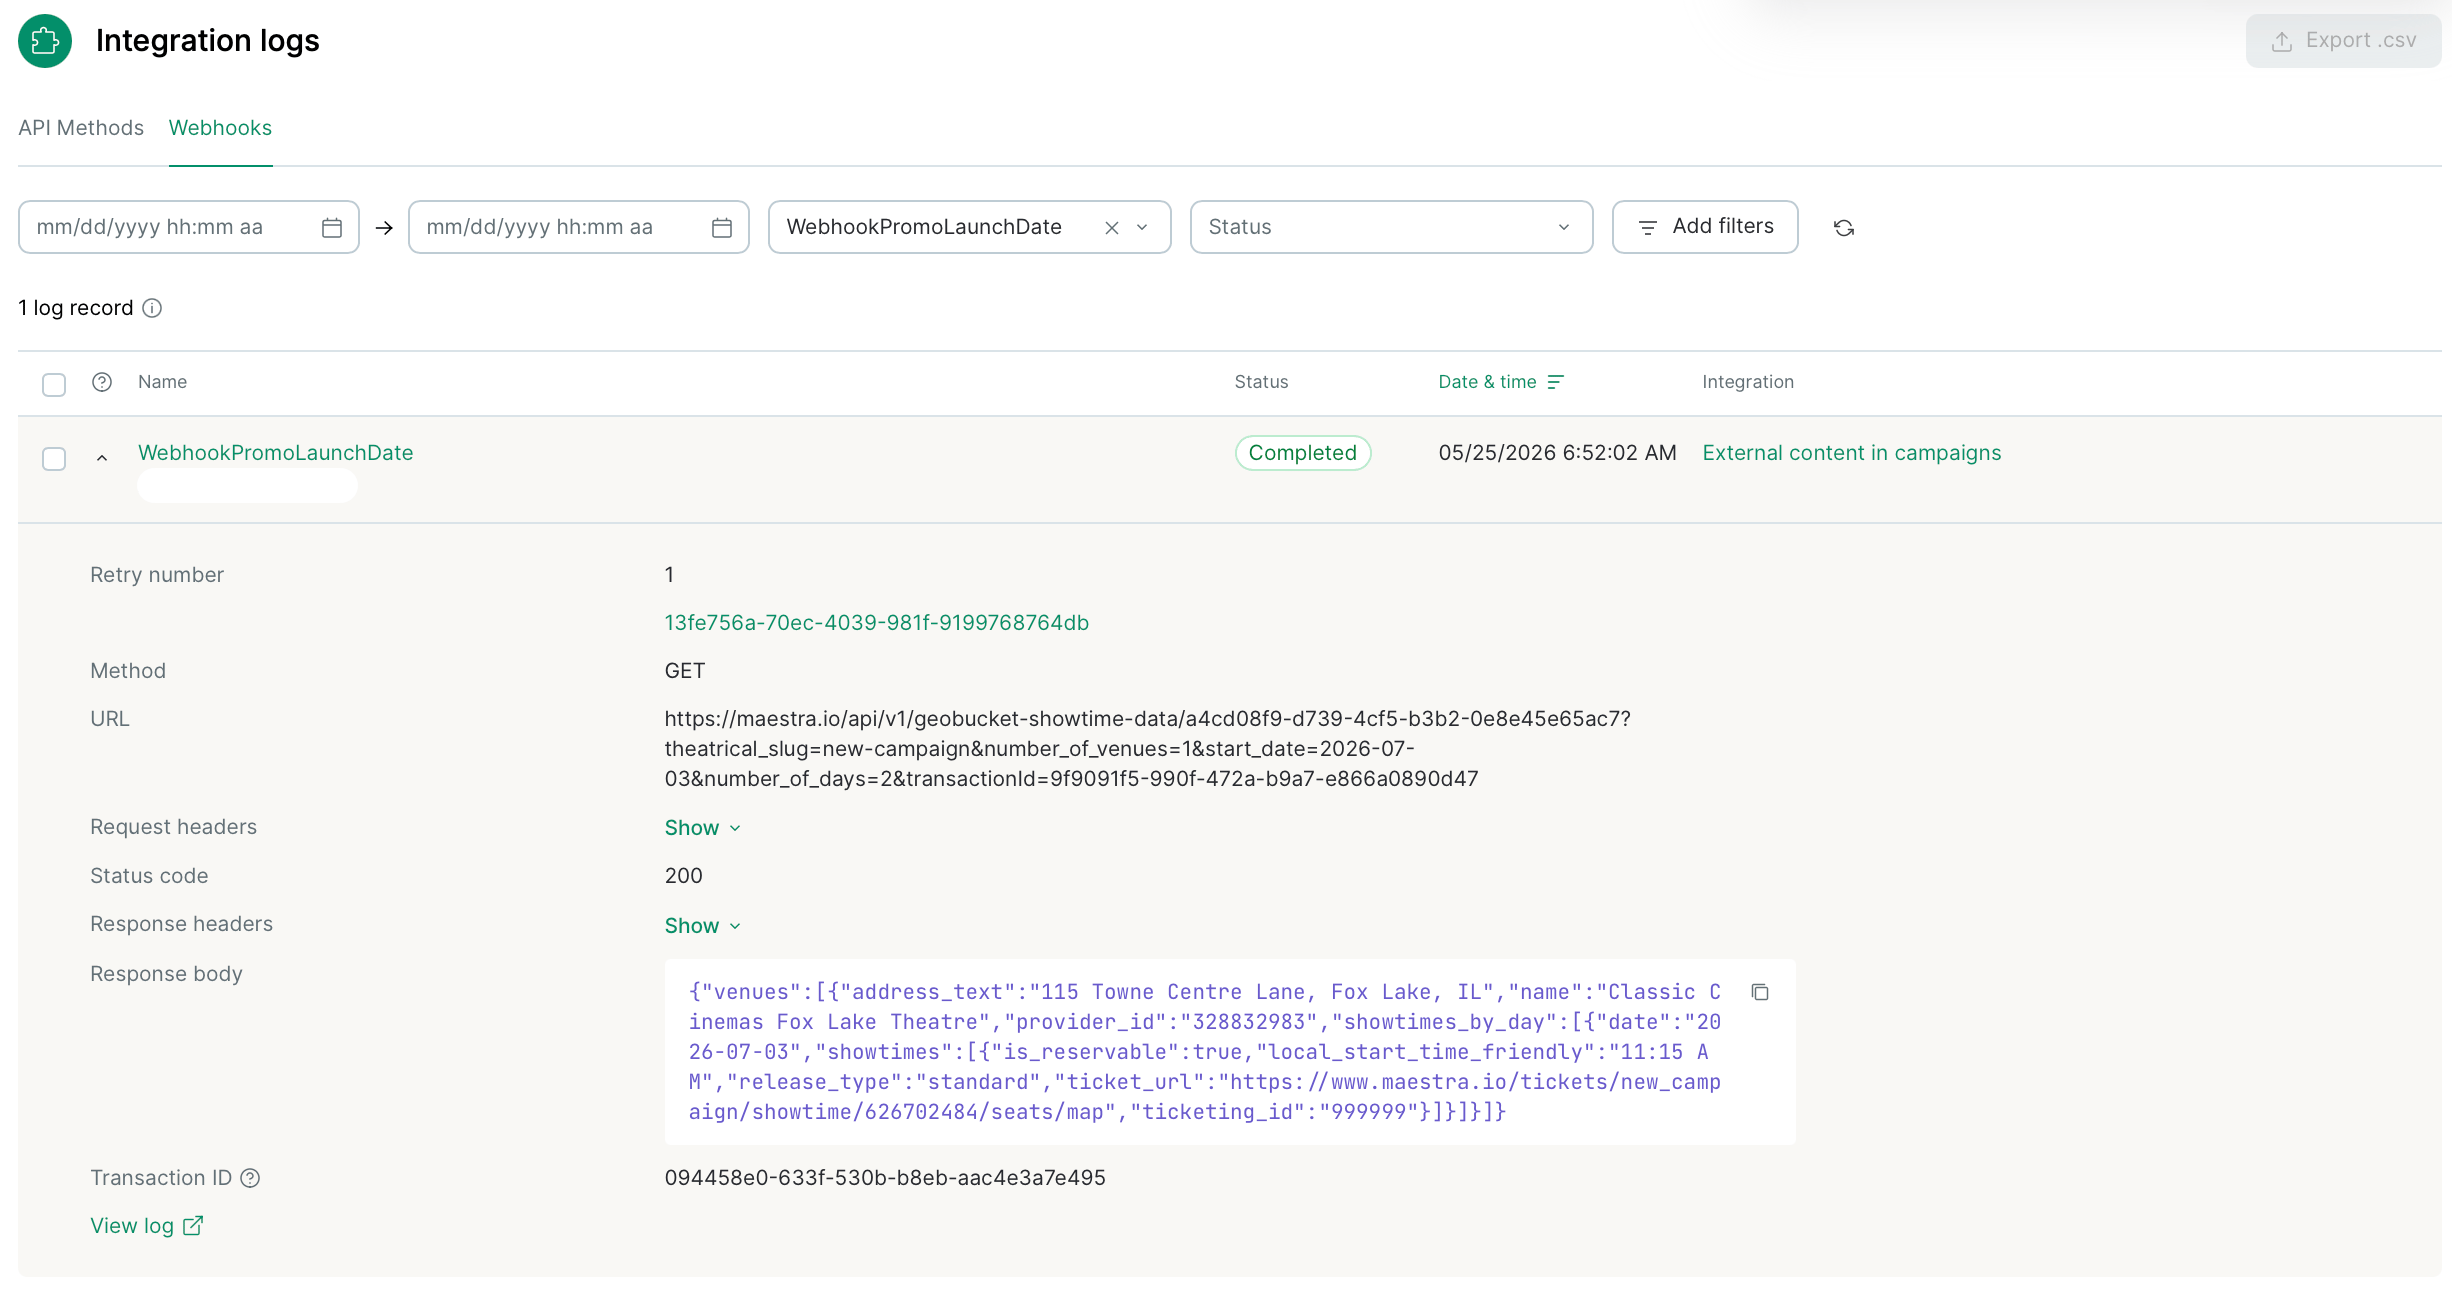
The Angel API returns a nested response like this:venues → showtimes_by_day → showtimes—are iterated with three nested for…end for loops. Fields within each object are accessed with dot notation: venue.name, day.date, showtime.ticket_url.
Step 4. Send the campaign
At send time, Maestra Platform calls your endpoint for each recipient, waits for the response, and injects the data into the email before delivery.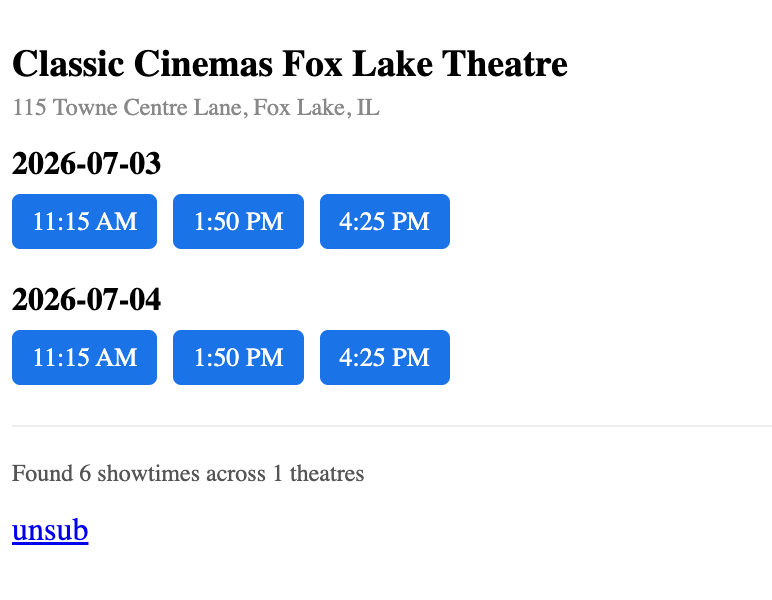
What happens if the webhook doesn’t respond
If the call to your endpoint fails, the email is not sent to that recipient. The rest of the campaign continues normally—only the affected recipients are skipped. Before skipping, the system retries automatically:- 3 attempts on
429and5xxerrors - 1-minute pause
- Up to 2 more retry cycles
Debugging
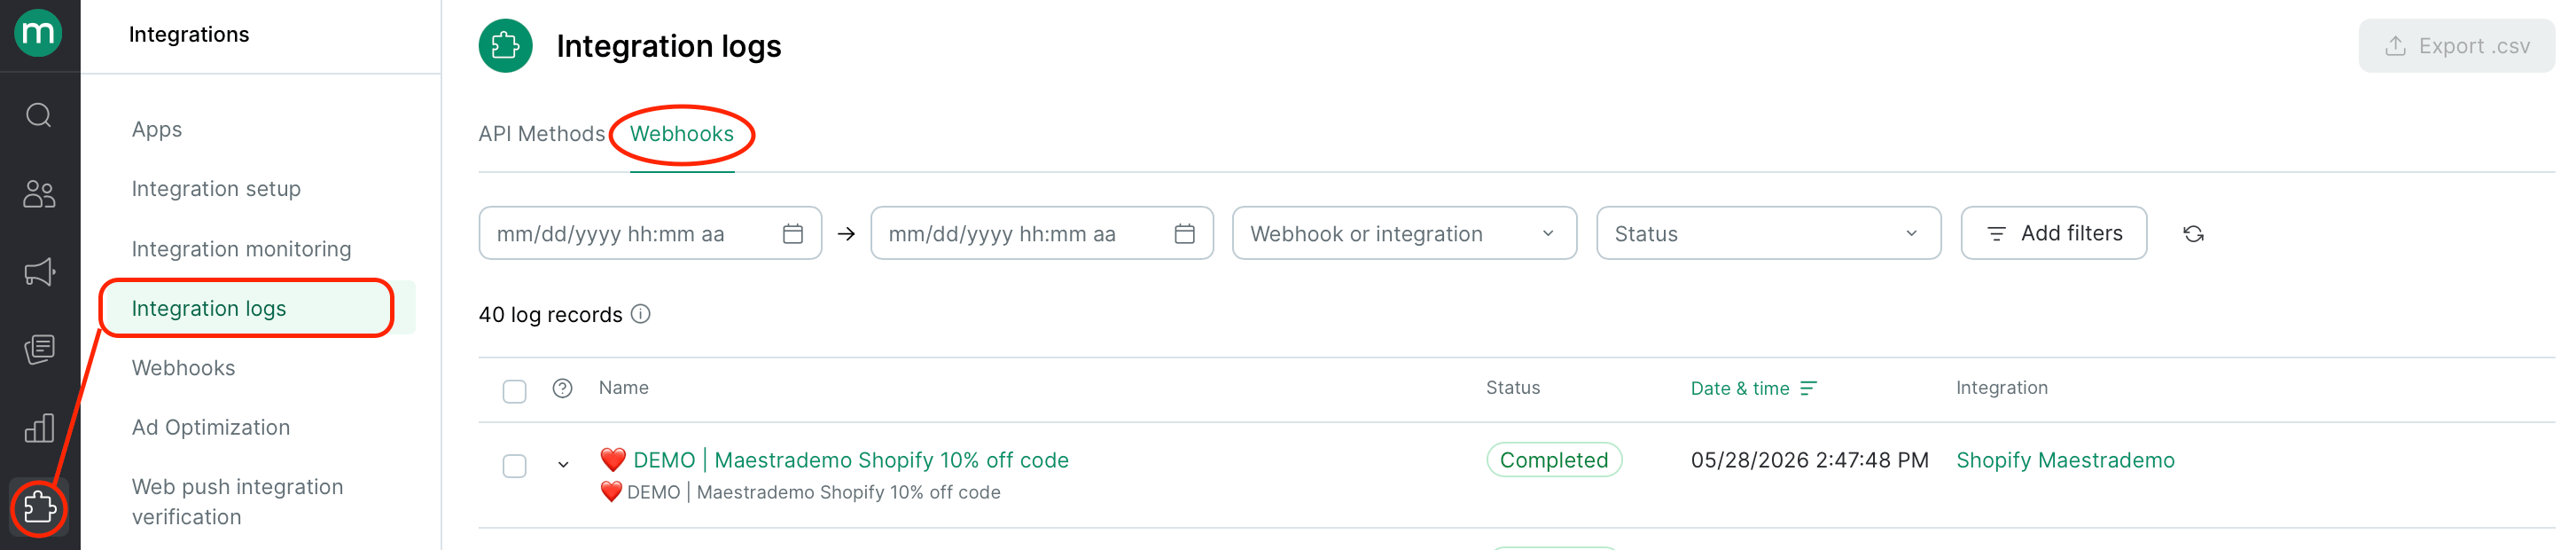
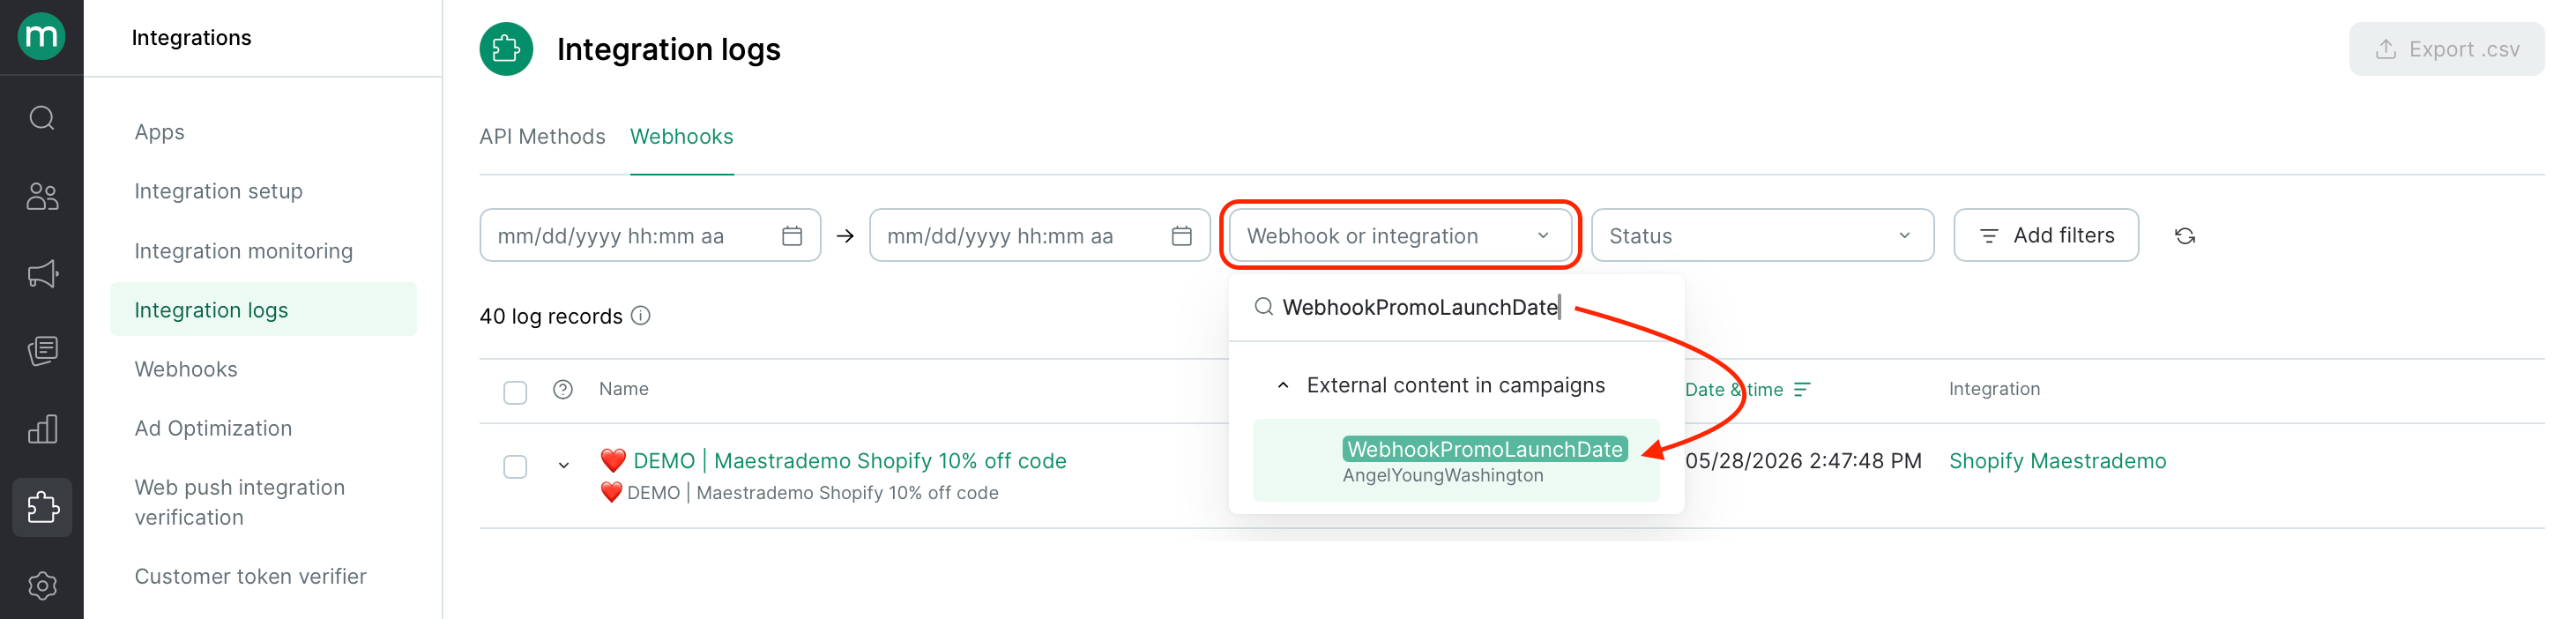
Every webhook call is logged. Go to Integrations → Webhooks → Webhook logs to see the full request URL, headers, response body, and HTTP status.